
Piston Soak Method Using Chemicals – The First Step in Fighting Excessive Oil Consumption
Is your car consuming too much oil, and the mechanic suggests an expensive engine overhaul or piston ring replacement? Before spending thousands of dollars on repairs, it’s worth trying the piston soak method using chemicals. It’s a simple, affordable, and non-invasive solution that can restore your engine’s performance and significantly reduce oil consumption. In this article, you’ll learn why this method is worth trying, how to perform it, and what results you can expect.
Why Start with the Piston Soak Method?
Excessive oil consumption is often caused not by mechanical damage to the piston rings but by seizing them due to accumulated carbon deposits. Instead of immediately opting for an expensive engine overhaul, it’s worth trying the “piston soak” method, which:
- Is cheap – the chemicals cost a fraction of the price of an engine repair.
- Is easy to perform – you can do it yourself at home.
- Doesn’t require engine disassembly – the method is completely non-invasive.
- Can bring quick results – many users report a significant reduction in oil consumption after just one application.
What Chemical Products Can Be Used?
There are various engine cleaning products on the market that can be used to remove carbon deposits. Below is a comparison of their ingredients and effectiveness:
| Product | Ingredients | Effectiveness |
|---|---|---|
| Berryman B-12 Chemtool | Aliphatic hydrocarbons, organic solvents, cleaning additives. | Very high – effectively dissolves even hardened carbon deposits. |
| Liqui Moly Pro-Line Engine Flush | Mineral oils, cleaning additives. | Medium – better for preventive cleaning, less aggressive. |
| XADO Anticarbon | Hydrocarbons, detergents, anti-corrosion additives. | Medium – effective at removing light deposits but weaker in tough cases. |
| Sea Foam | Naphtenic oil, alcohols, cleaning additives. | Medium – good for maintaining cleanliness but less effective in deep cleaning. |
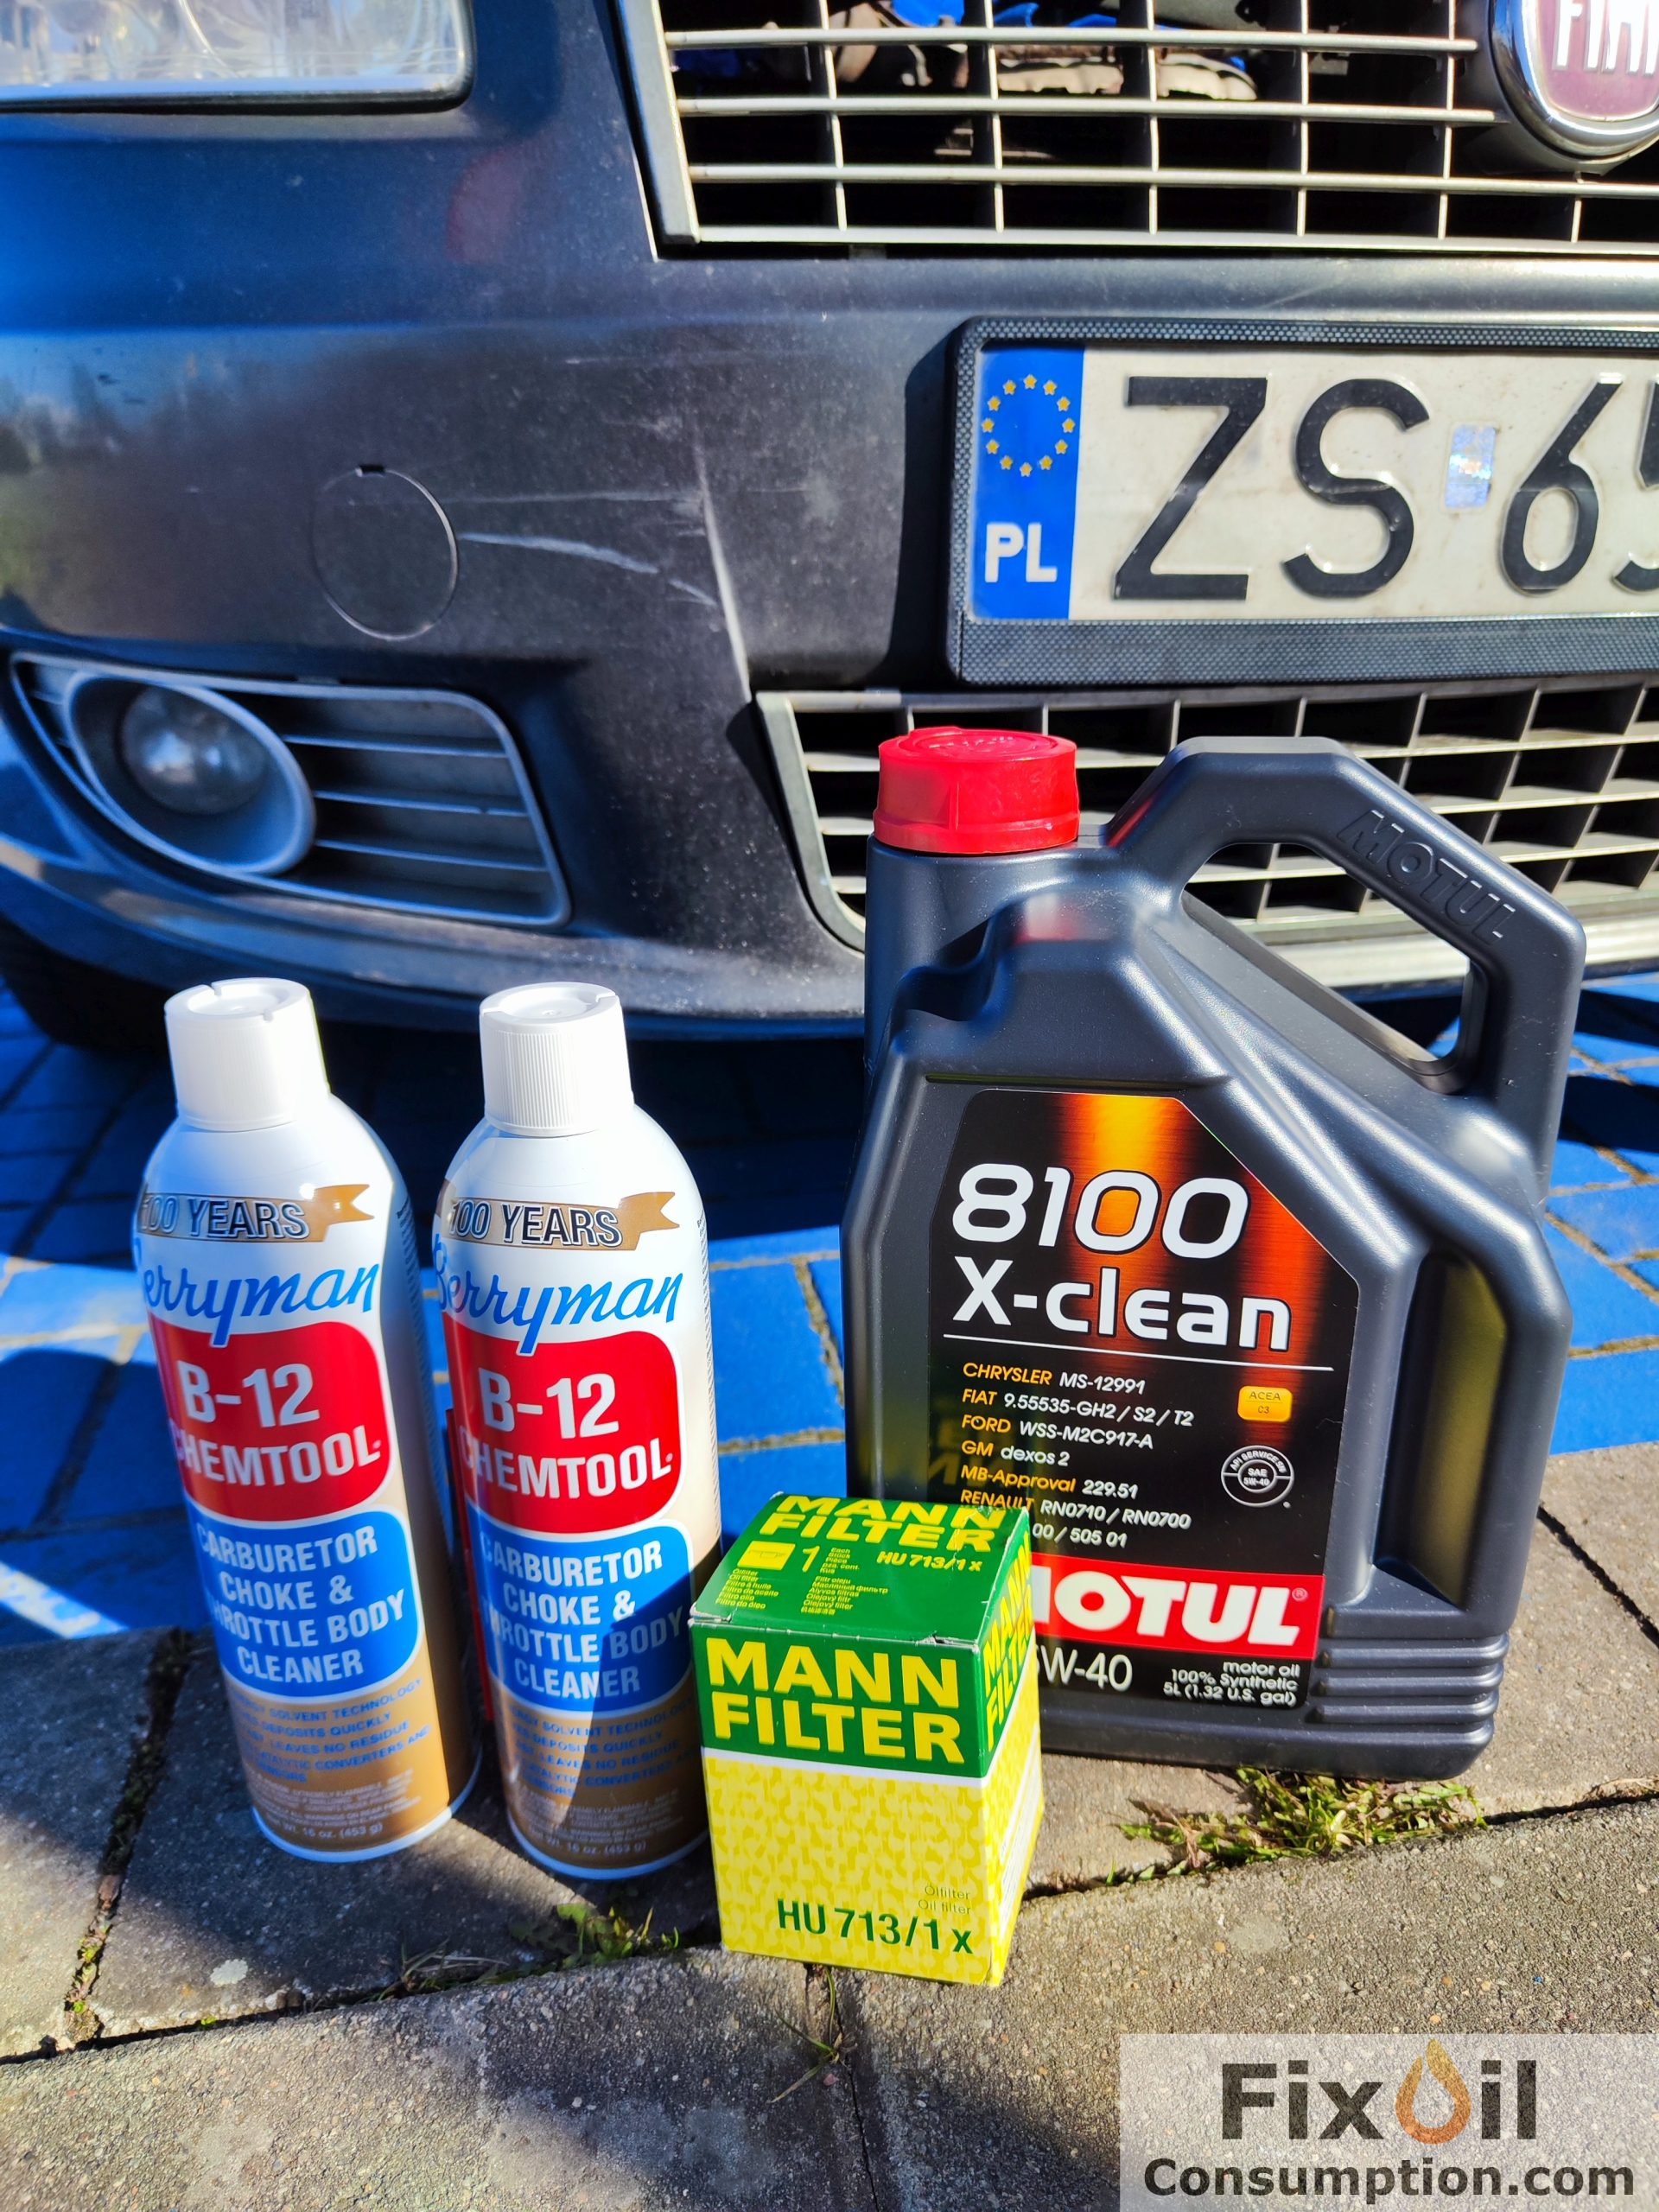
In our description, we will use the most effective product from the list – Berryman B12 Chemtool, which can deliver the best results. It is manufactured in the USA and, unfortunately, is not widely available in Europe at the moment, but it’s worth trying to obtain it.
How Does Berryman B-12 Chemtool Work?
Berryman B-12 Chemtool is a strong cleaning agent that dissolves carbon deposits, resins, and other contaminants in the engine. When introduced into the cylinders, it directly acts on the piston rings, dissolving accumulated deposits and restoring their elasticity. This allows the rings to seal tightly against the cylinder walls again, reducing oil consumption.
When Is It Worth Using the Piston Soak Method?
This method is particularly effective when:
- The engine has high mileage but shows no significant mechanical damage.
- The oil consumption is moderate, not extreme.
- You want to avoid costly engine repairs.
- You are dealing with an engine where carbon deposits are the main cause of the problem.
Step by Step: How to Perform a Piston Soak with Berryman B-12 Chemtool?
Below is a detailed guide on how to perform this method yourself, based on user experiences and instructional videos from YouTube.
Tools and Materials Needed
- Berryman B-12 Chemtool – 2 cans.
- Spark plugs – depending on your engine type.
- Spark plug wrench.
- Graduated measuring cup – for precisely introducing fluid into the cylinders.
- Paper towels or rags – for cleaning.
- Torque wrench – for properly tightening the spark plugs.
- Gloves and safety glasses – due to the toxicity of the substance.
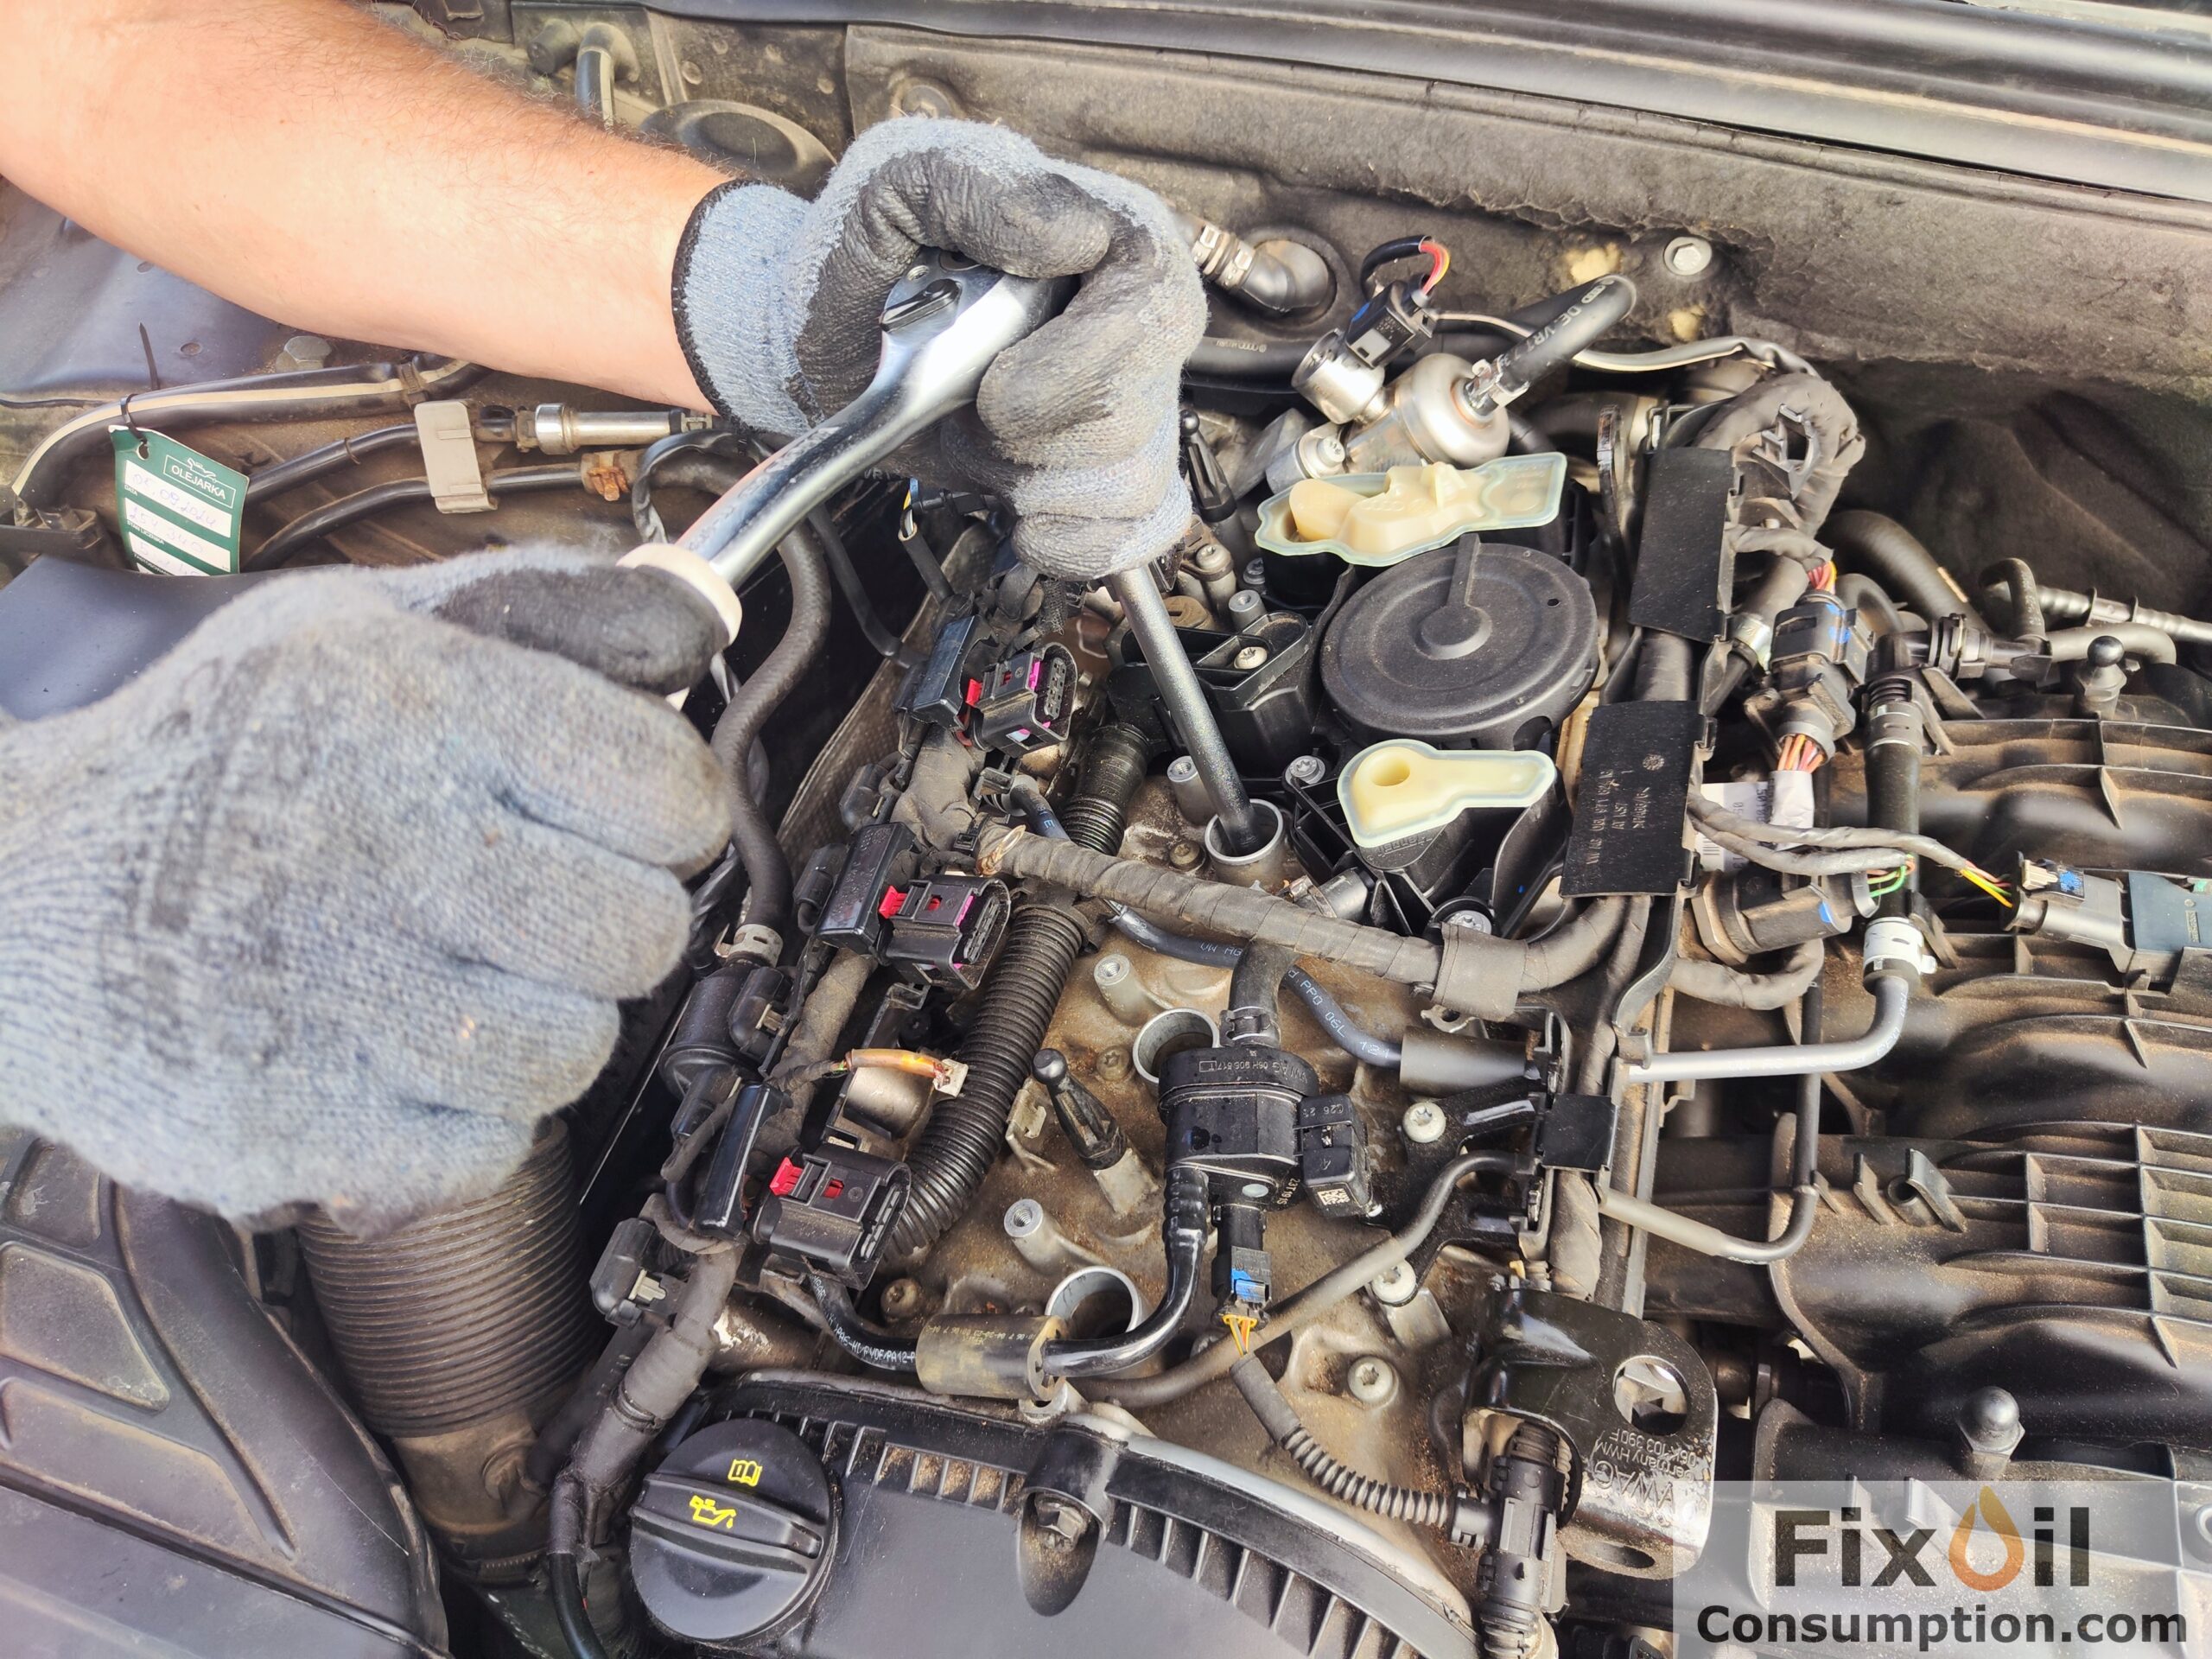
Prepare the Engine
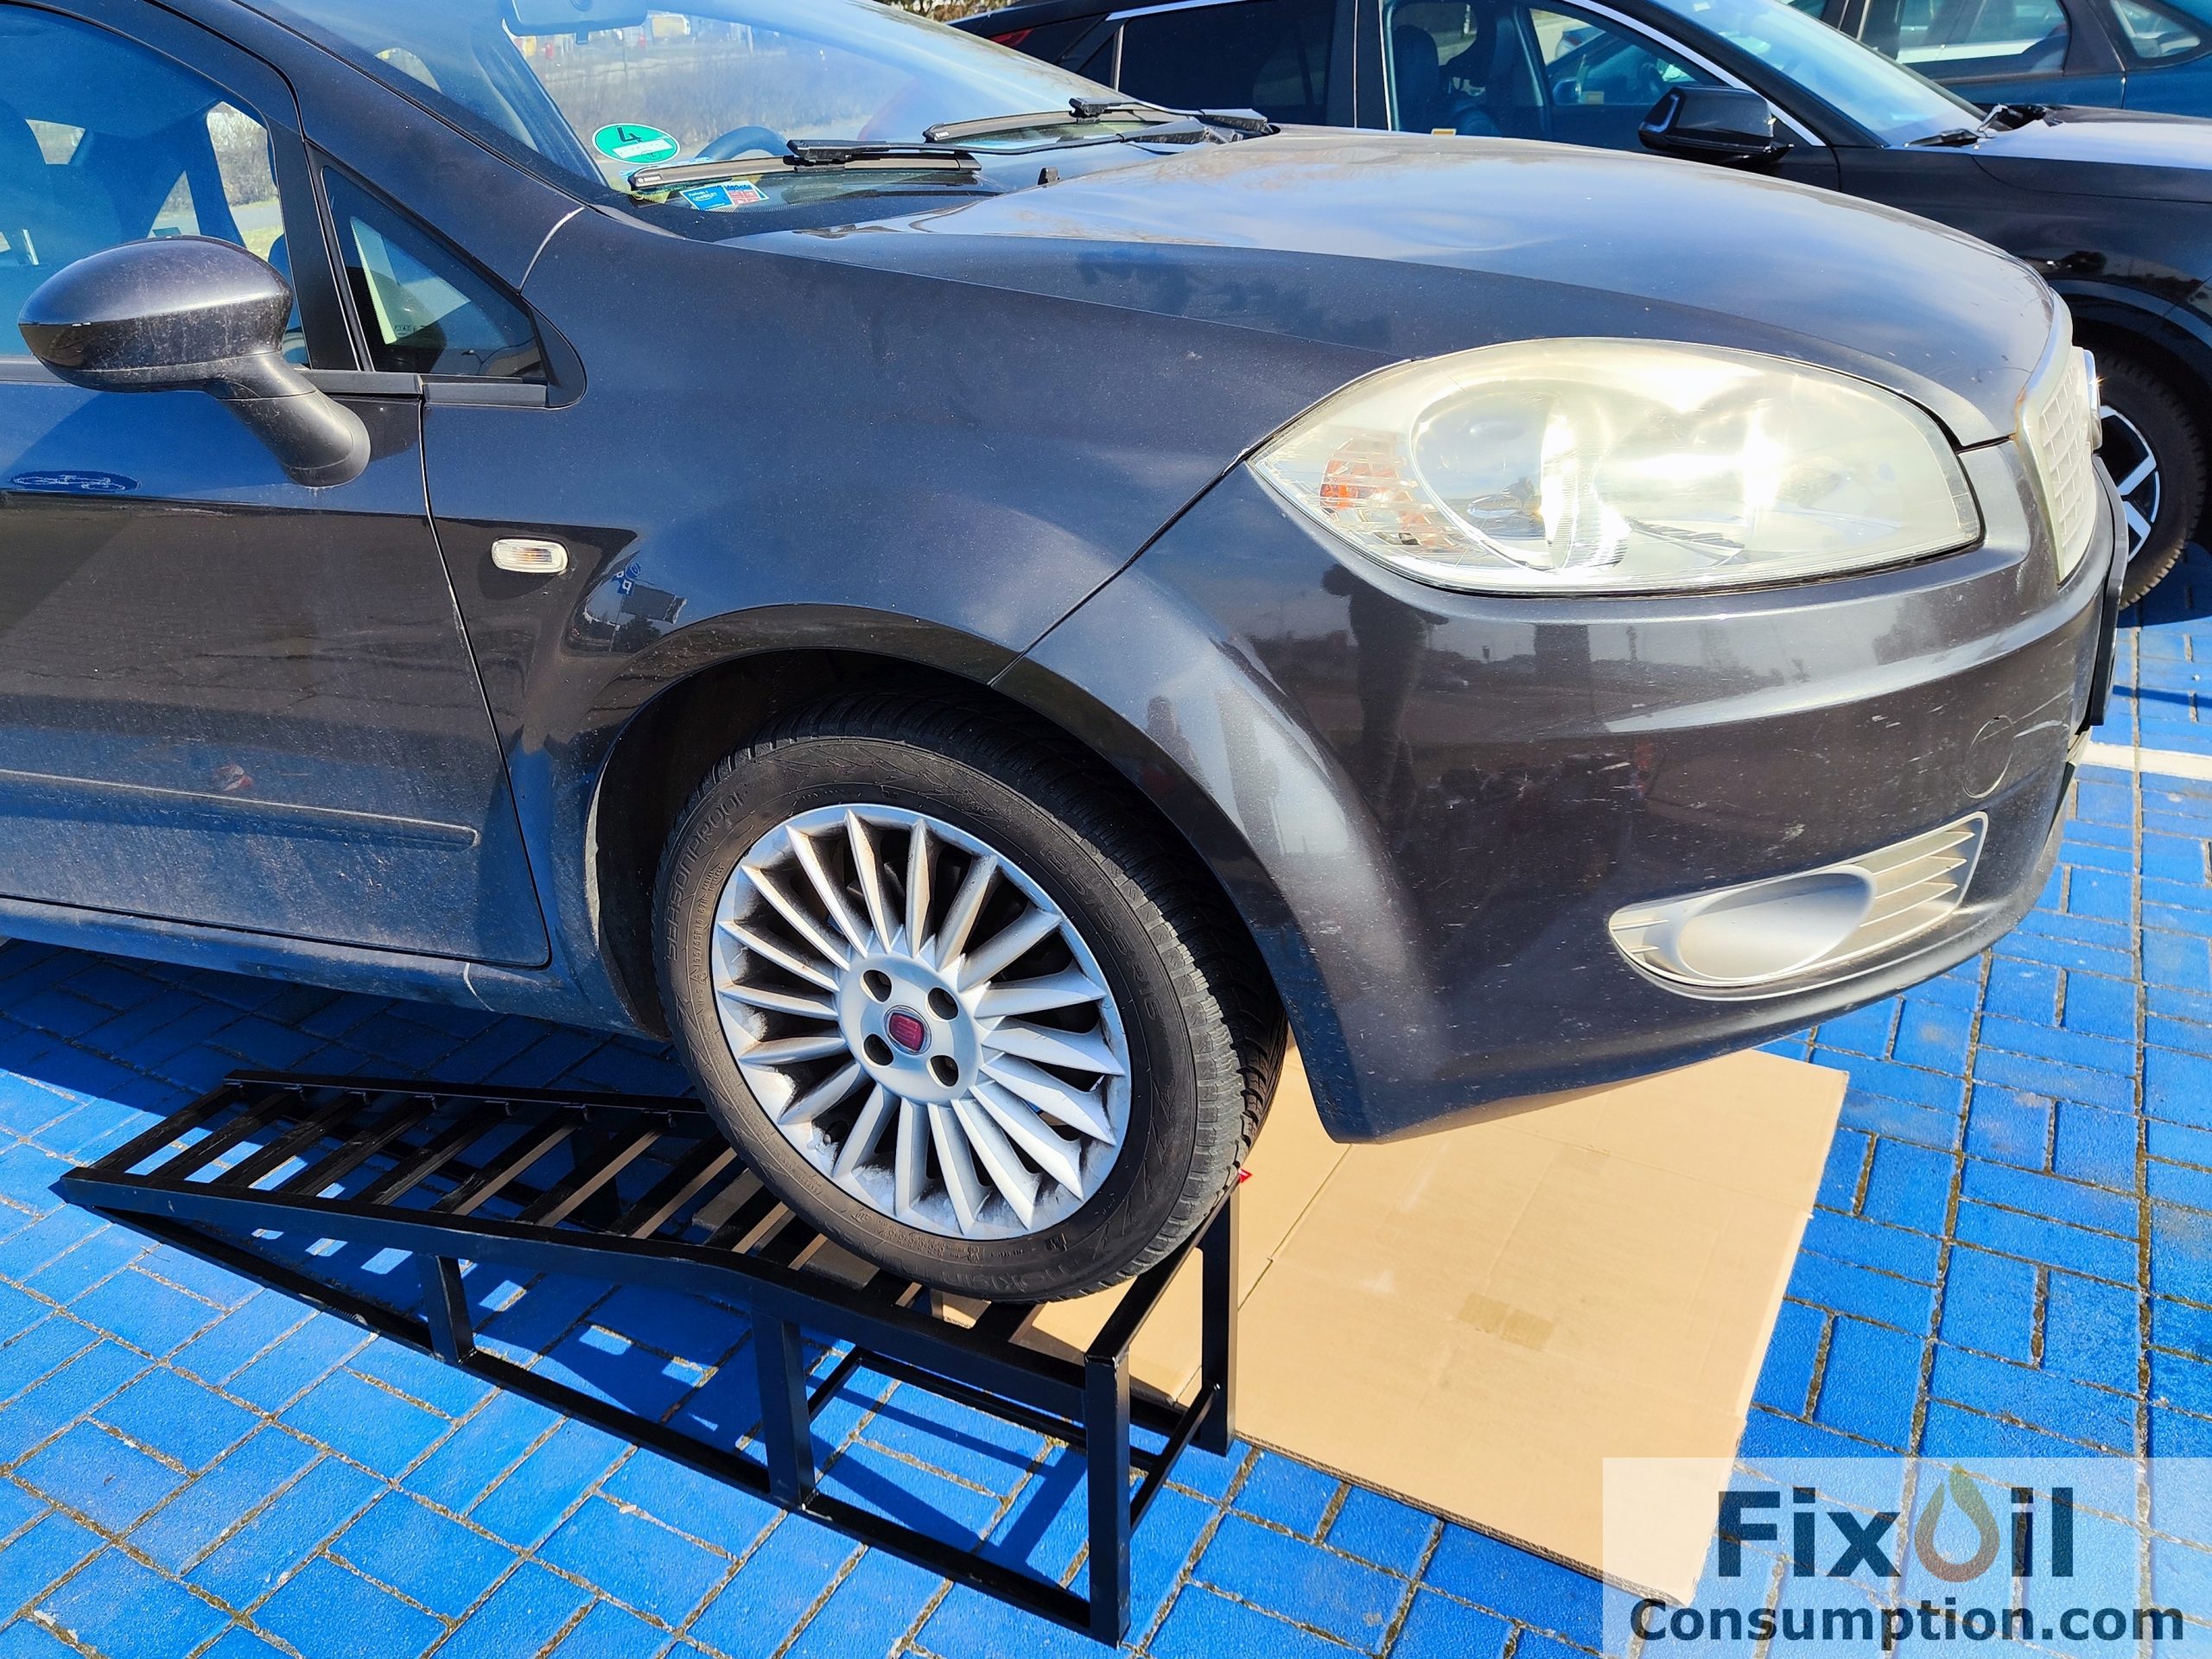
Make sure the engine is completely cold or slightly warm, but not hot. Working on a hot engine can be dangerous. Disconnect the battery to avoid accidental engine startup. You can also clean the engine surface around spark plugs, so any dirt won’t fall down into the cylinders.
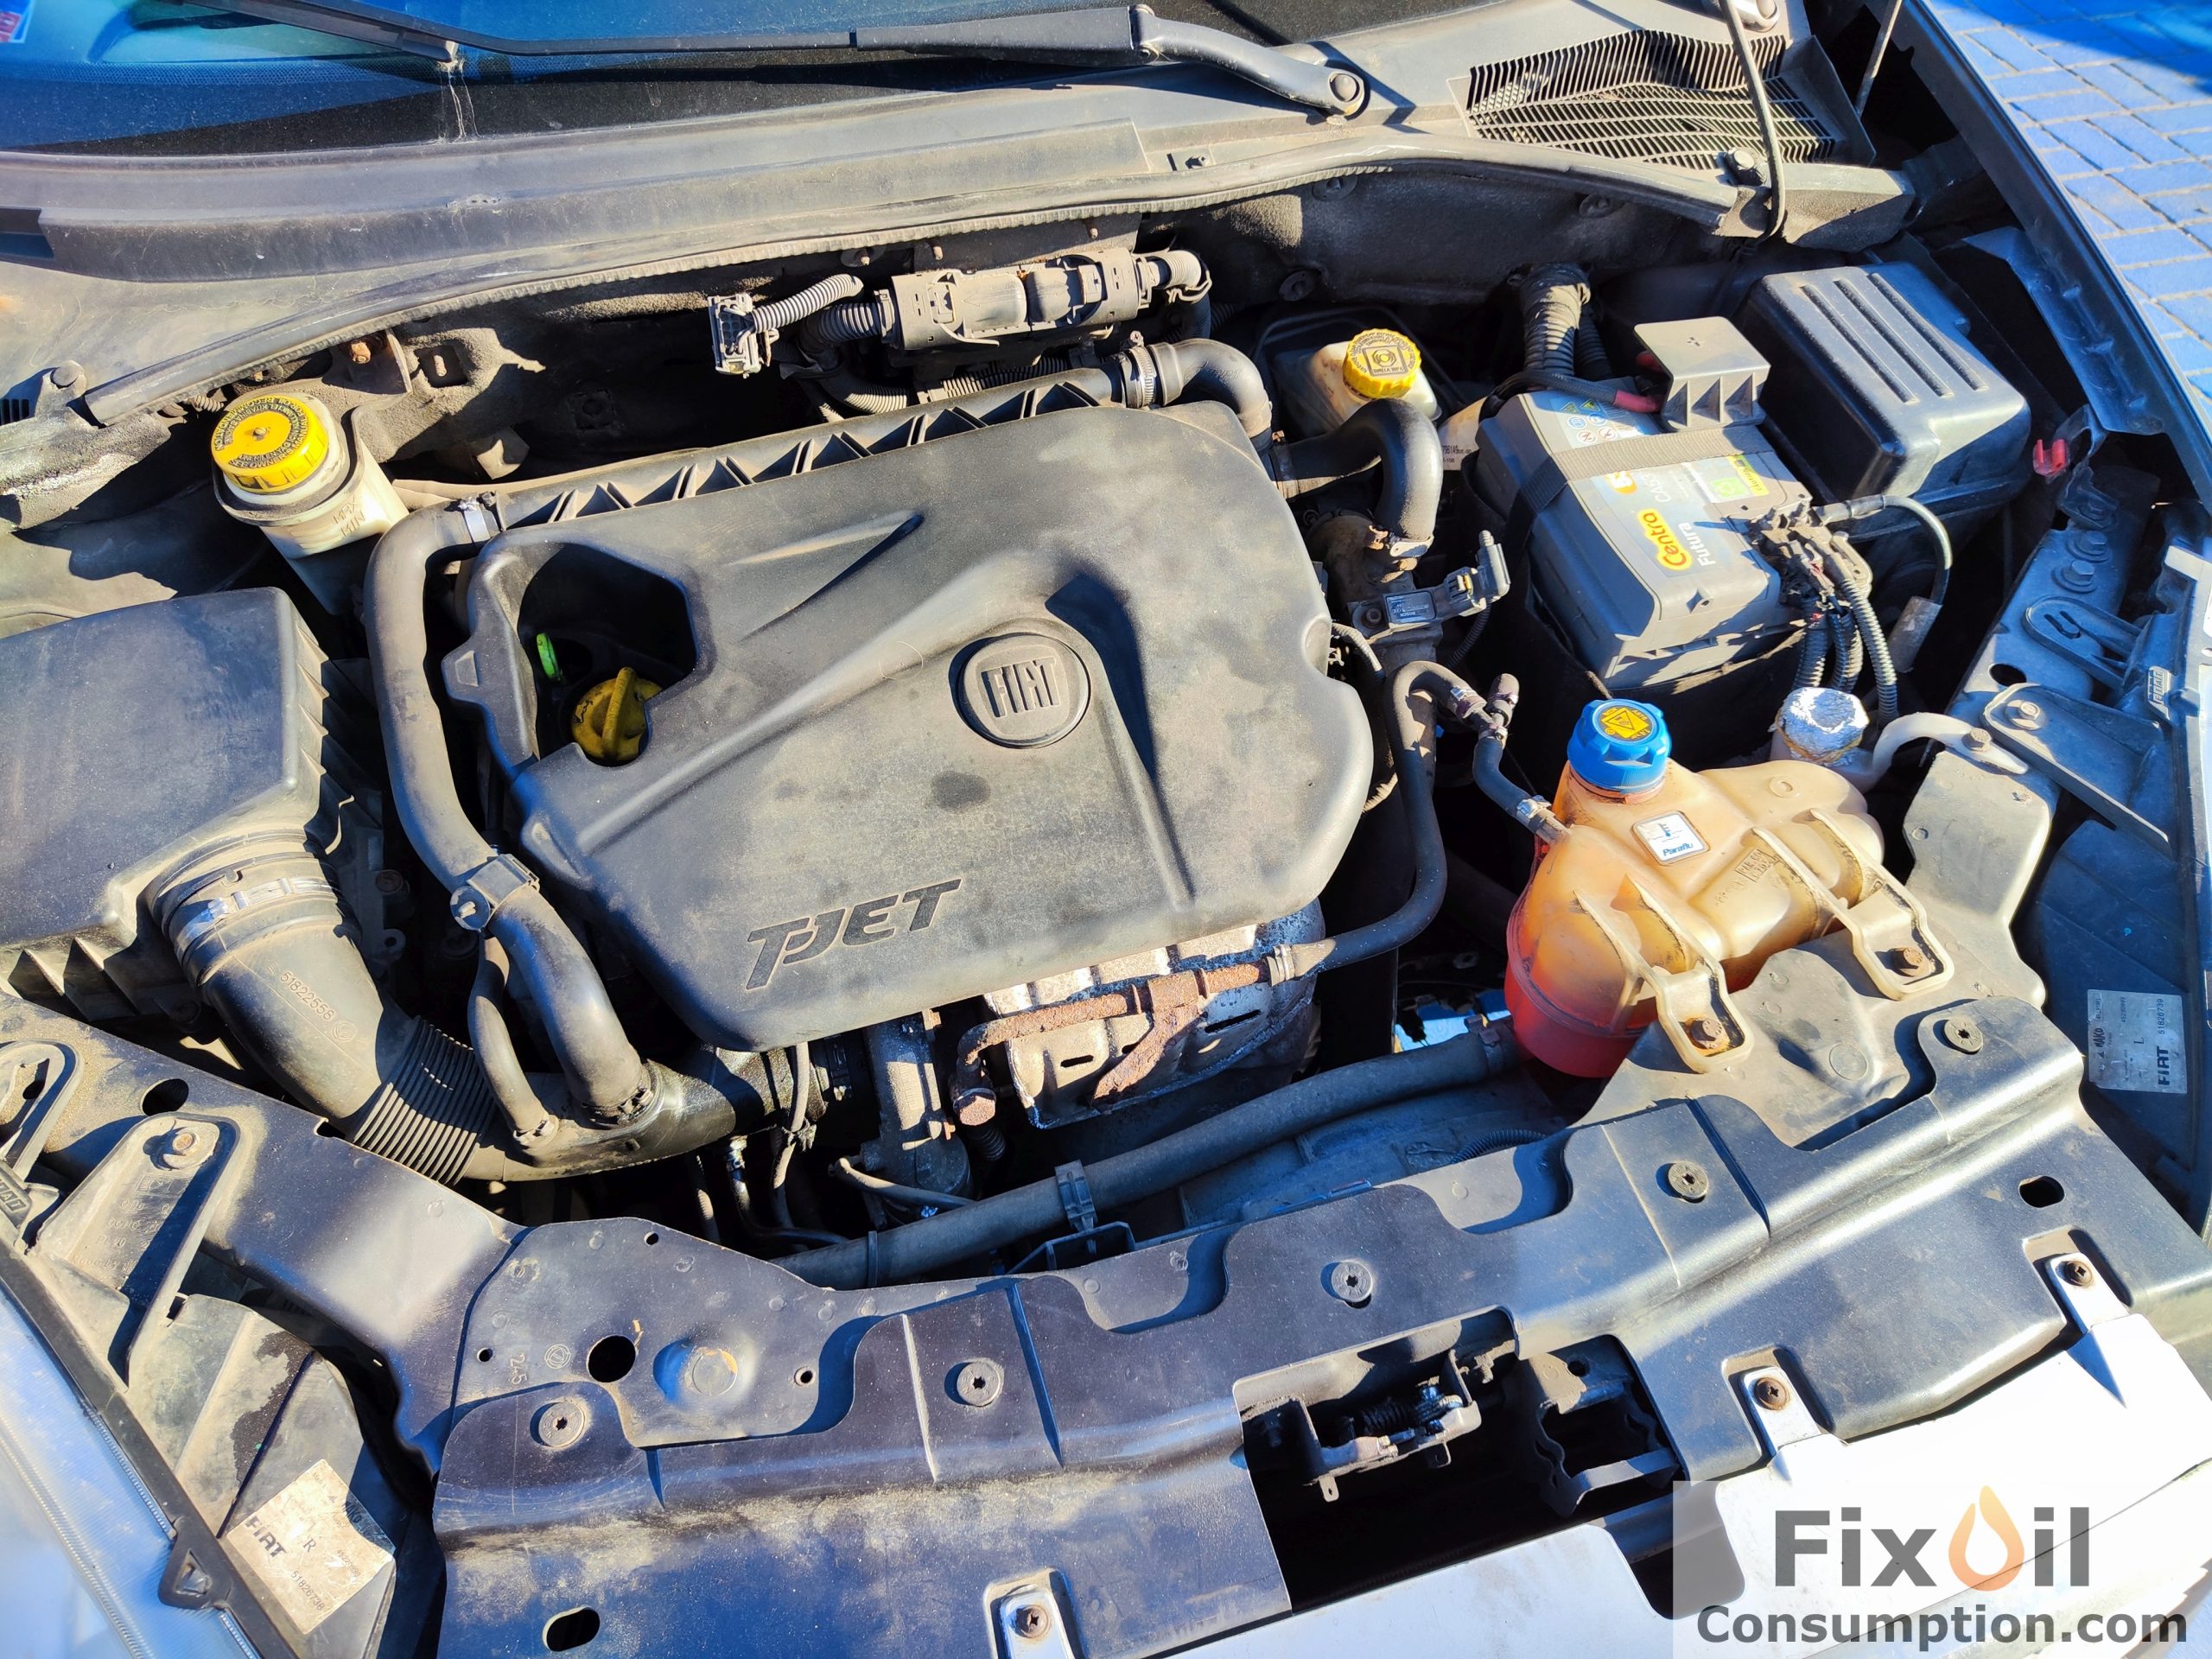
▲ Fiat Linea 1.4 T-Jet 120KM ▲

▲ VW Golf VI 1.6 BSE 102KM ▲
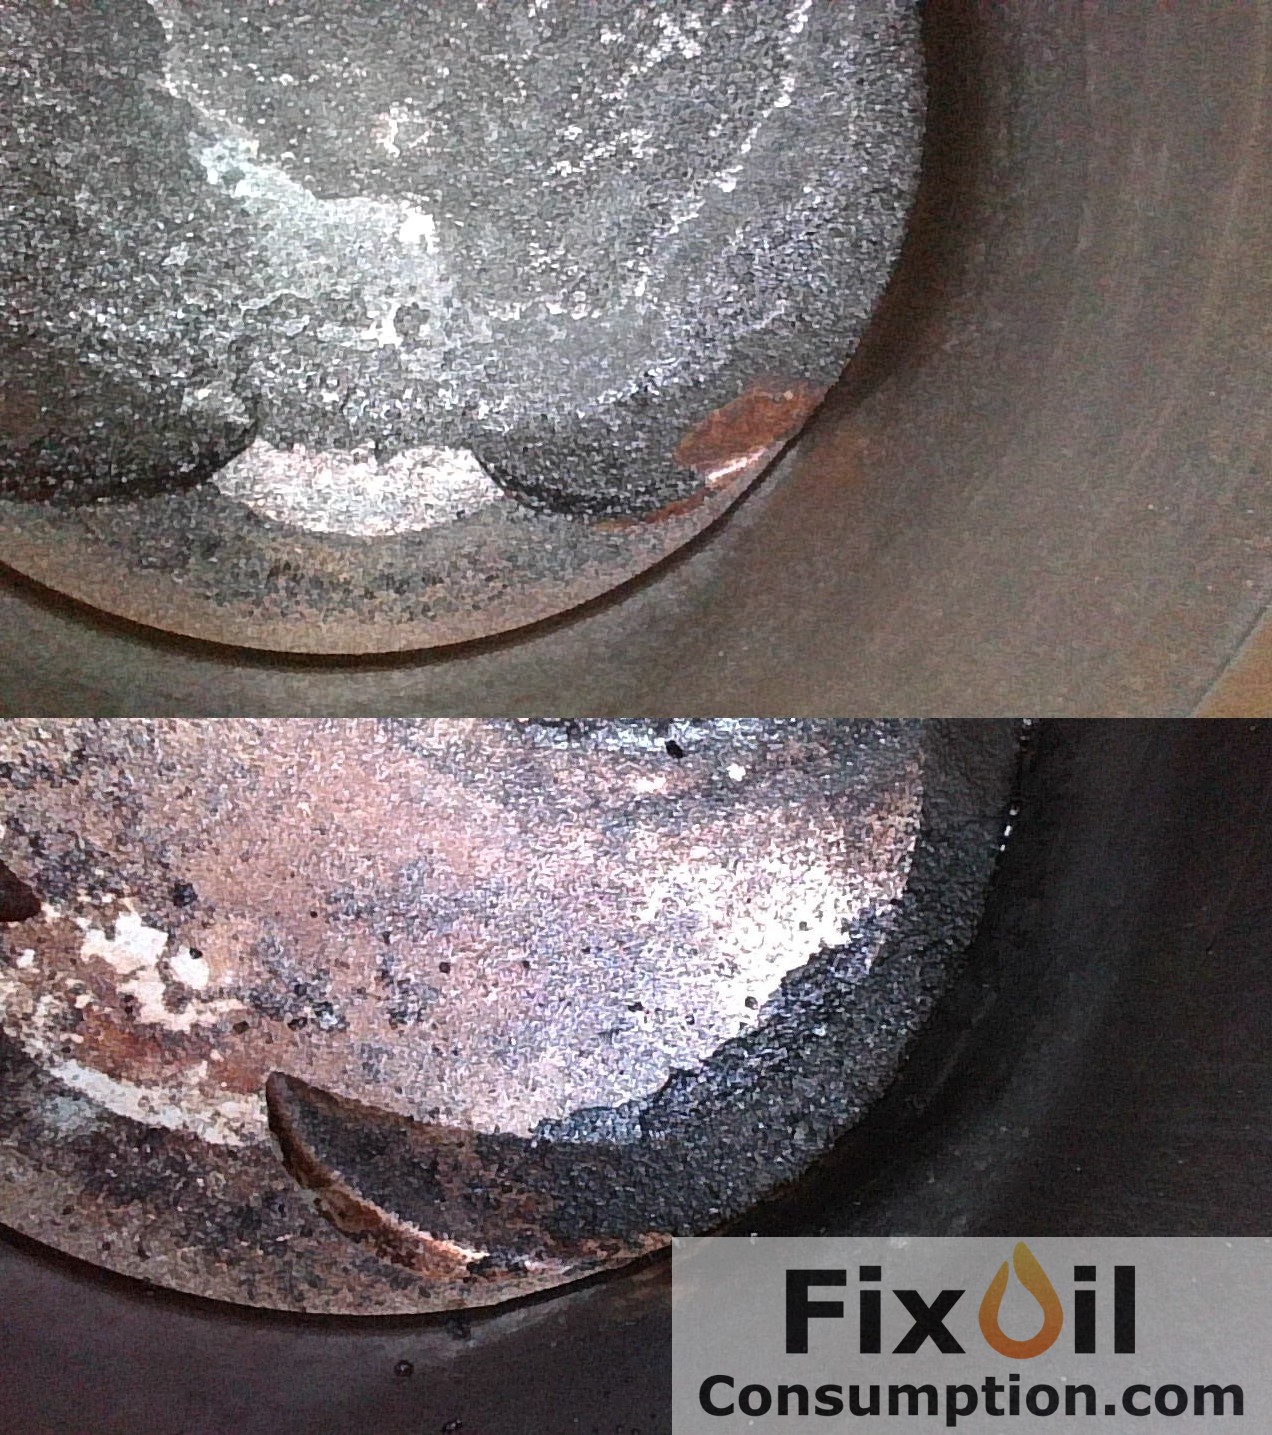
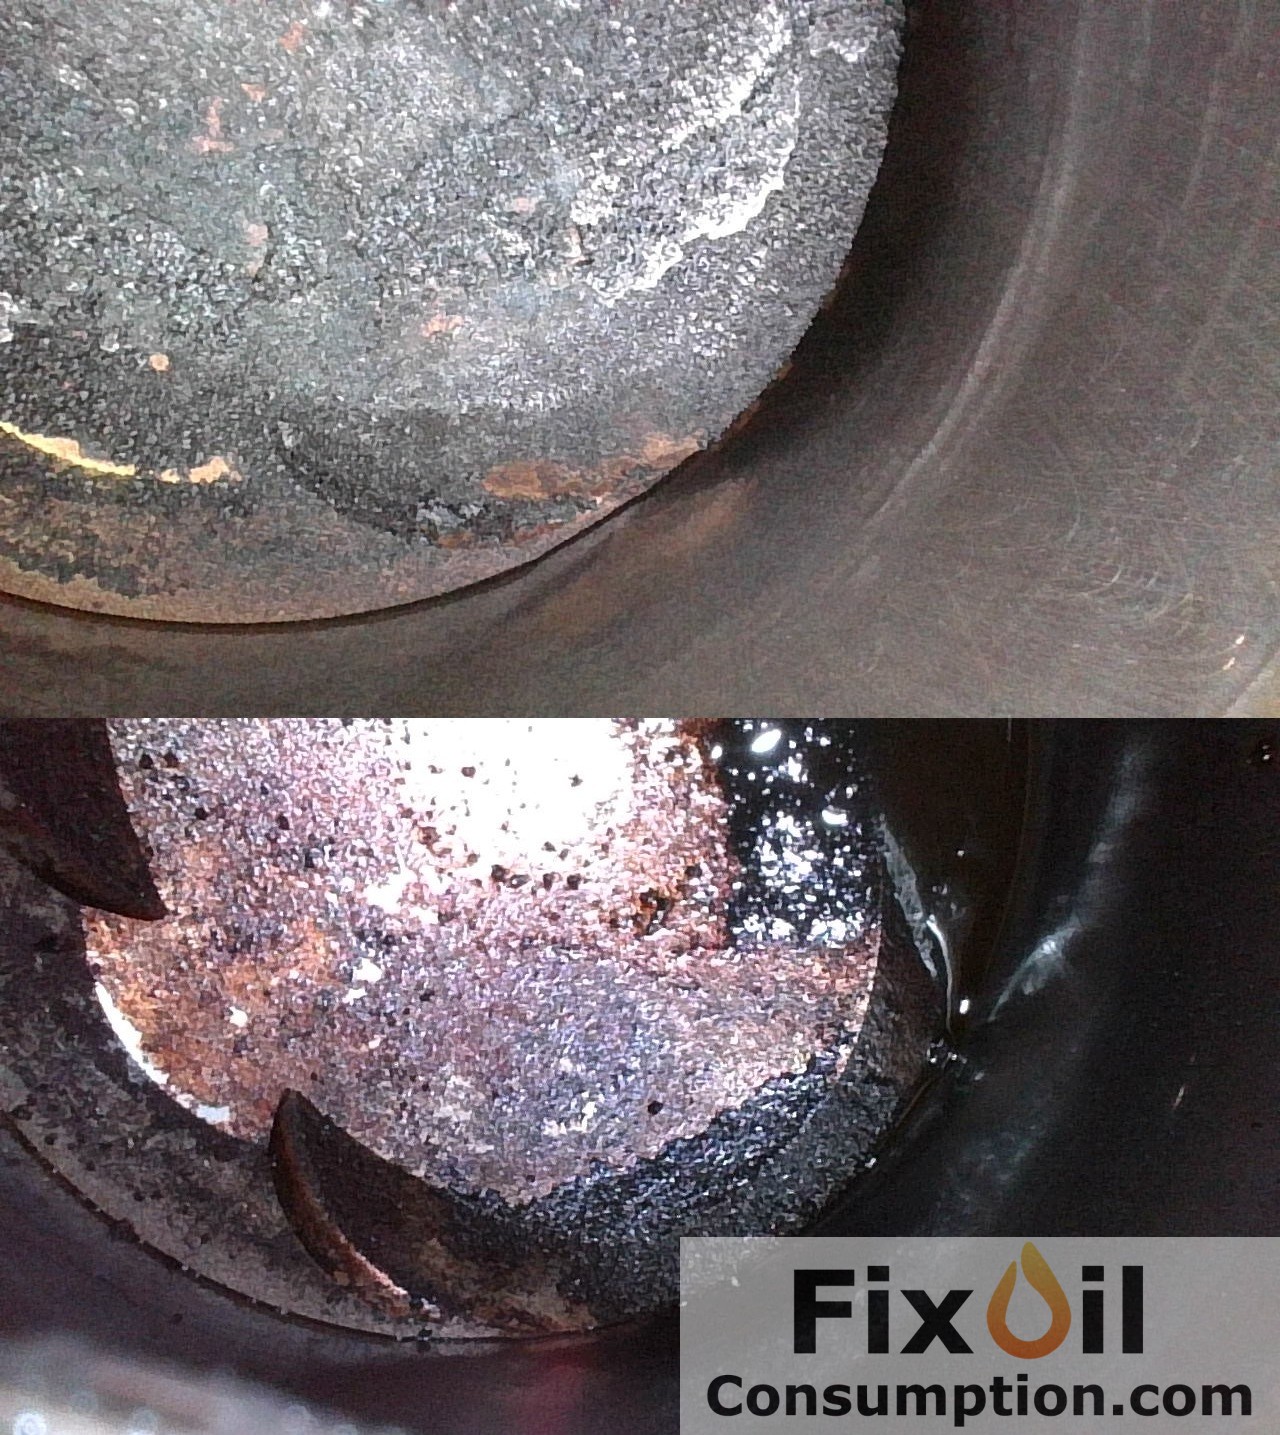
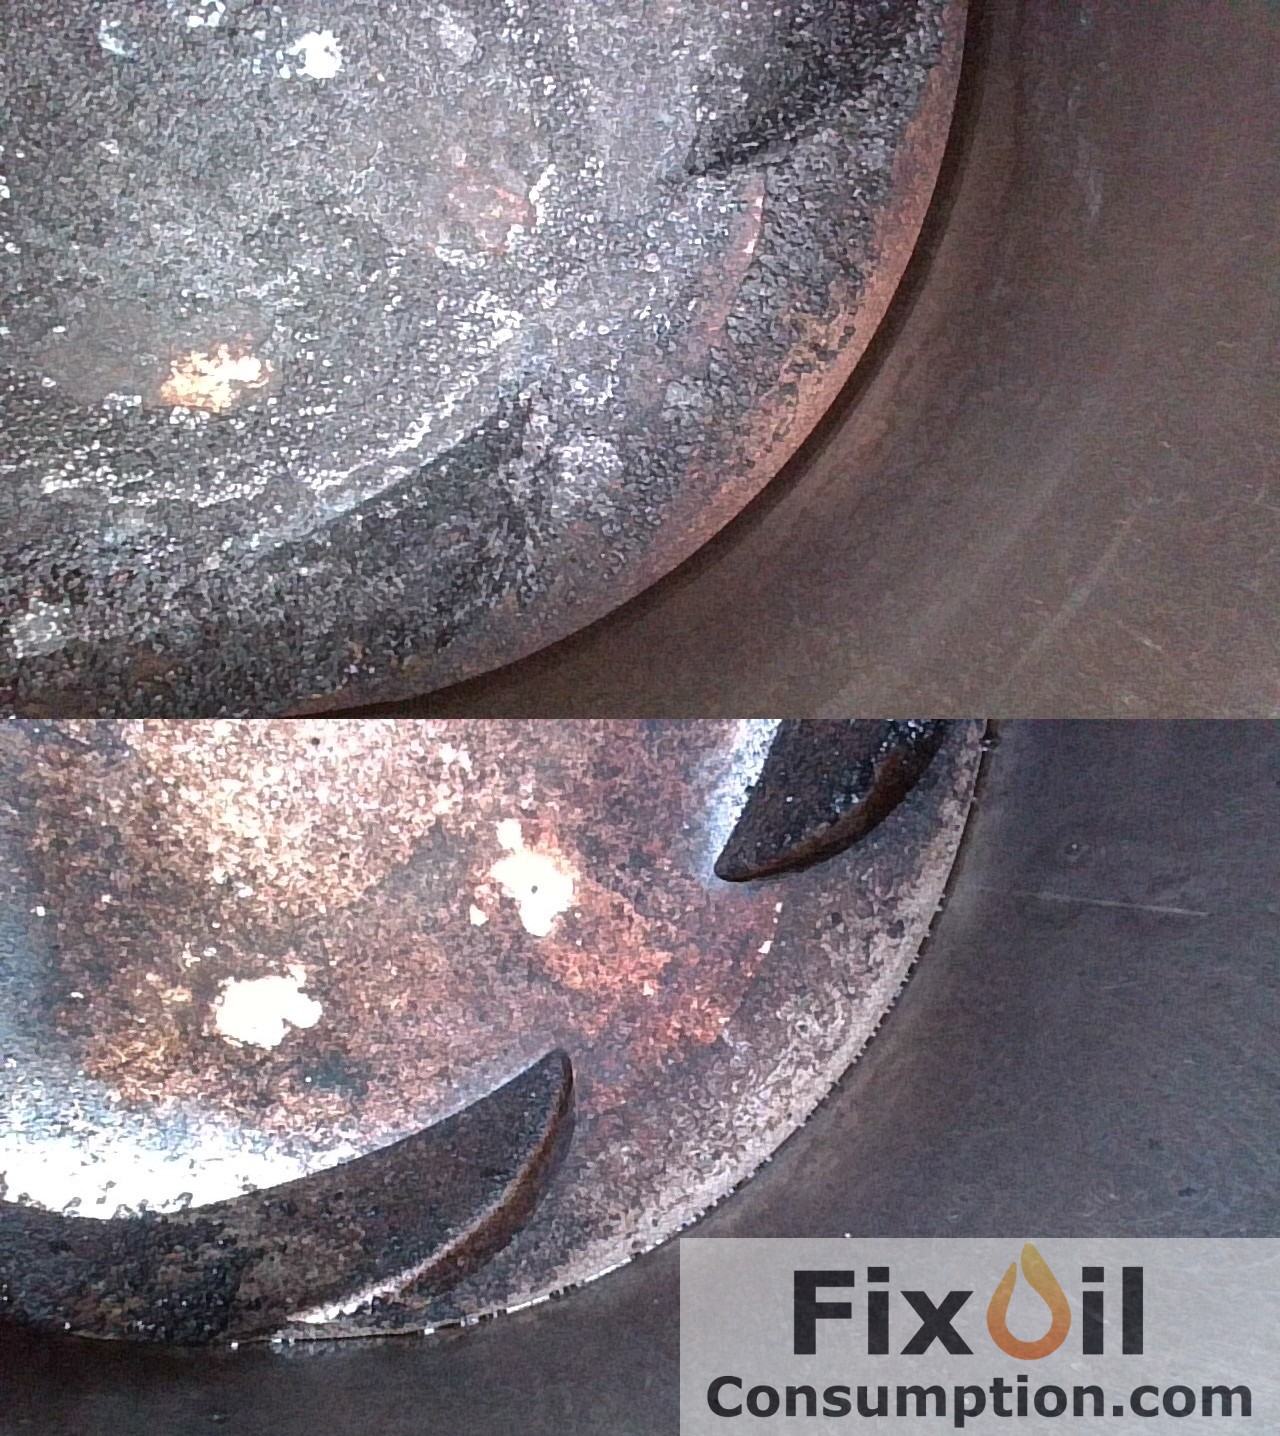
▲ Audi A5 1.8 CJEB 170KM ▲
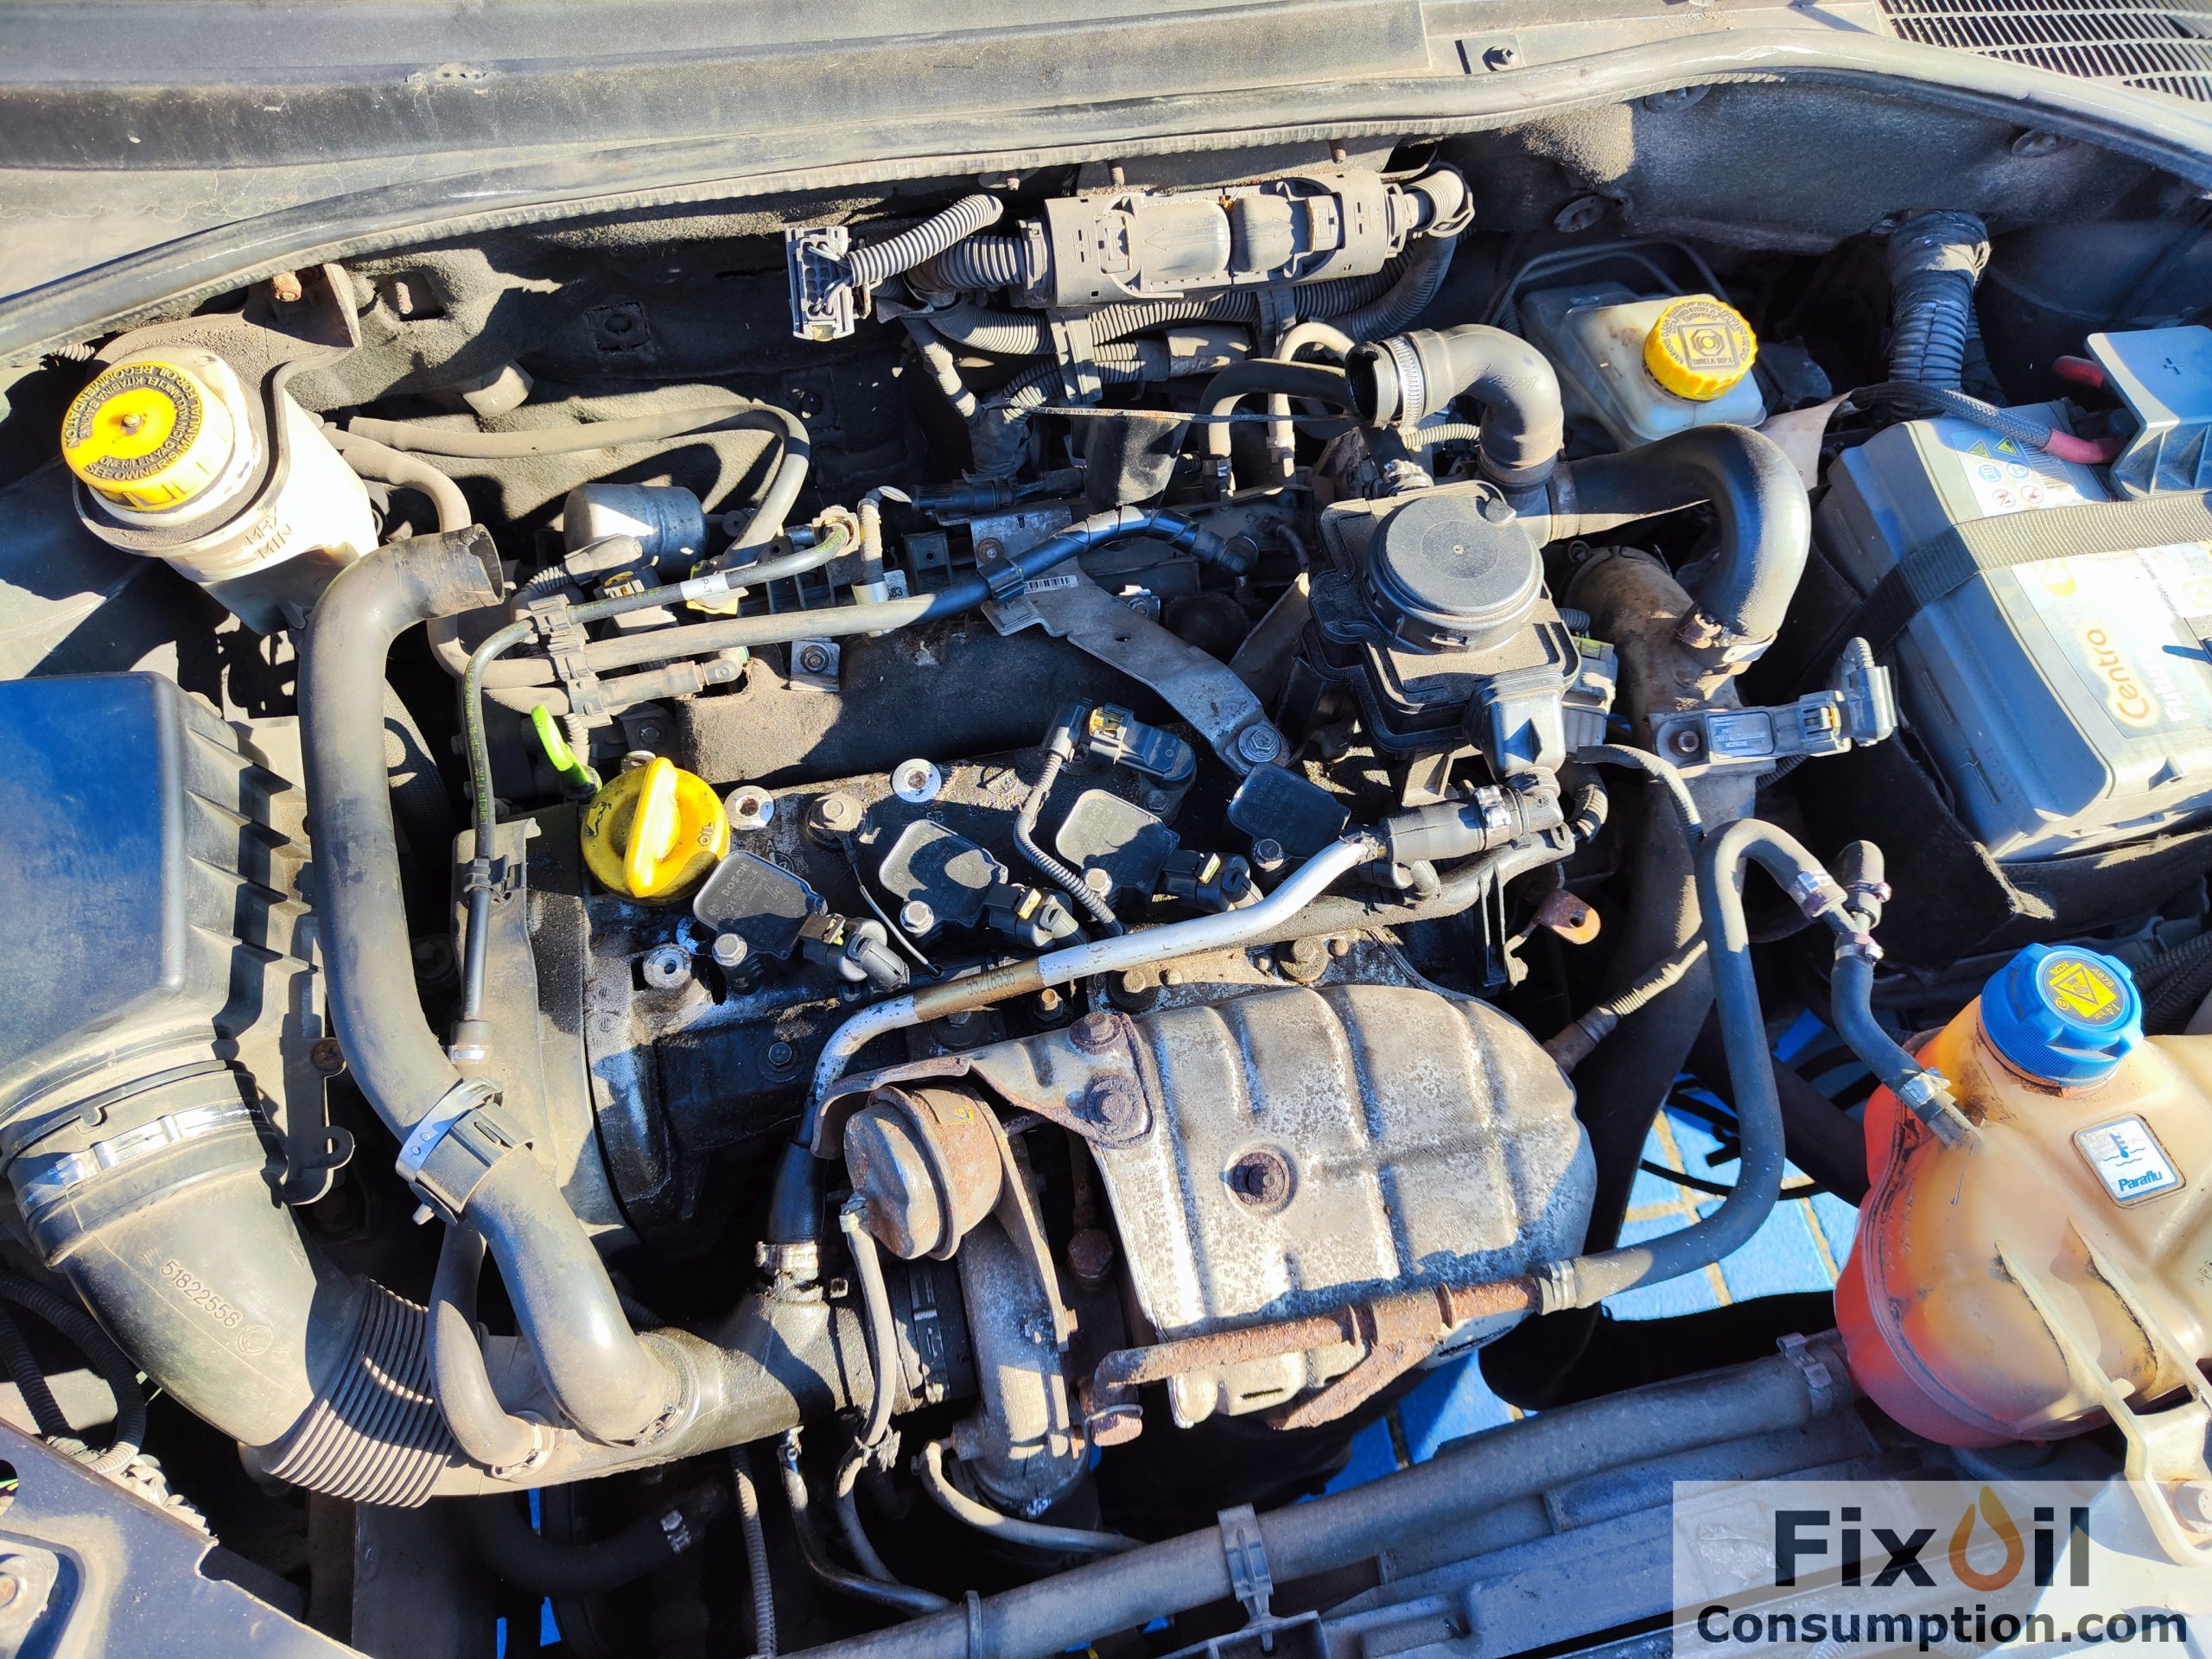
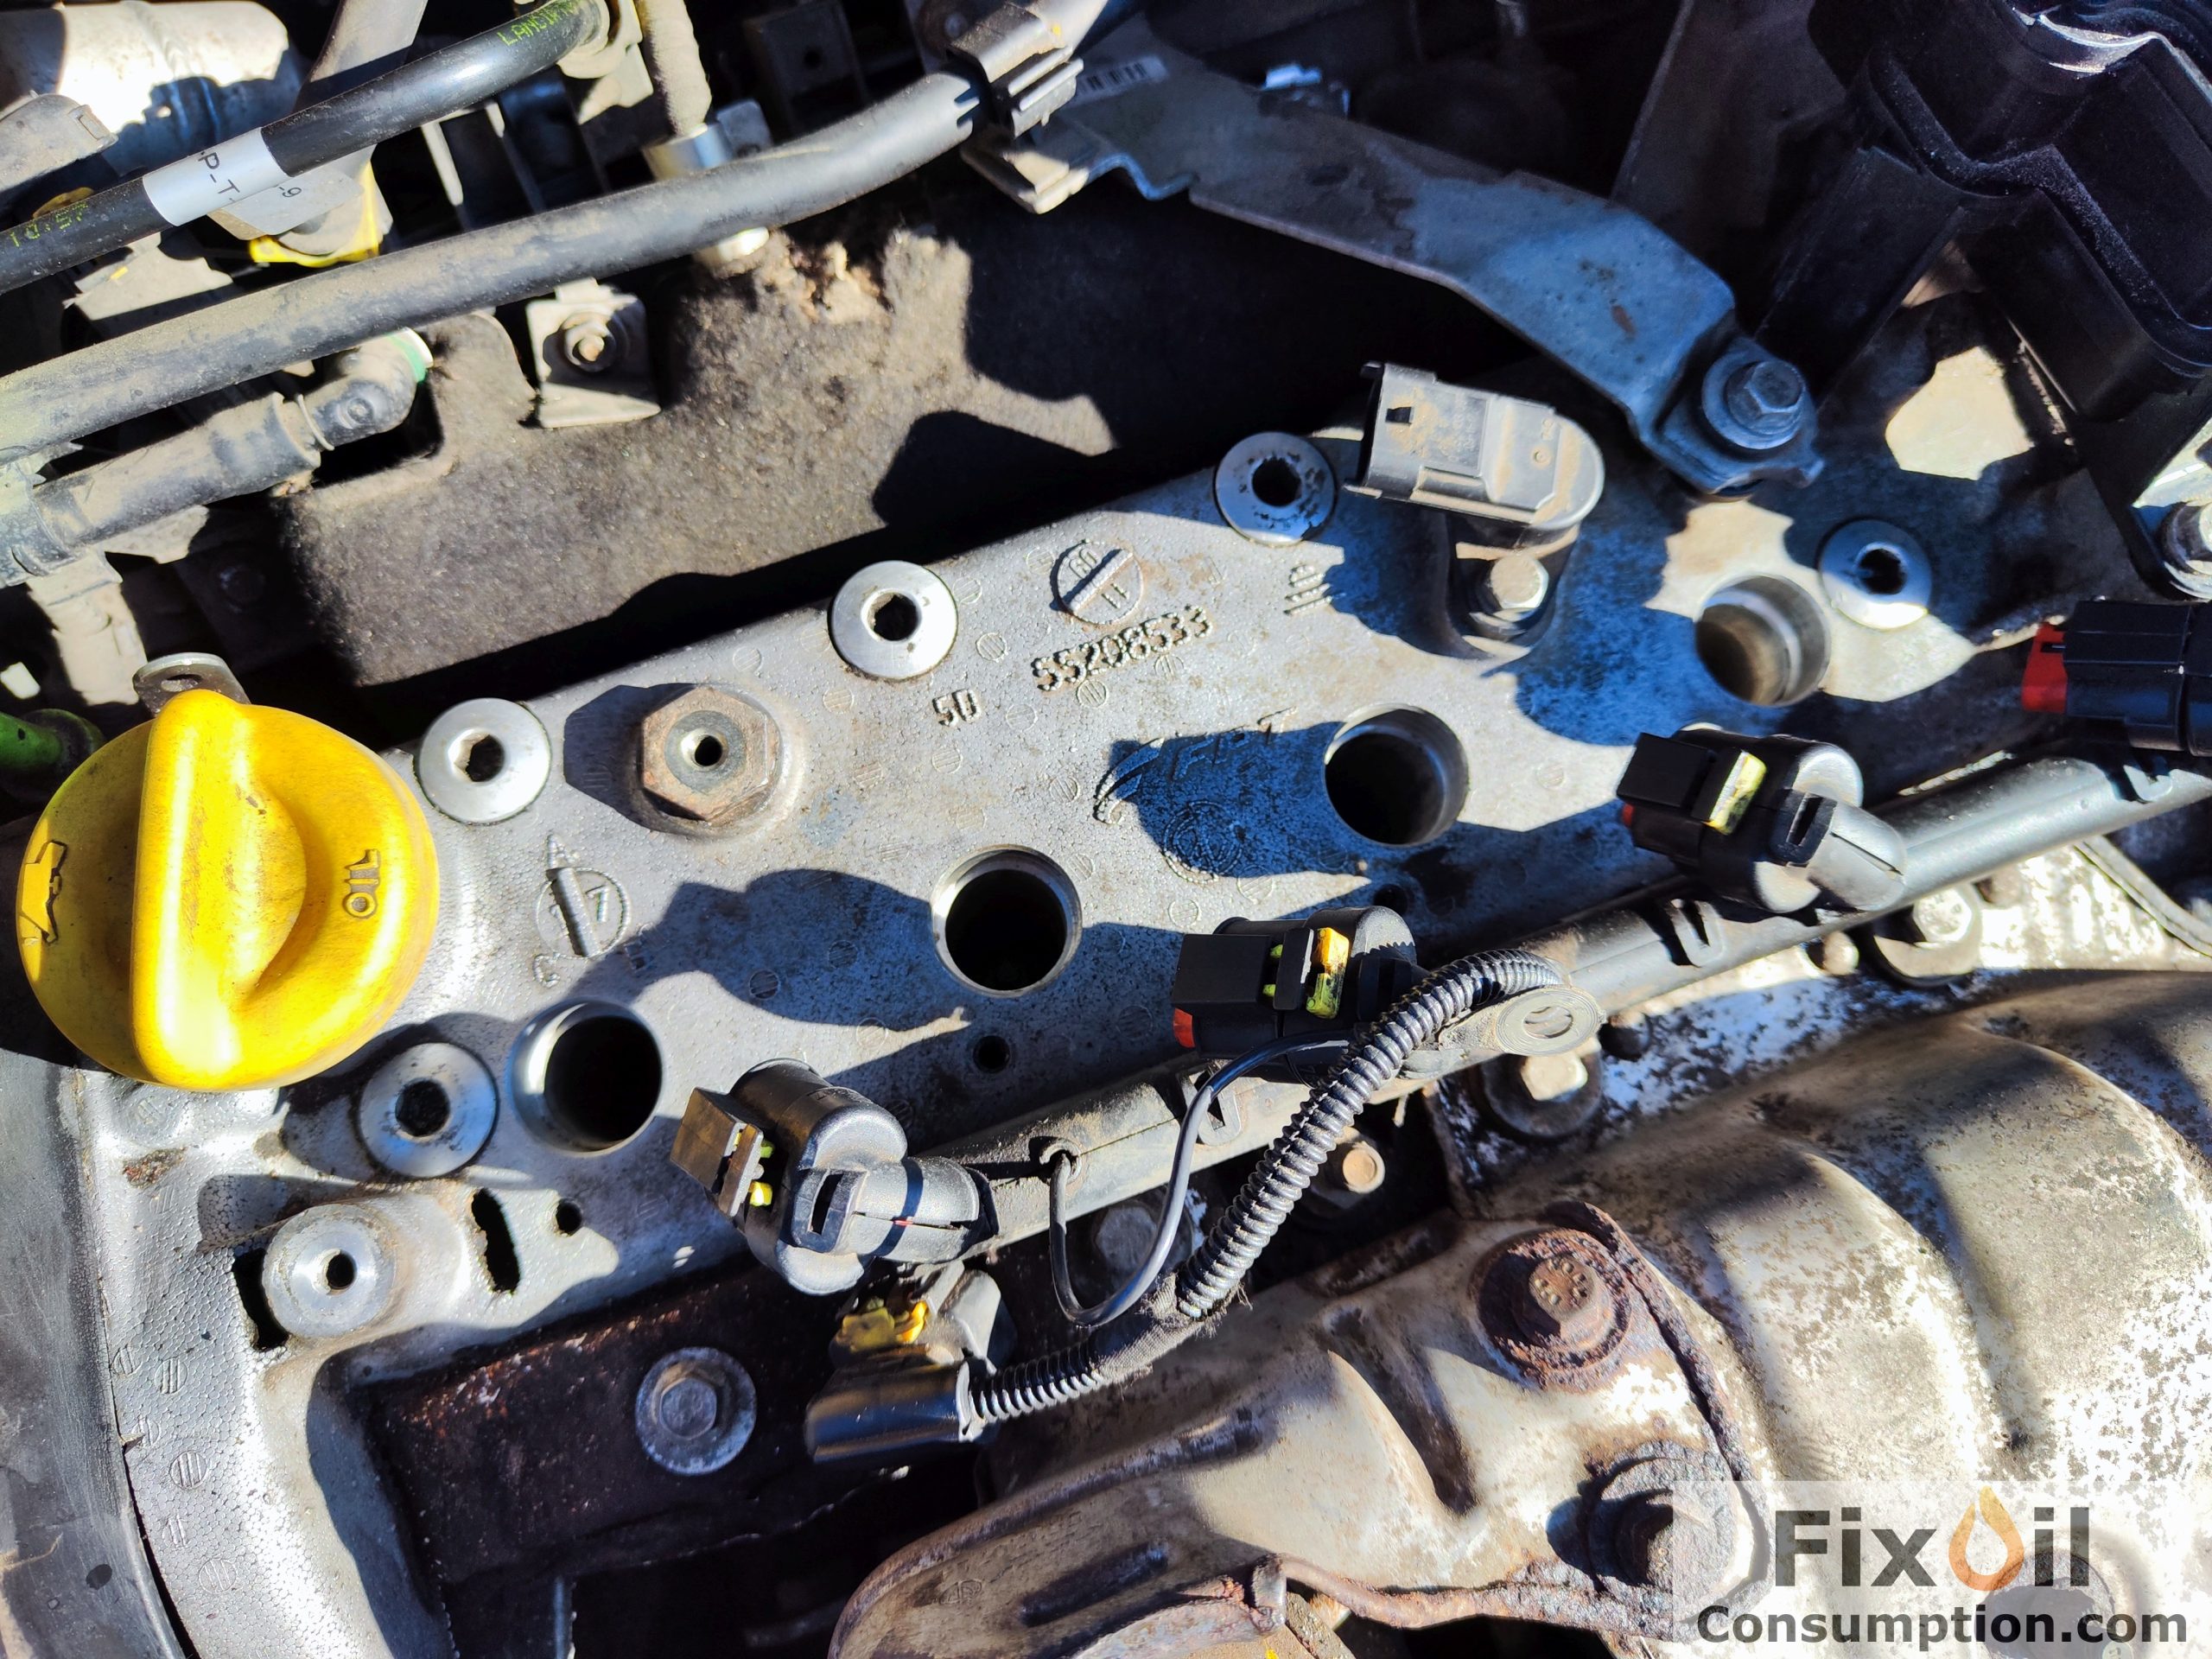
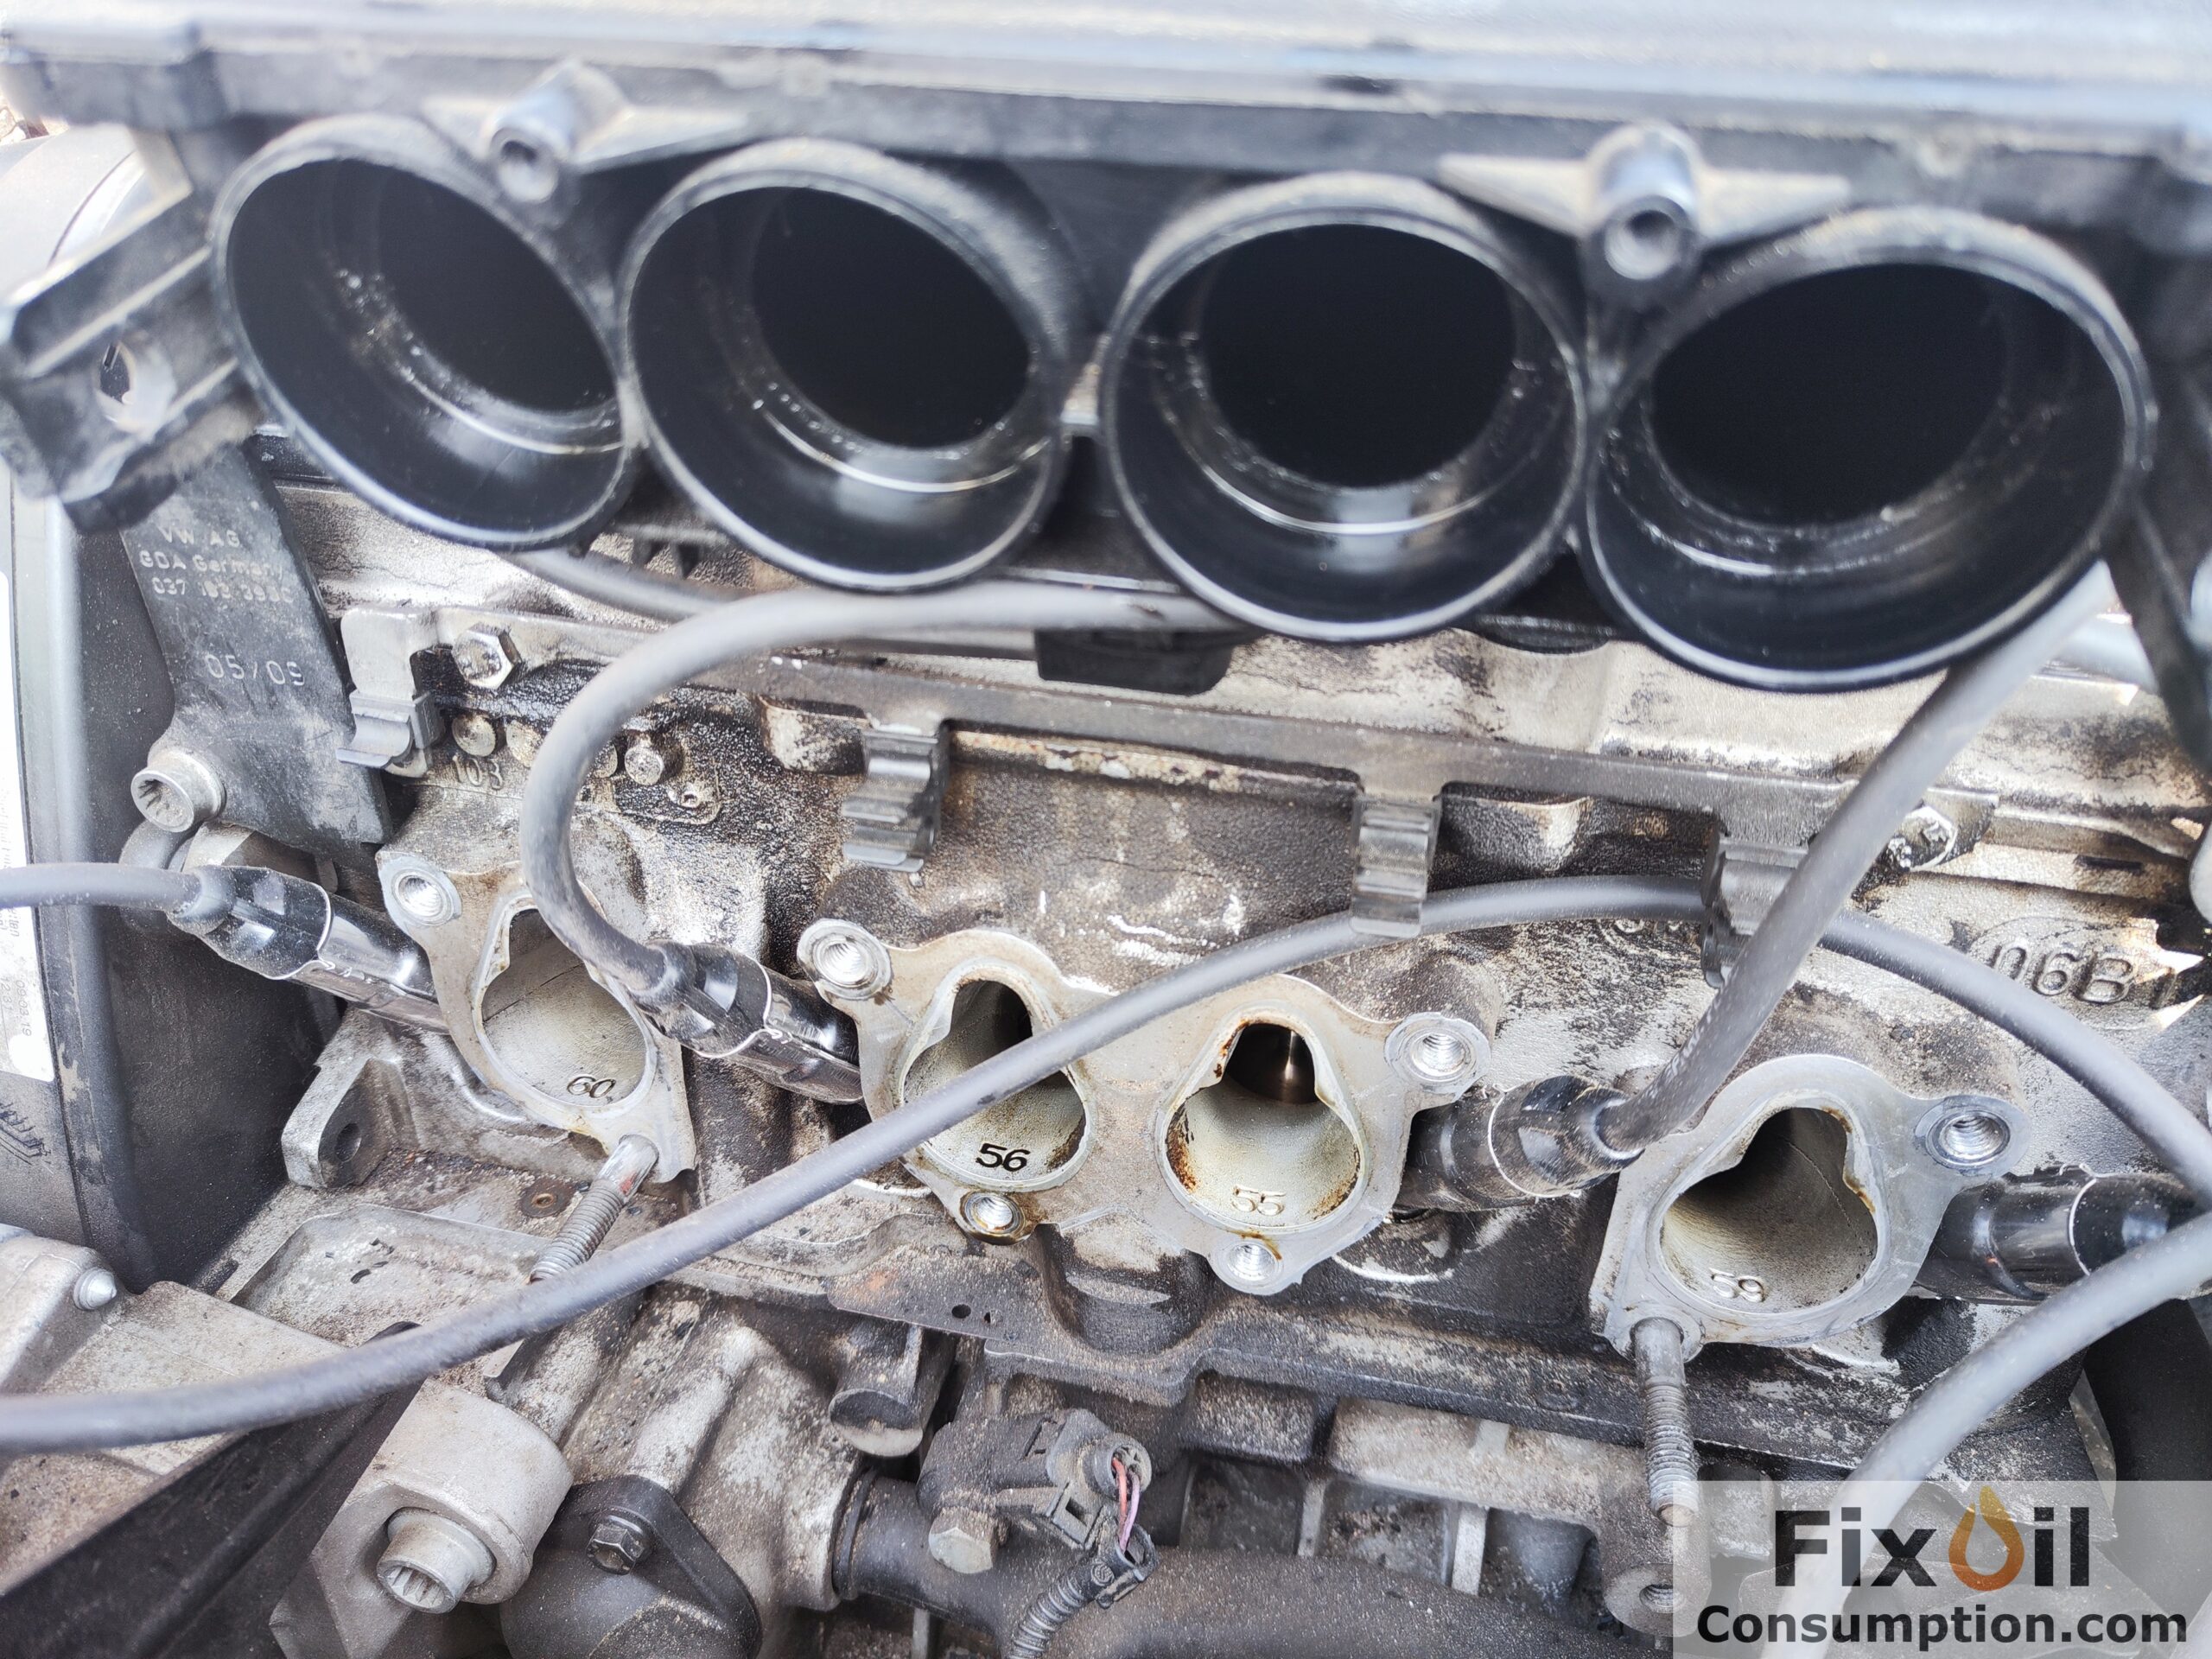
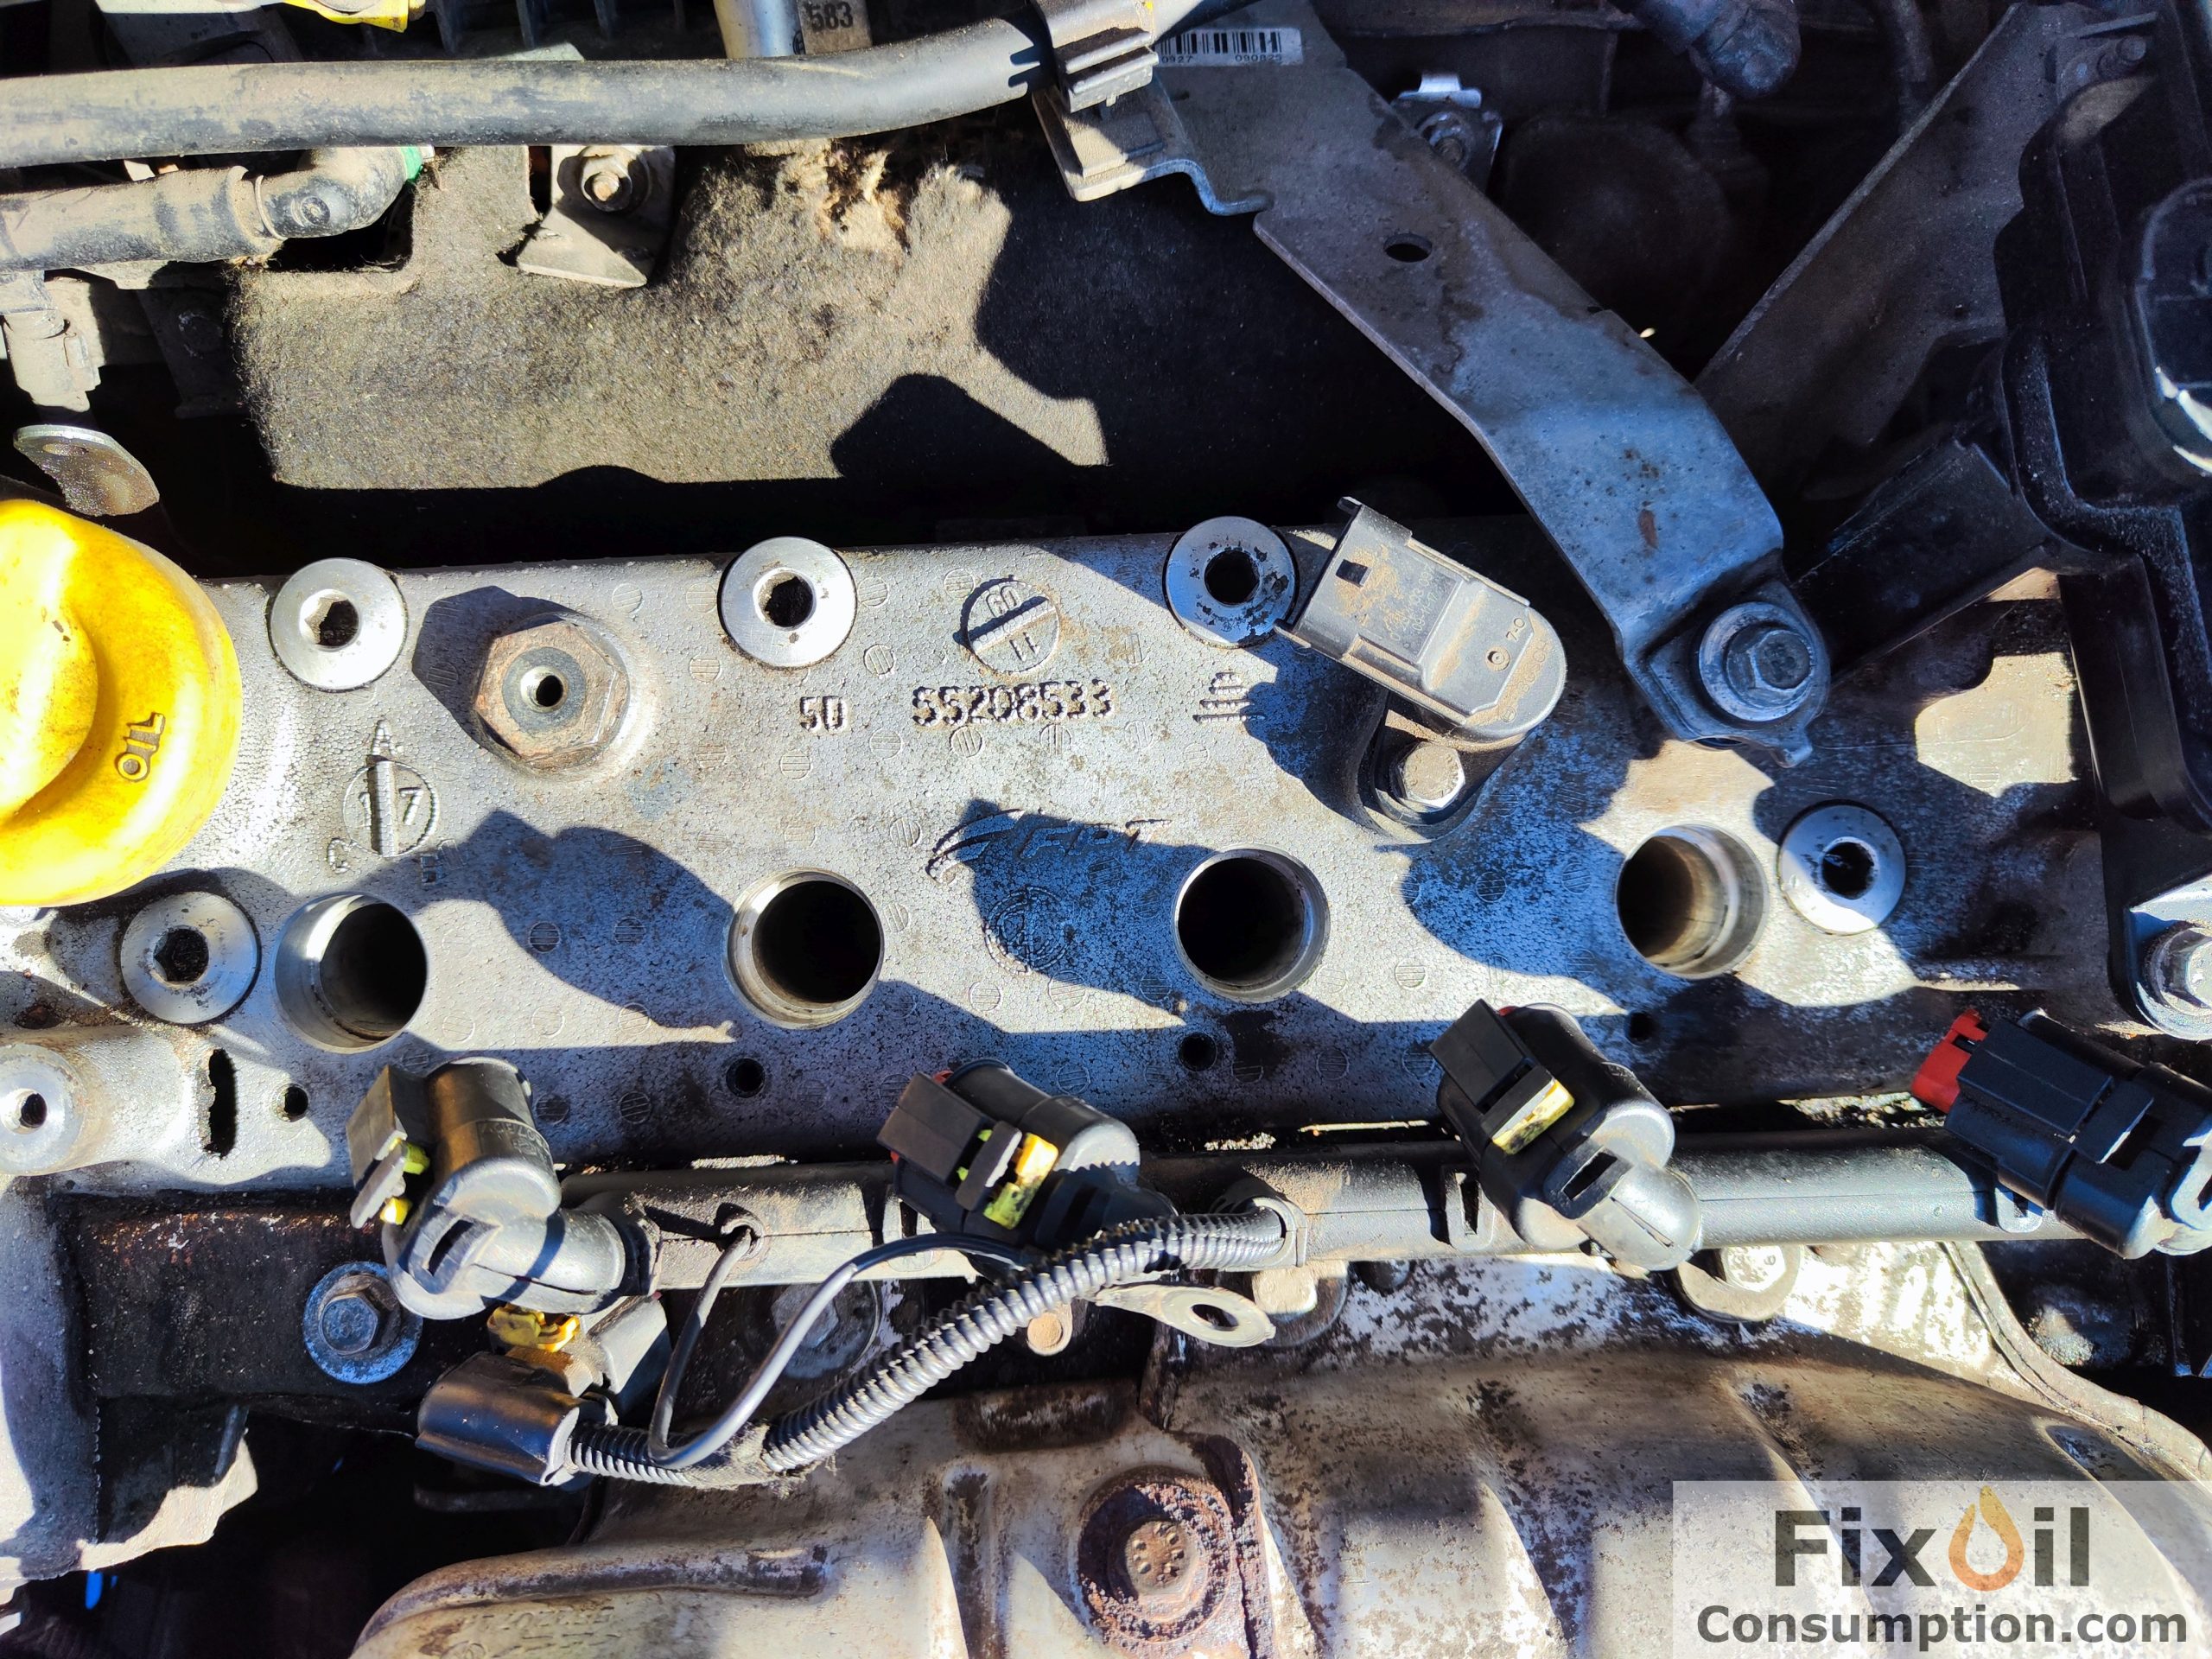
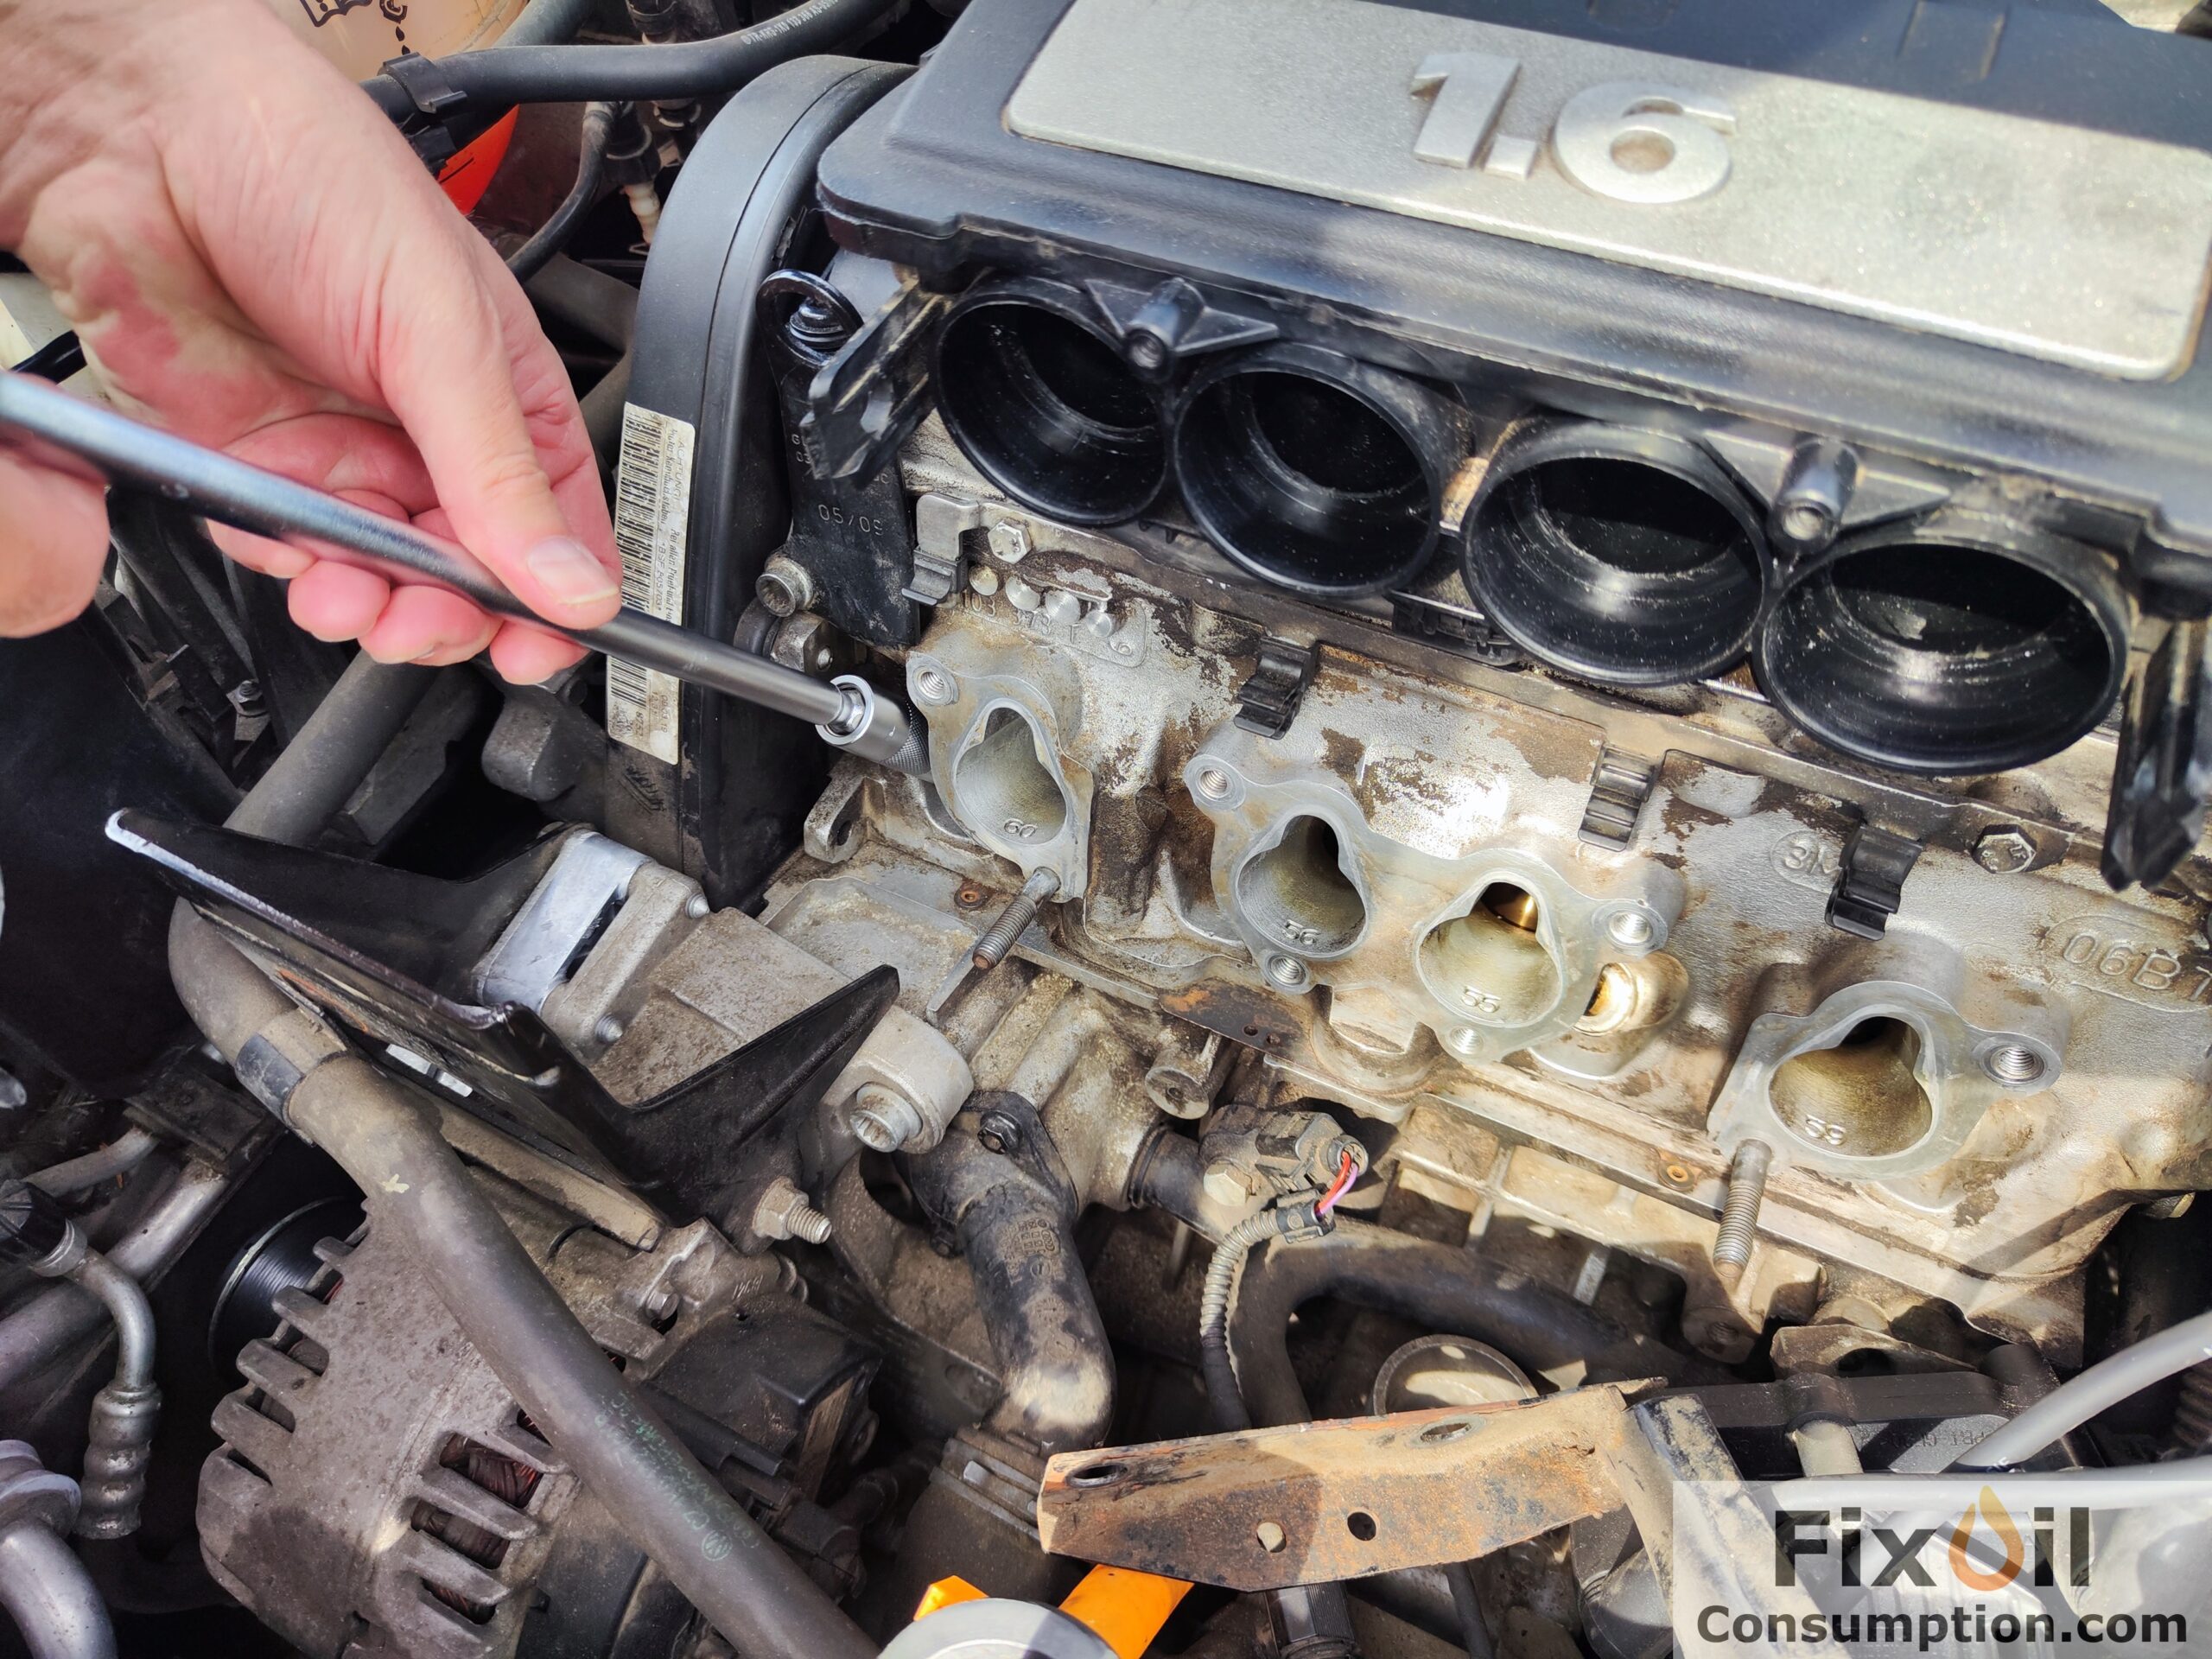
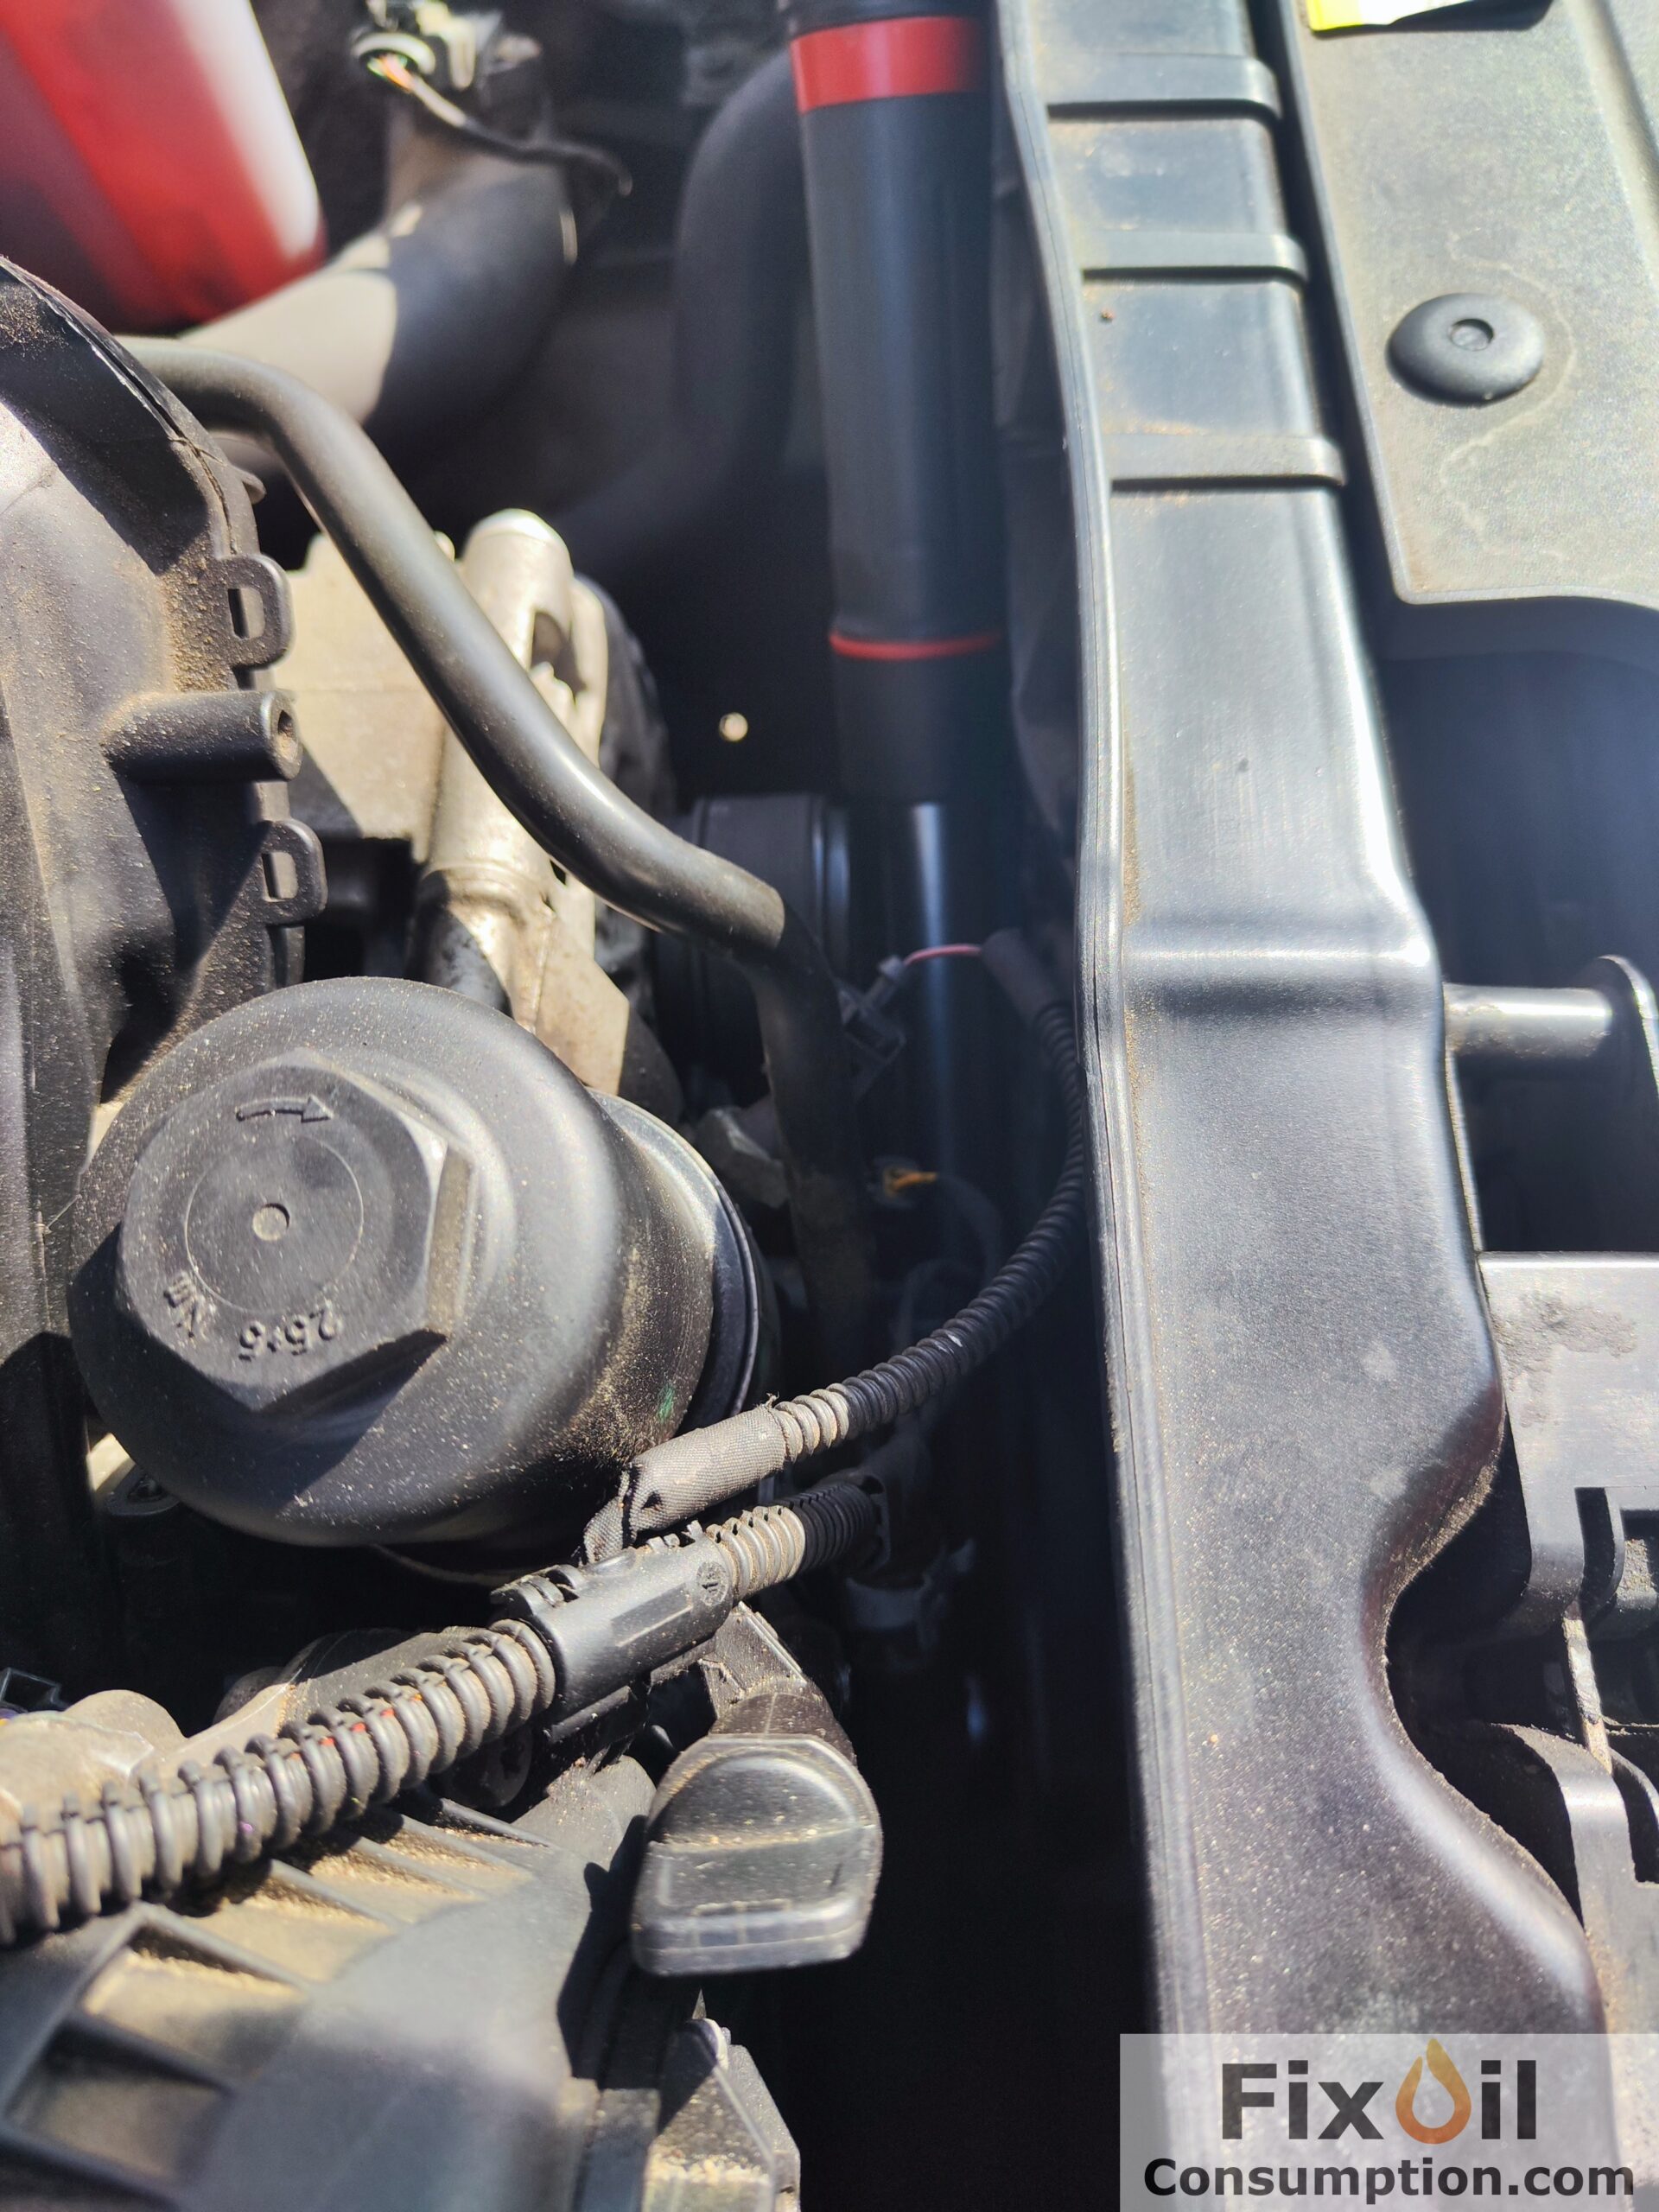
Remove the Spark Plugs
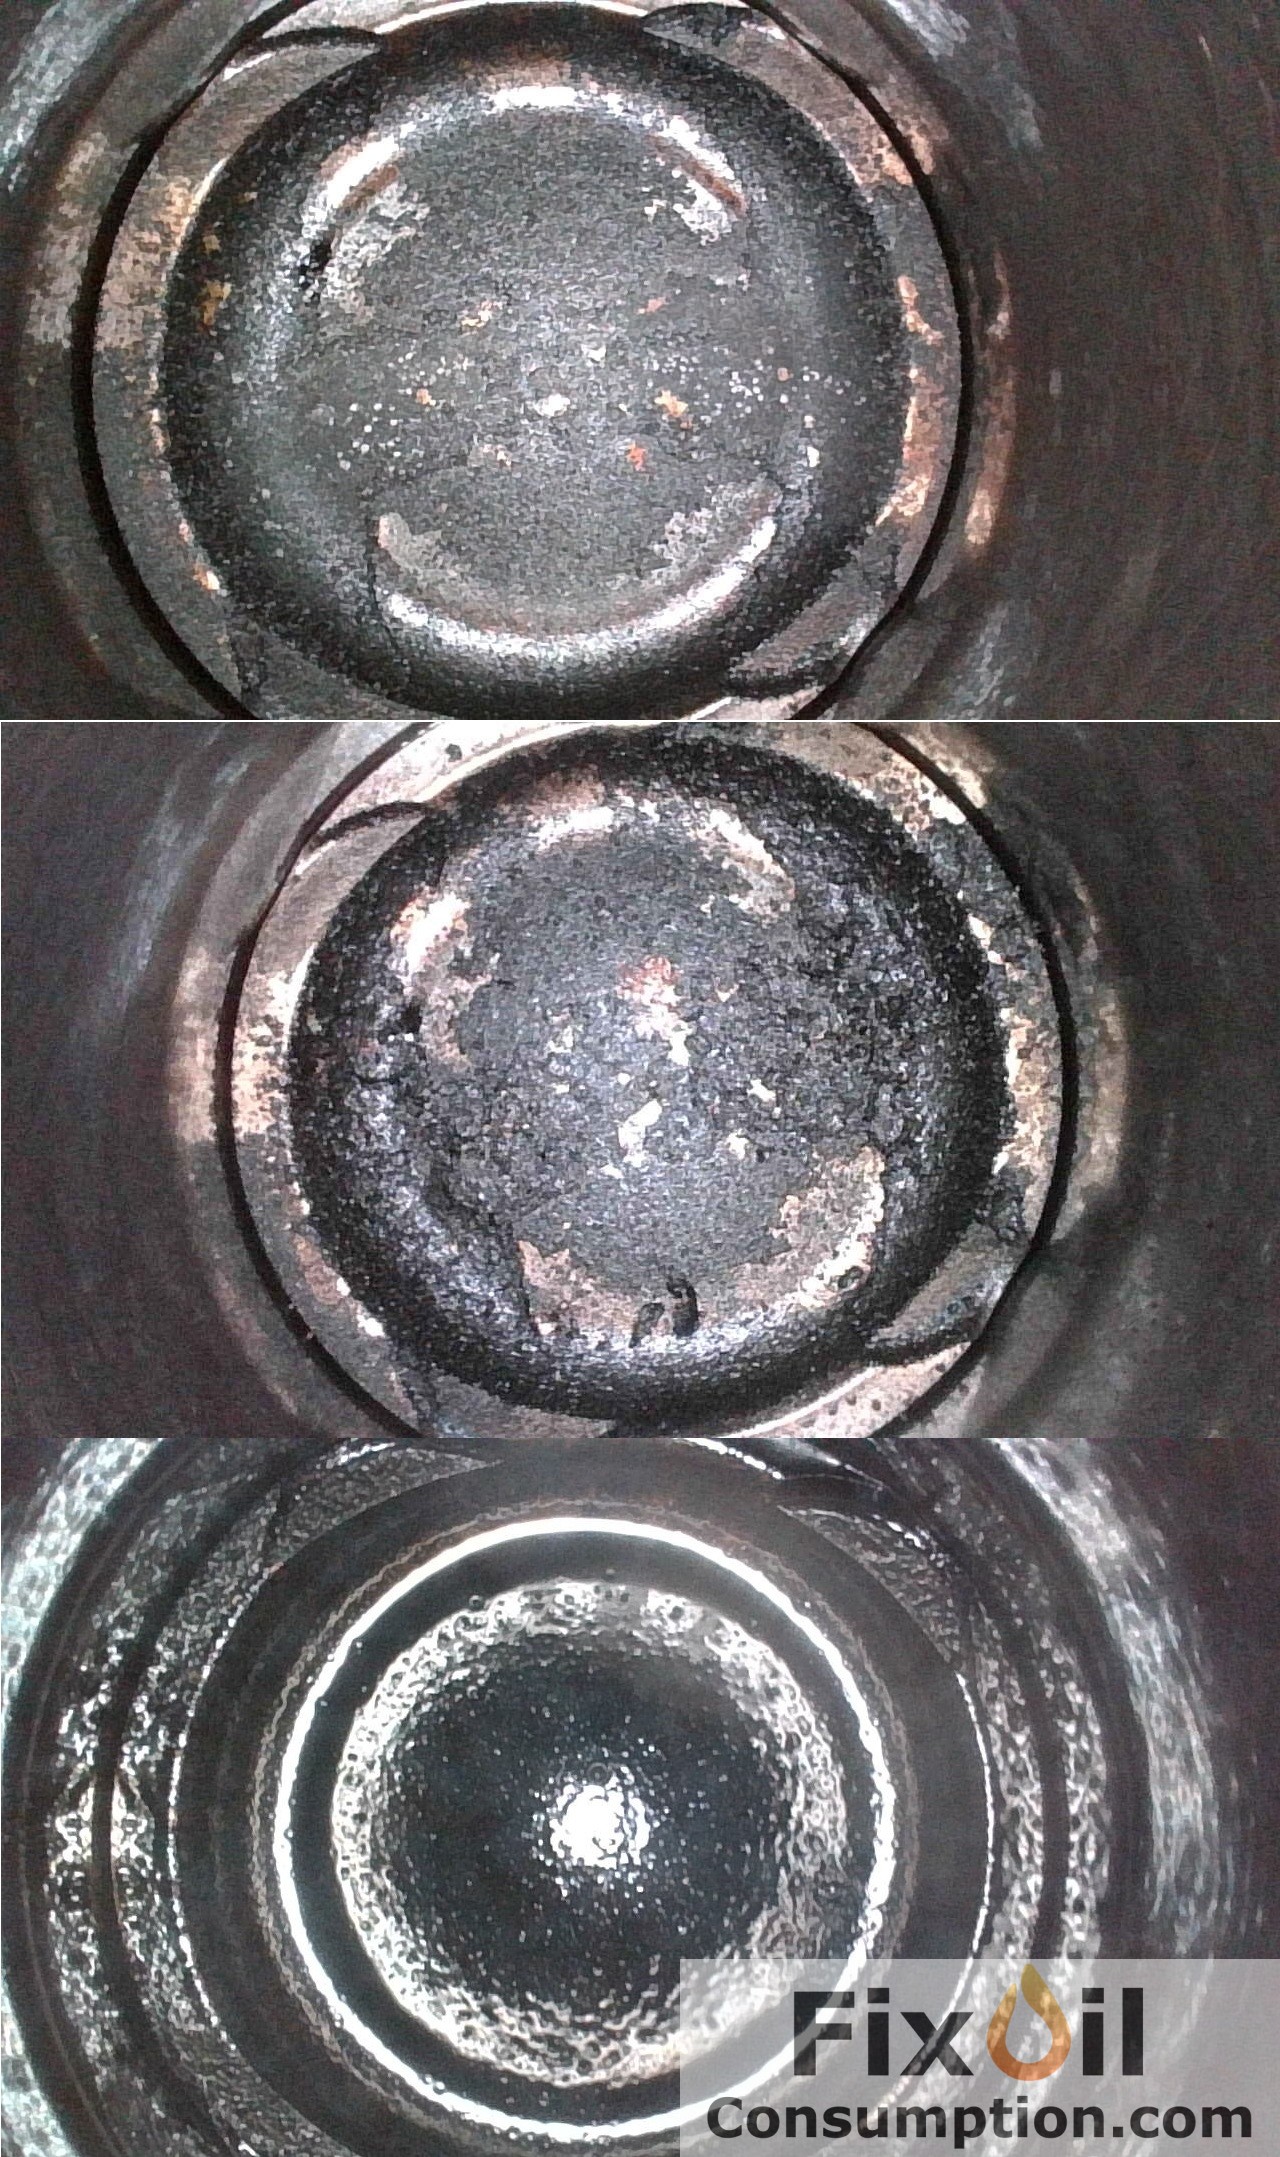
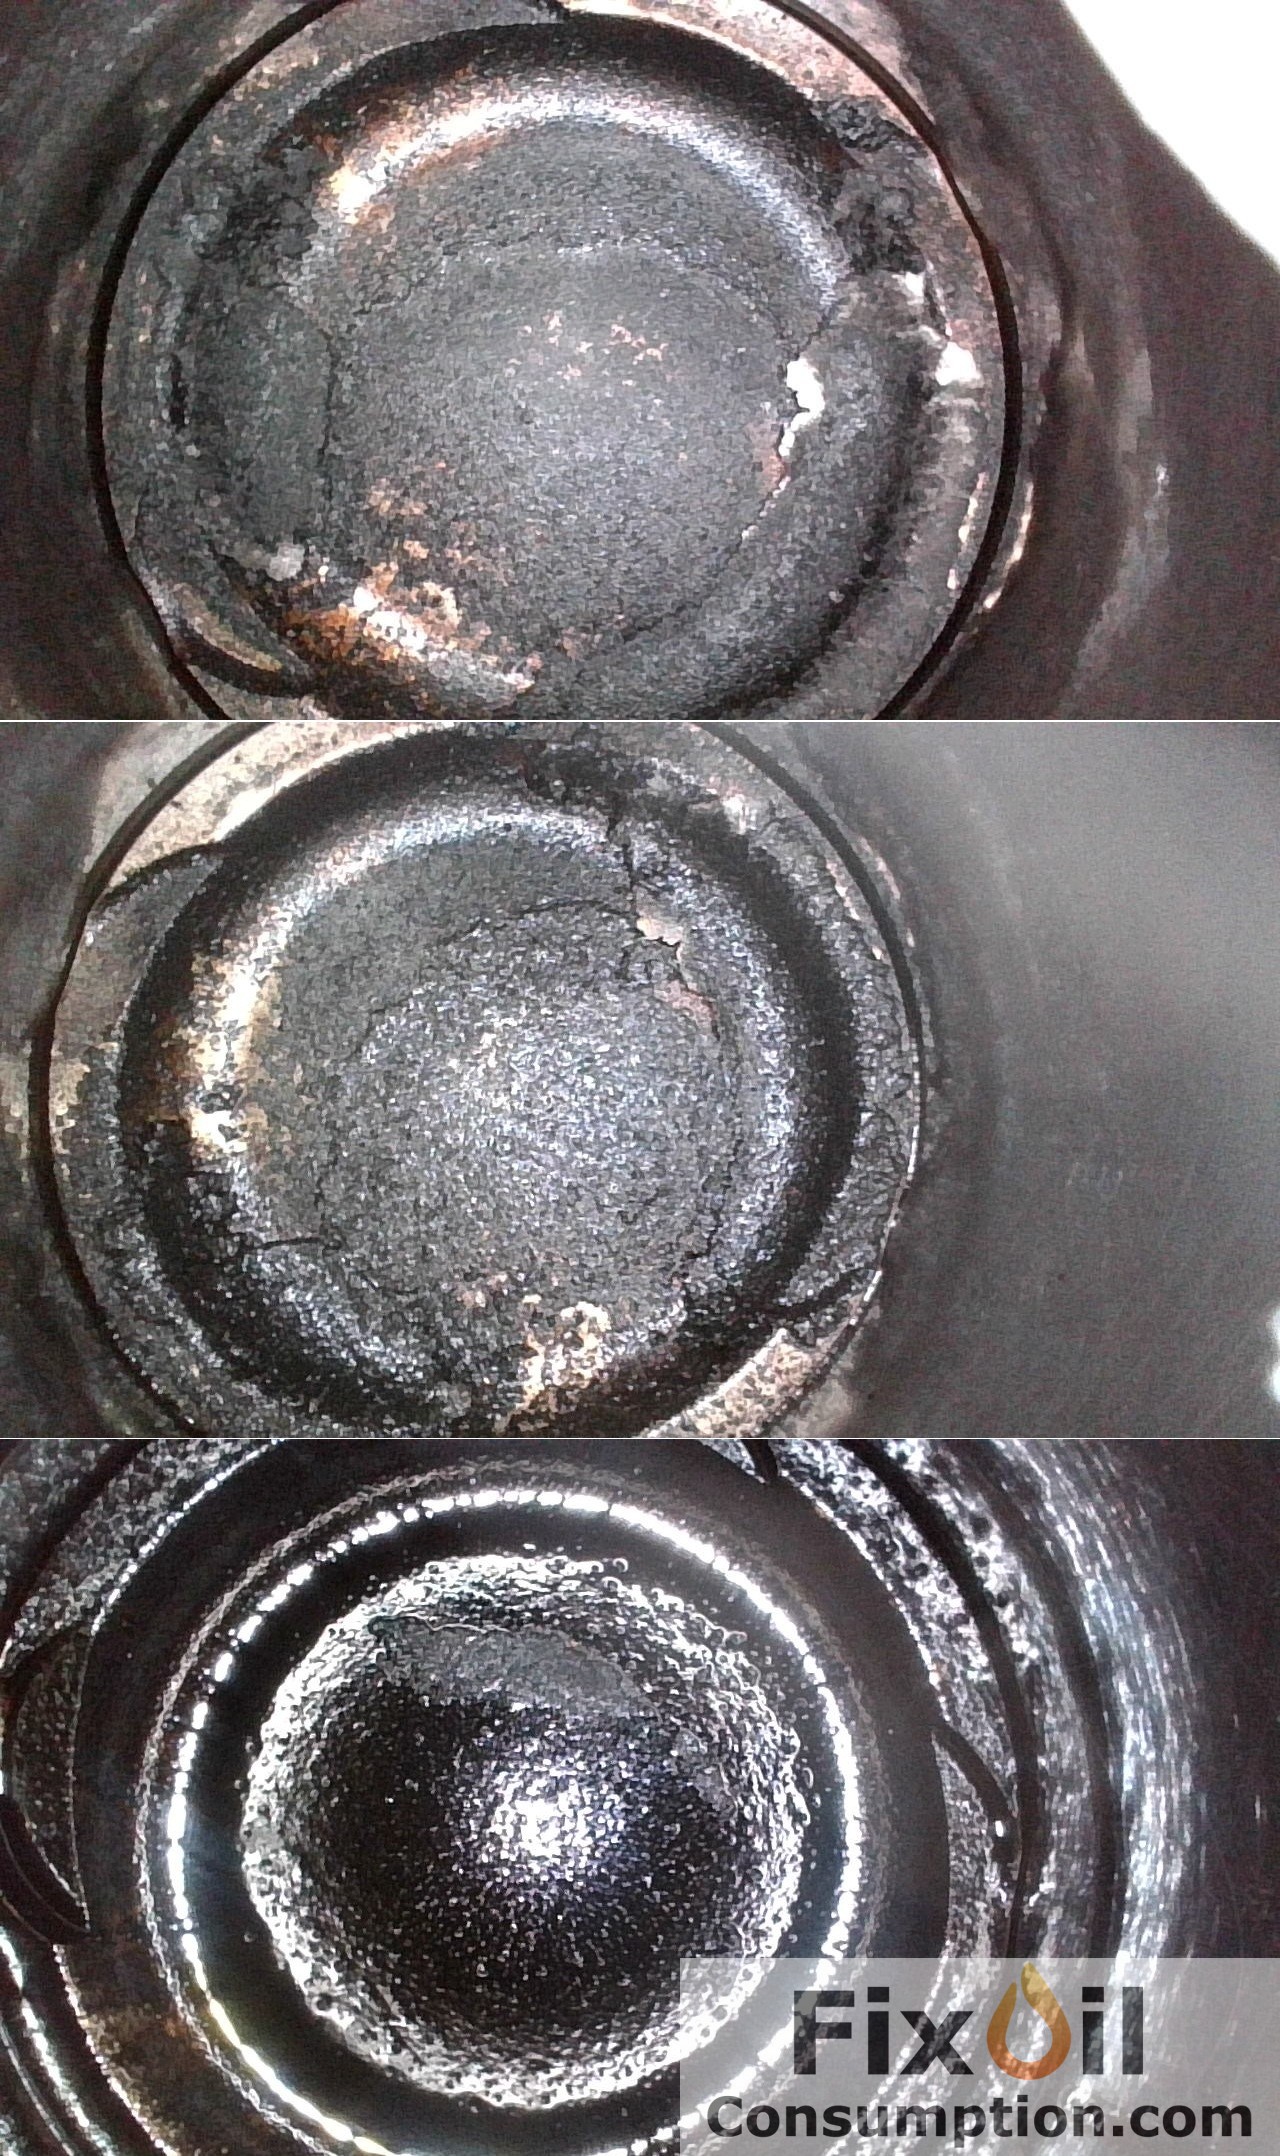
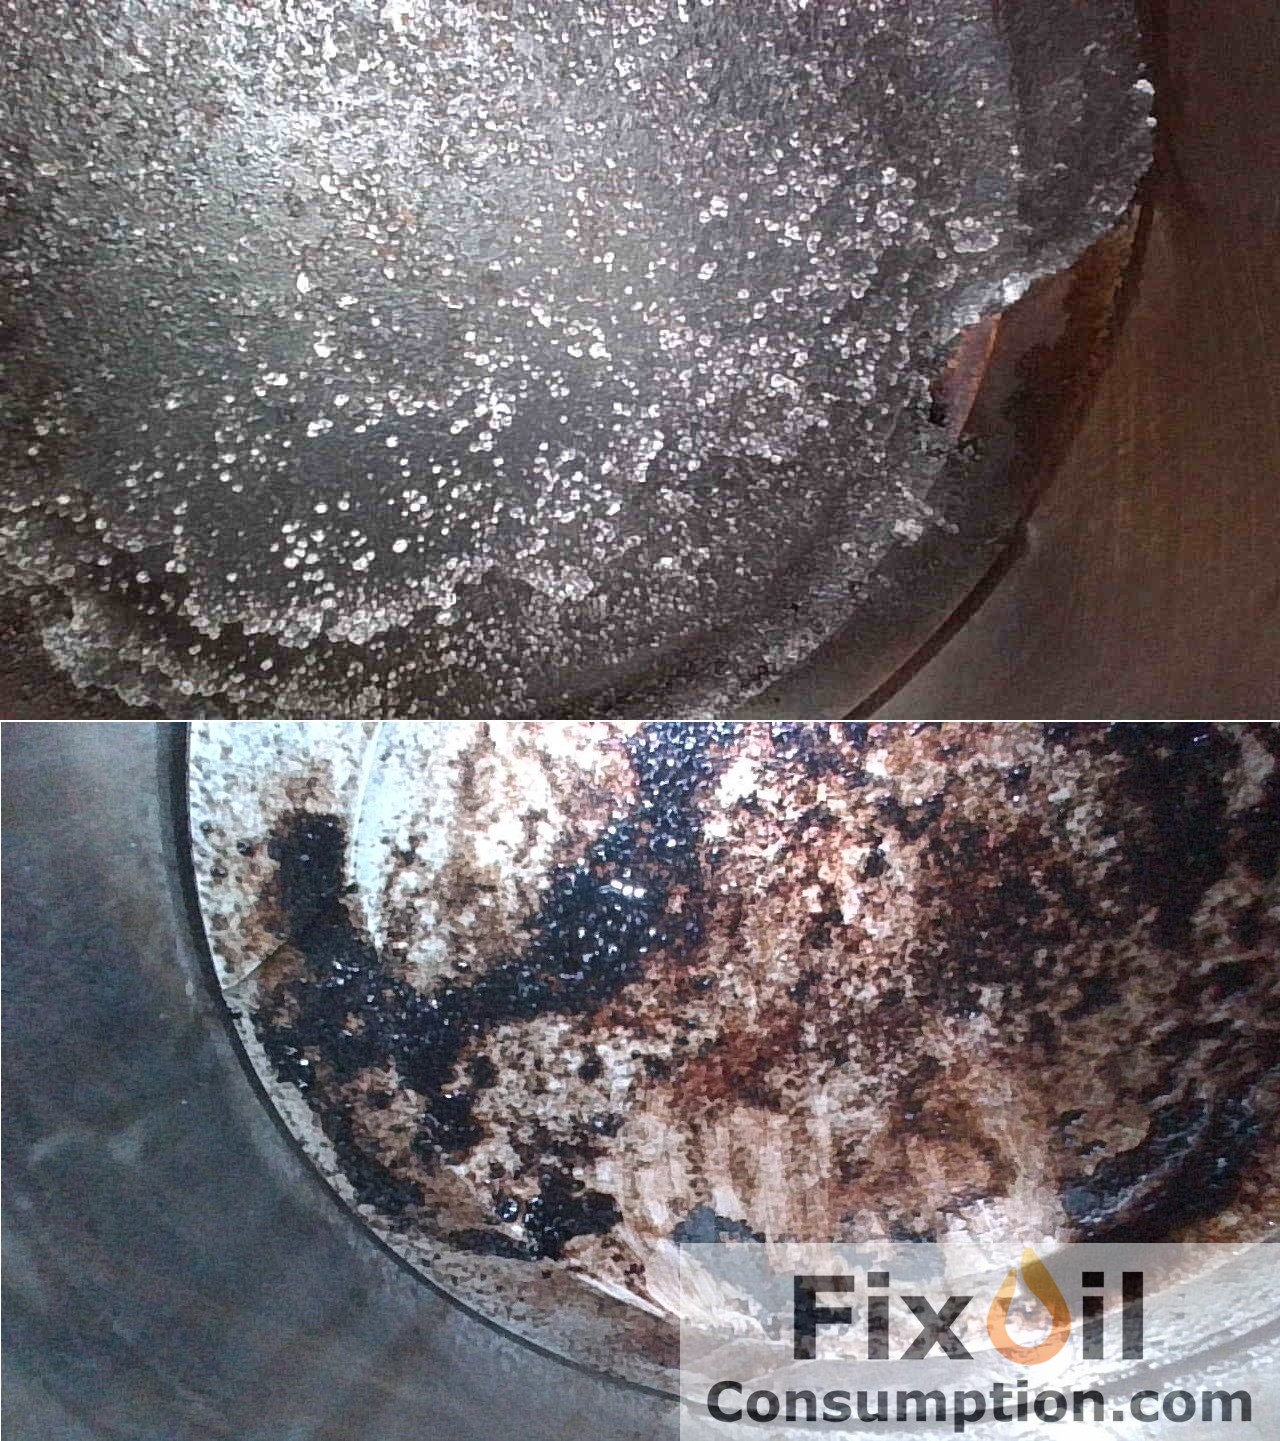
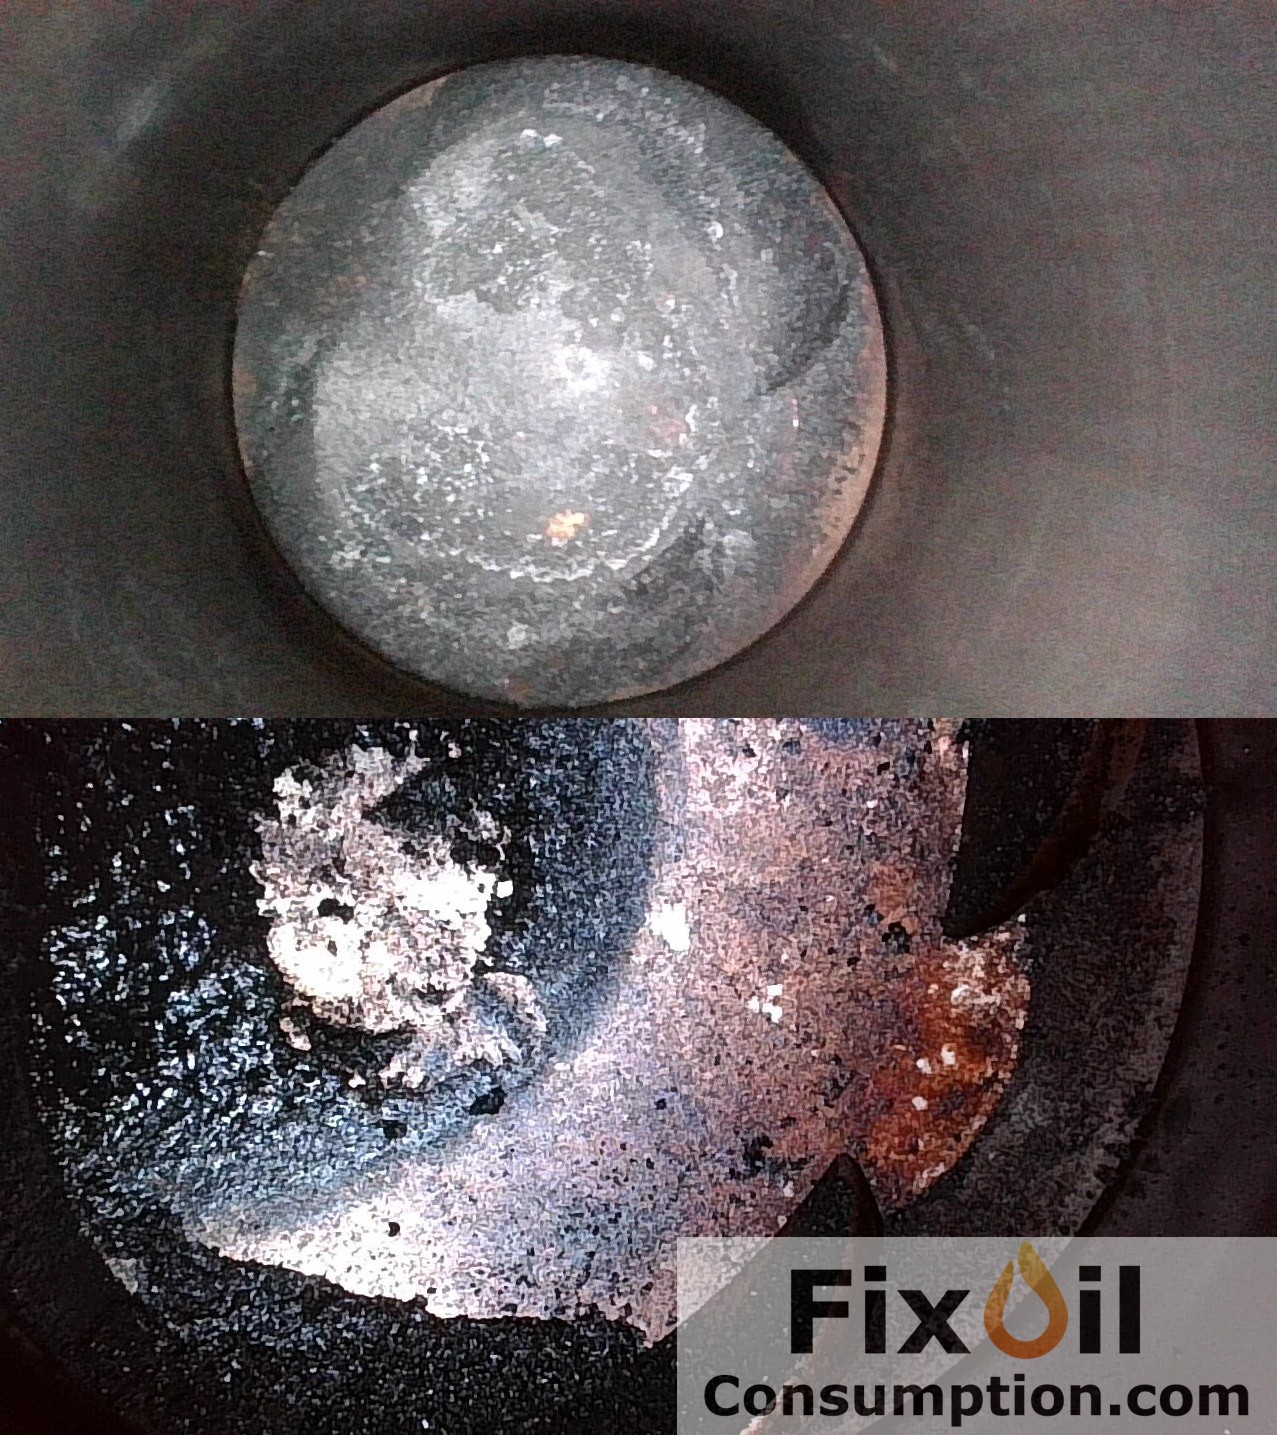
Use the spark plug wrench to unscrew and remove the spark plugs from all cylinders. Optionally, you can take pictures of the pistons with an inspection camera.
▲ Fiat Linea 1.4 T-Jet 120KM ▲
▲ VW Golf VI 1.6 BSE 102KM ▲
▲ Audi A5 1.8 CJEB 170KM ▲
Set the Pistons
Rotate the crankshaft to position the pistons at the same height. You can do this in several ways:
- Using a wrench on the flywheel – set the gearbox to neutral, then turn the wrench clockwise, never counterwise!
- By rotating the front passenger-side wheel forward while the driver-side wheel is locked on the ground – the gearbox should be set to the highest possible gear.
You can use two skewers of equal length. Gently insert them into the first and second cylinders; as you rotate the flywheel, they should reach the same position.
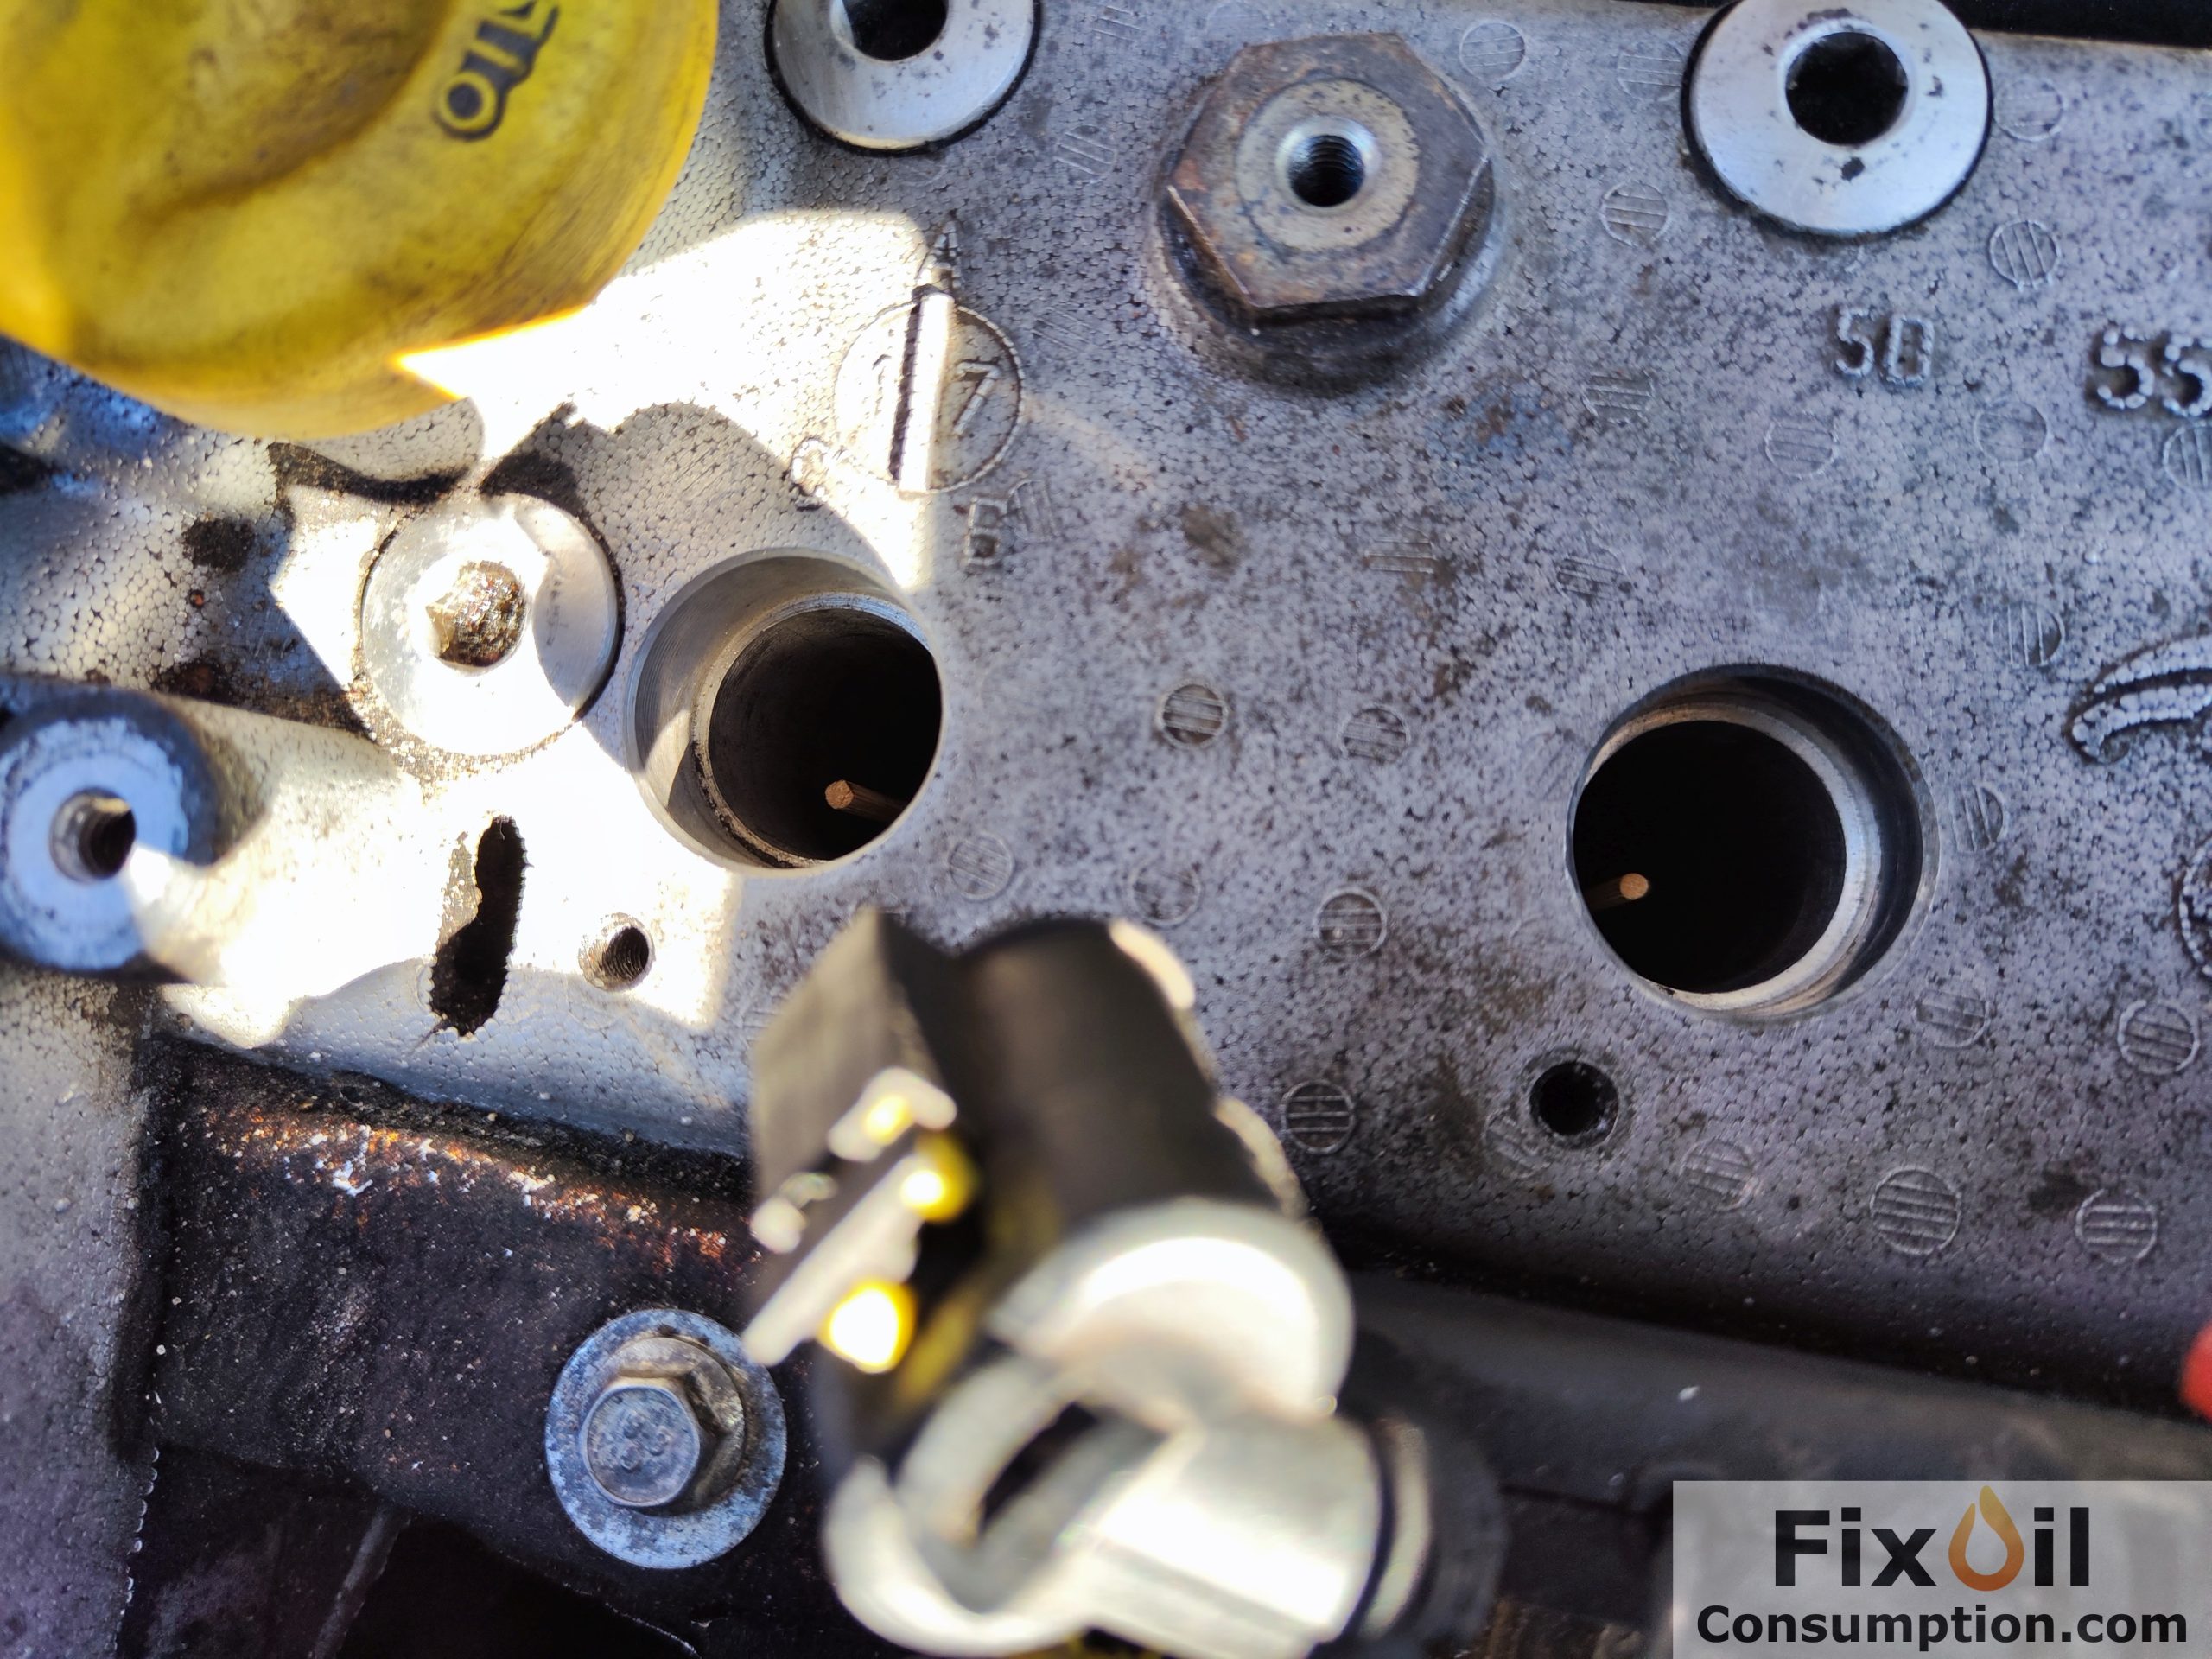
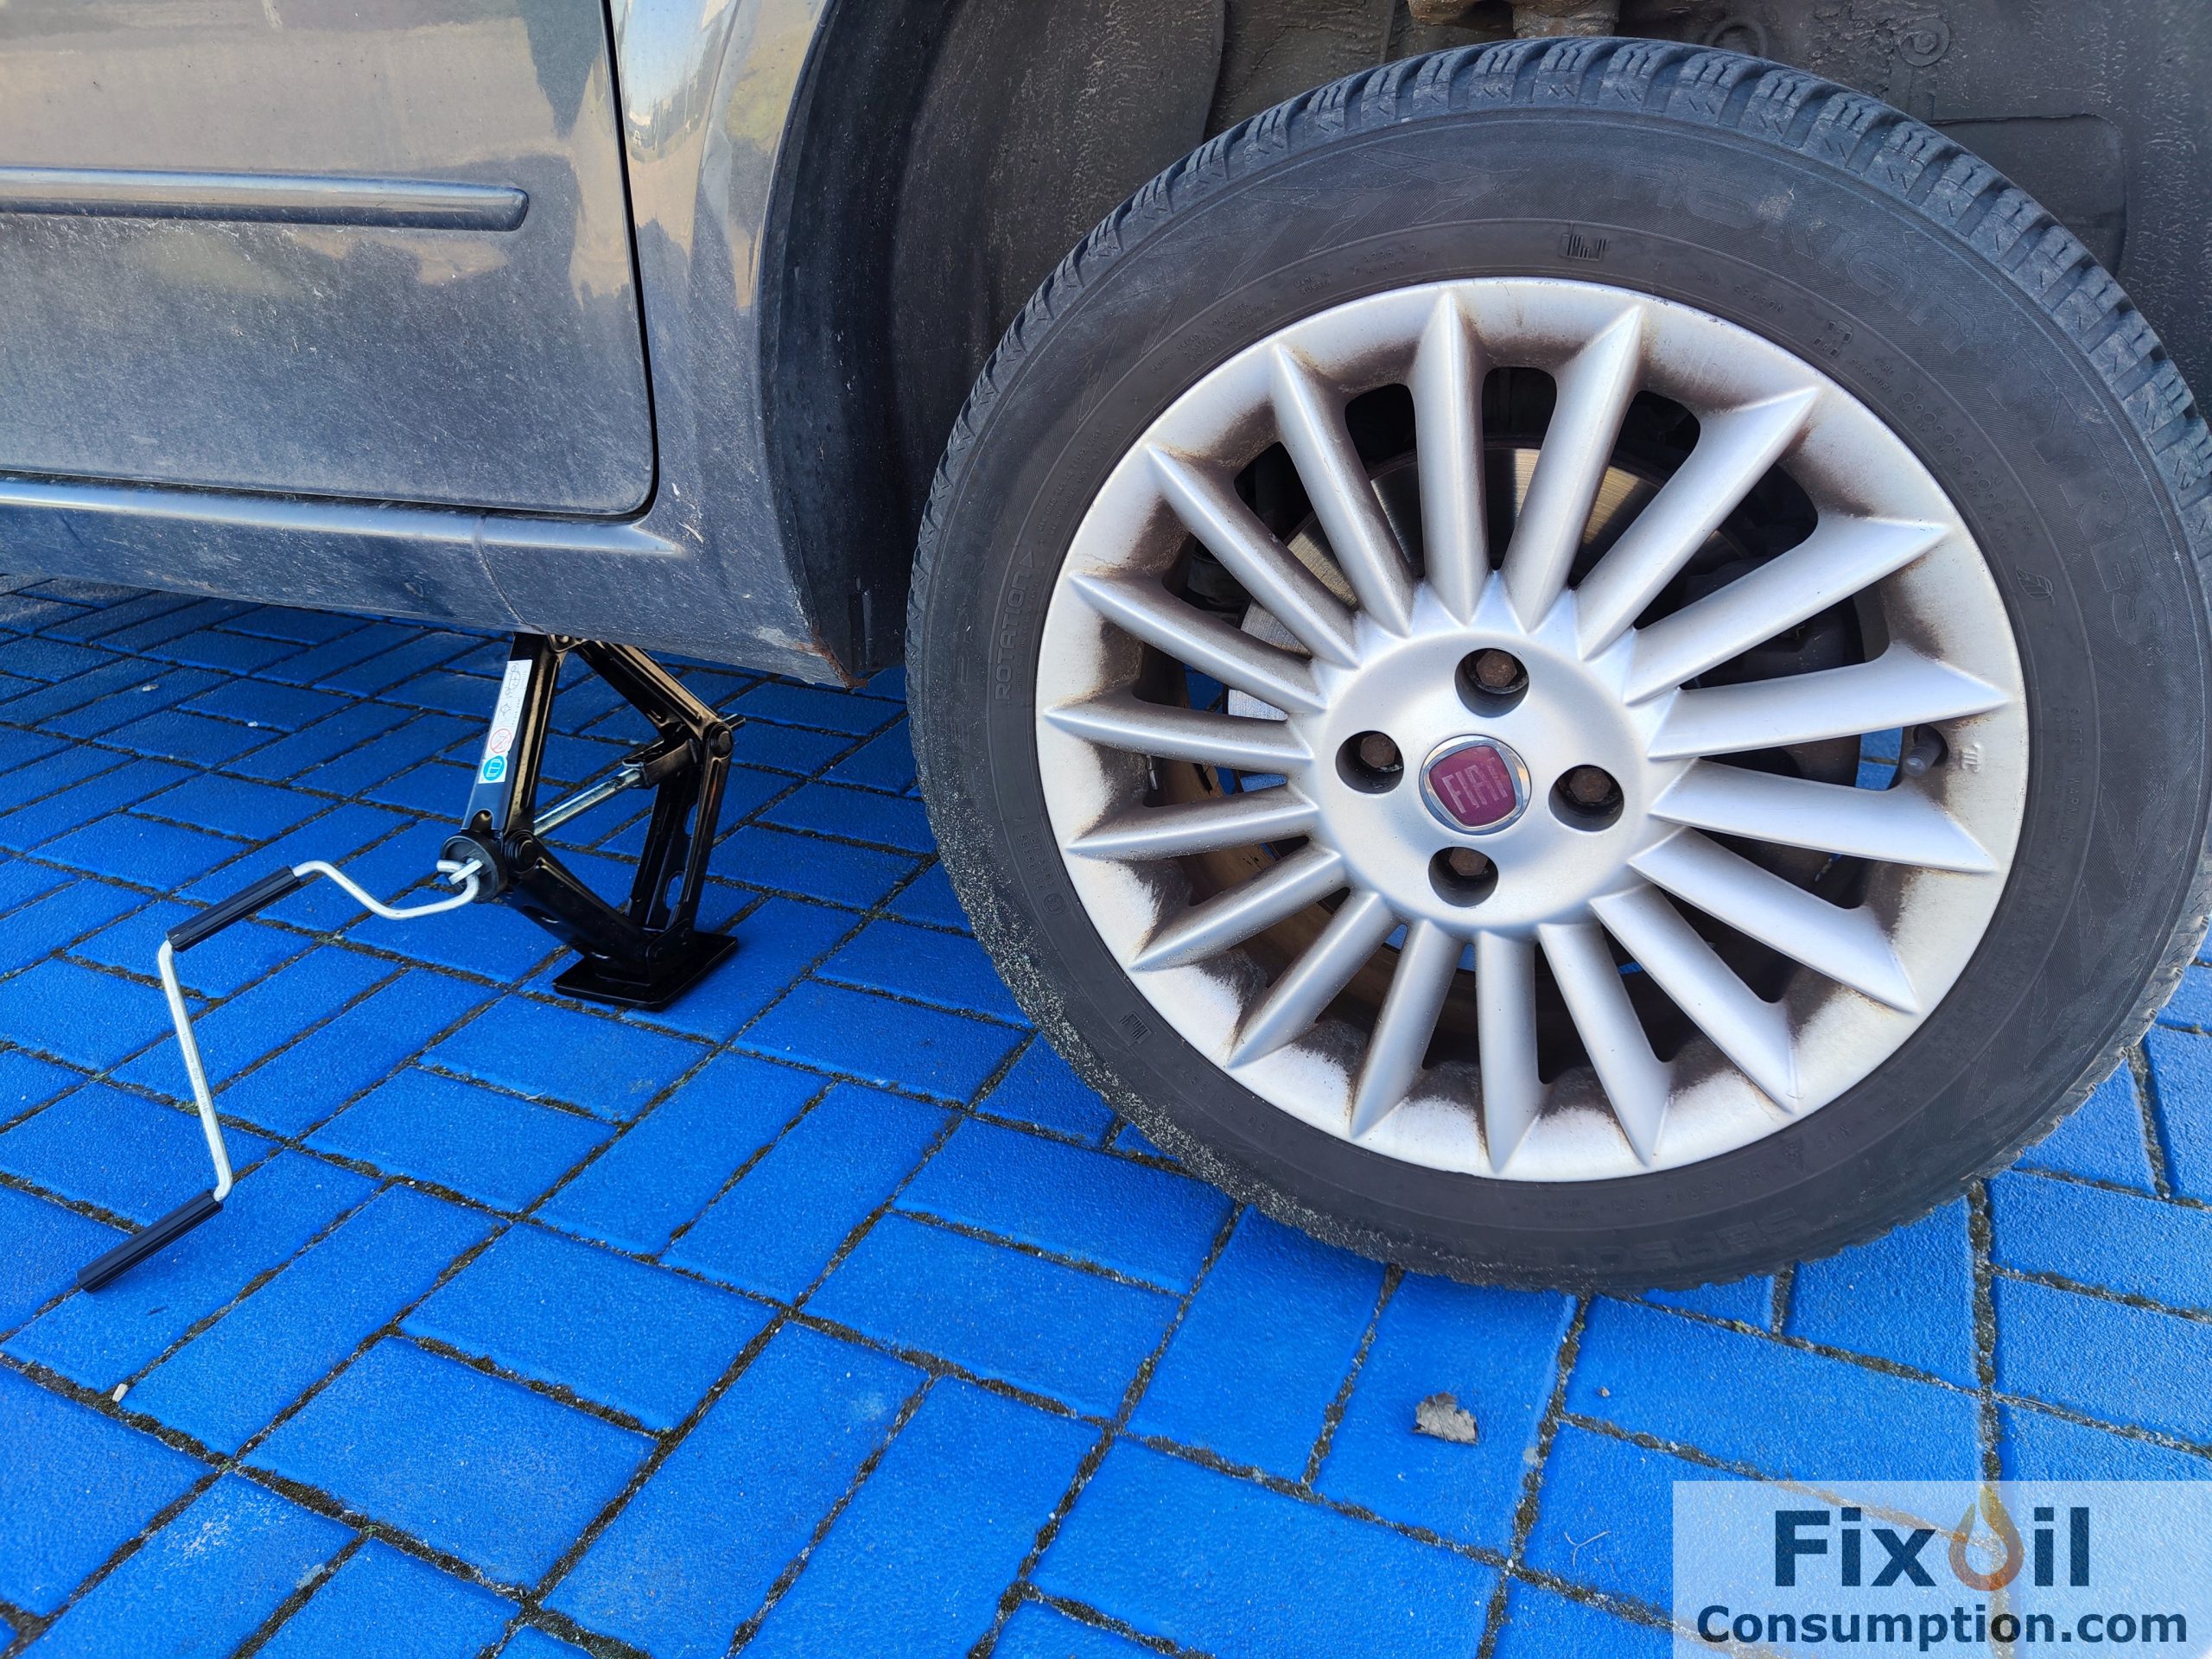
▲ Fiat Linea 1.4 T-Jet 120KM ▲

▲ Audi A5 1.8 CJEB 170KM ▲
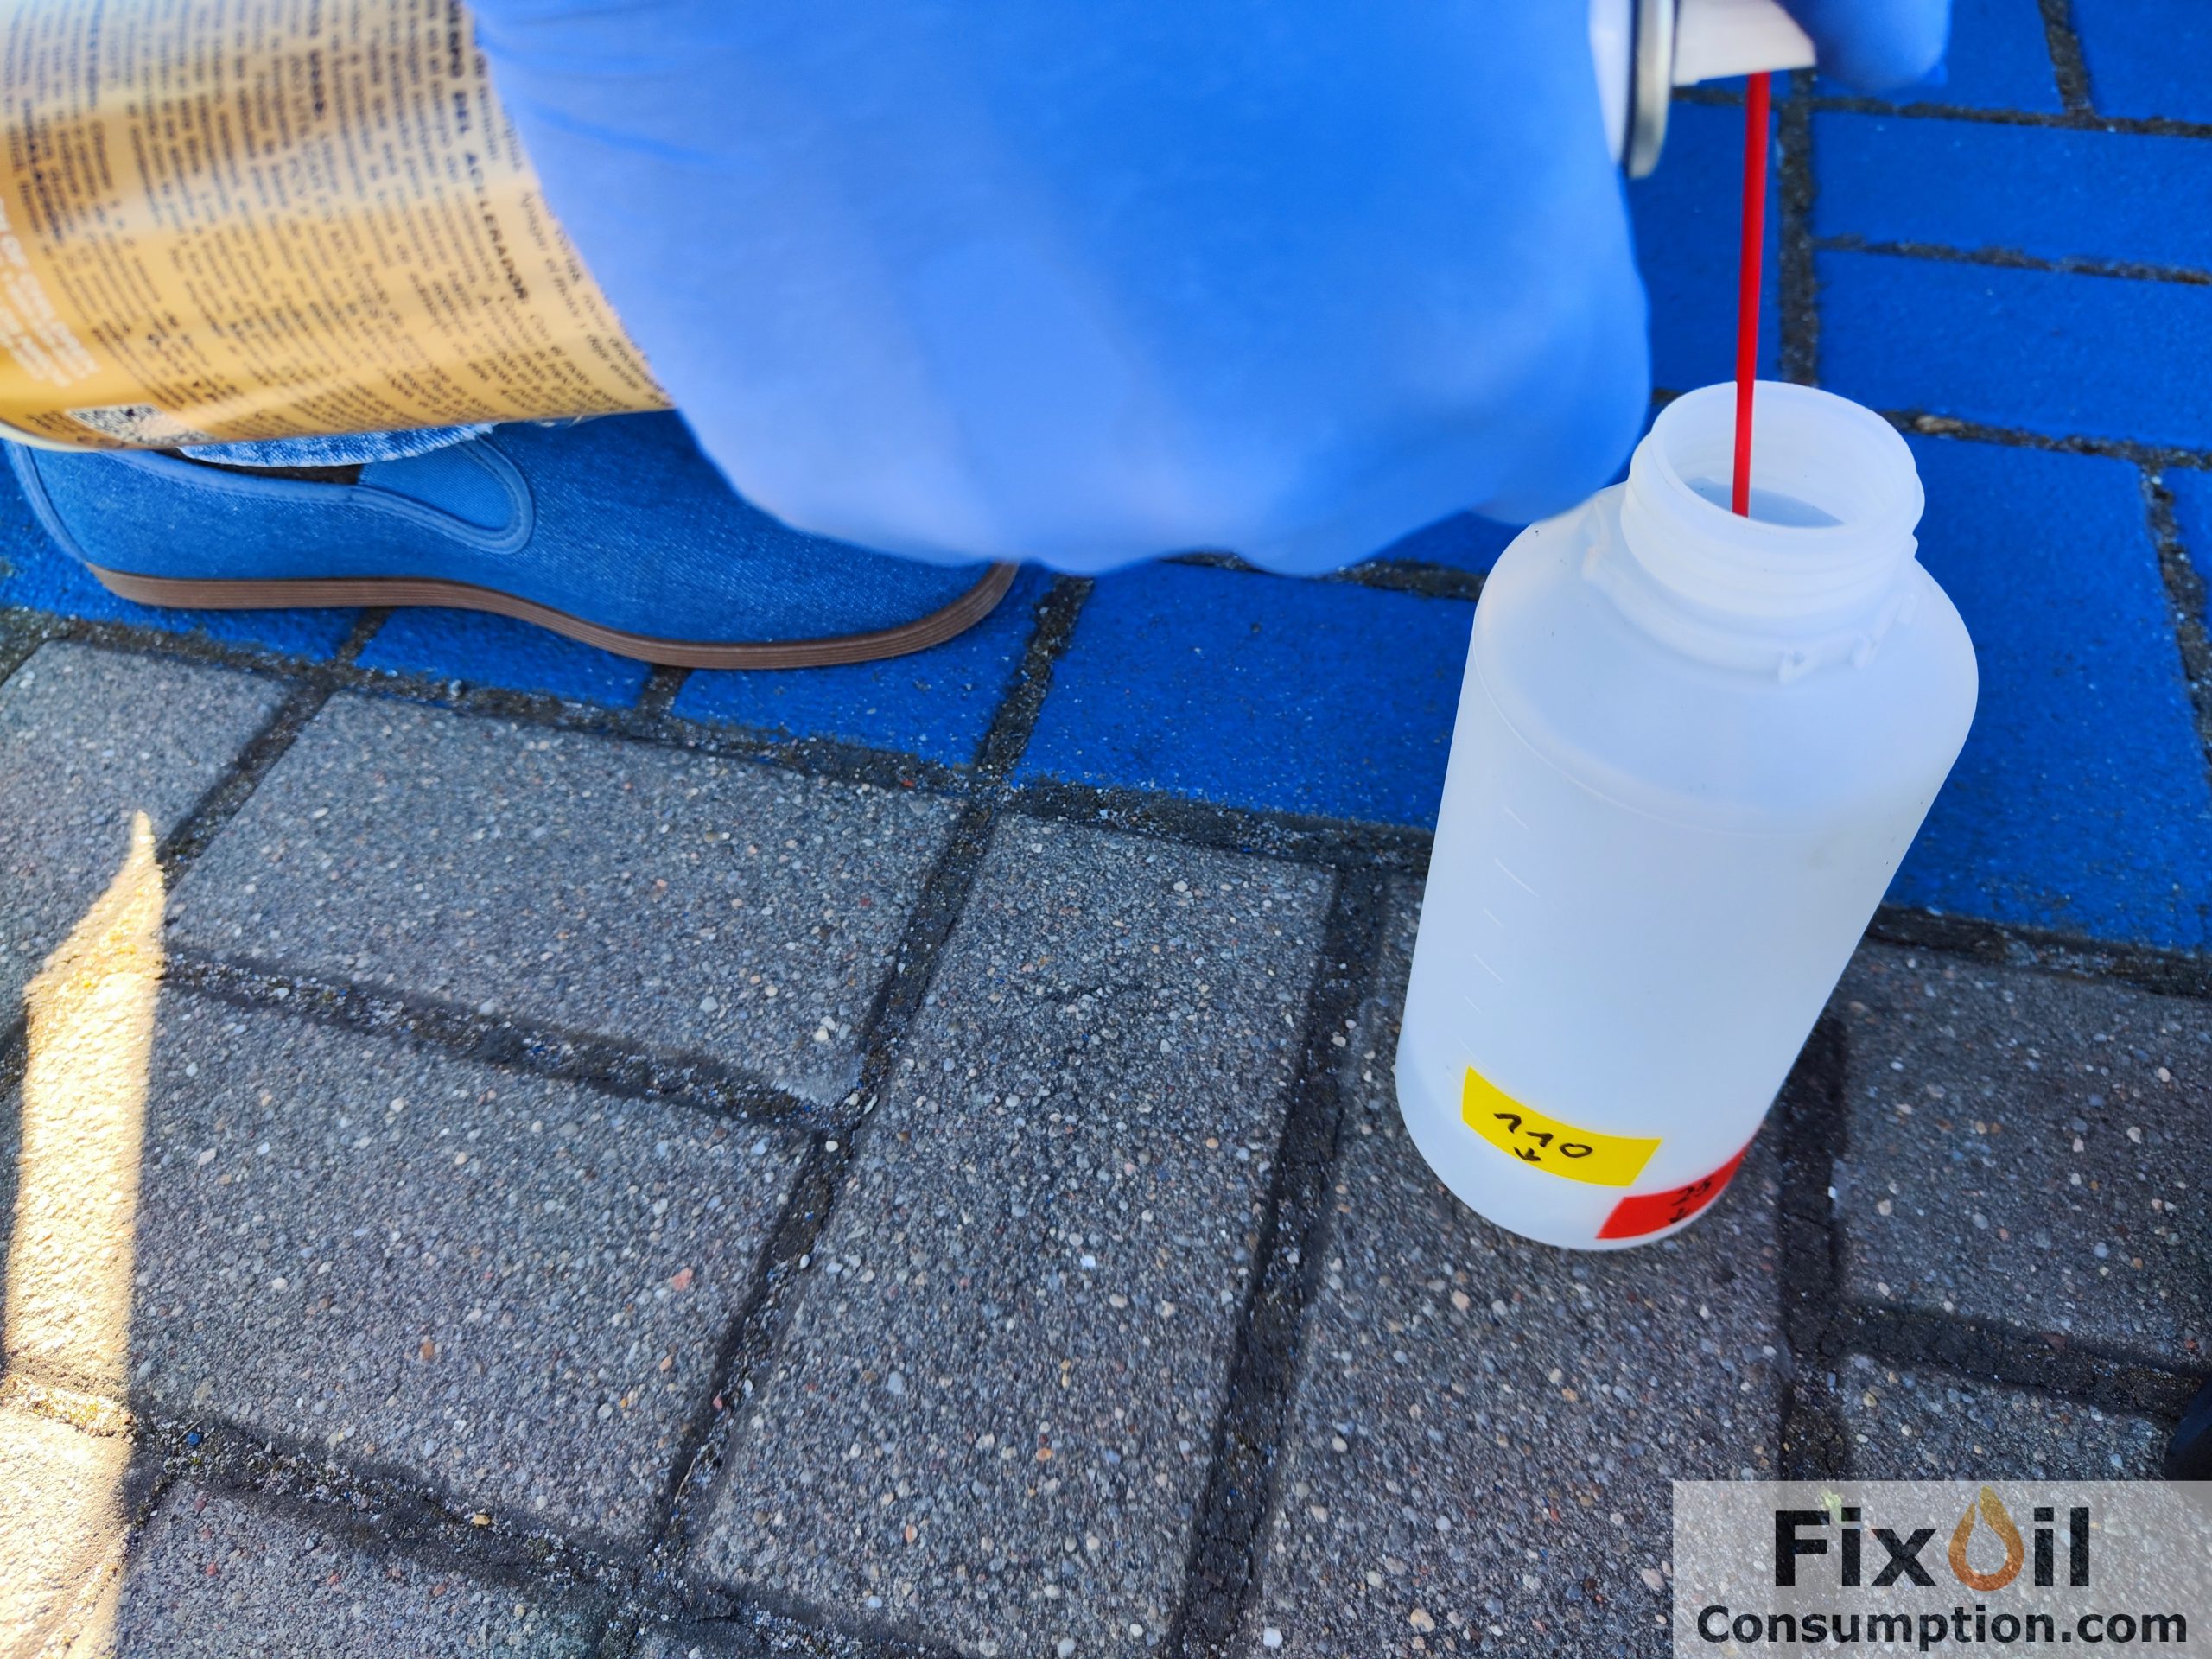
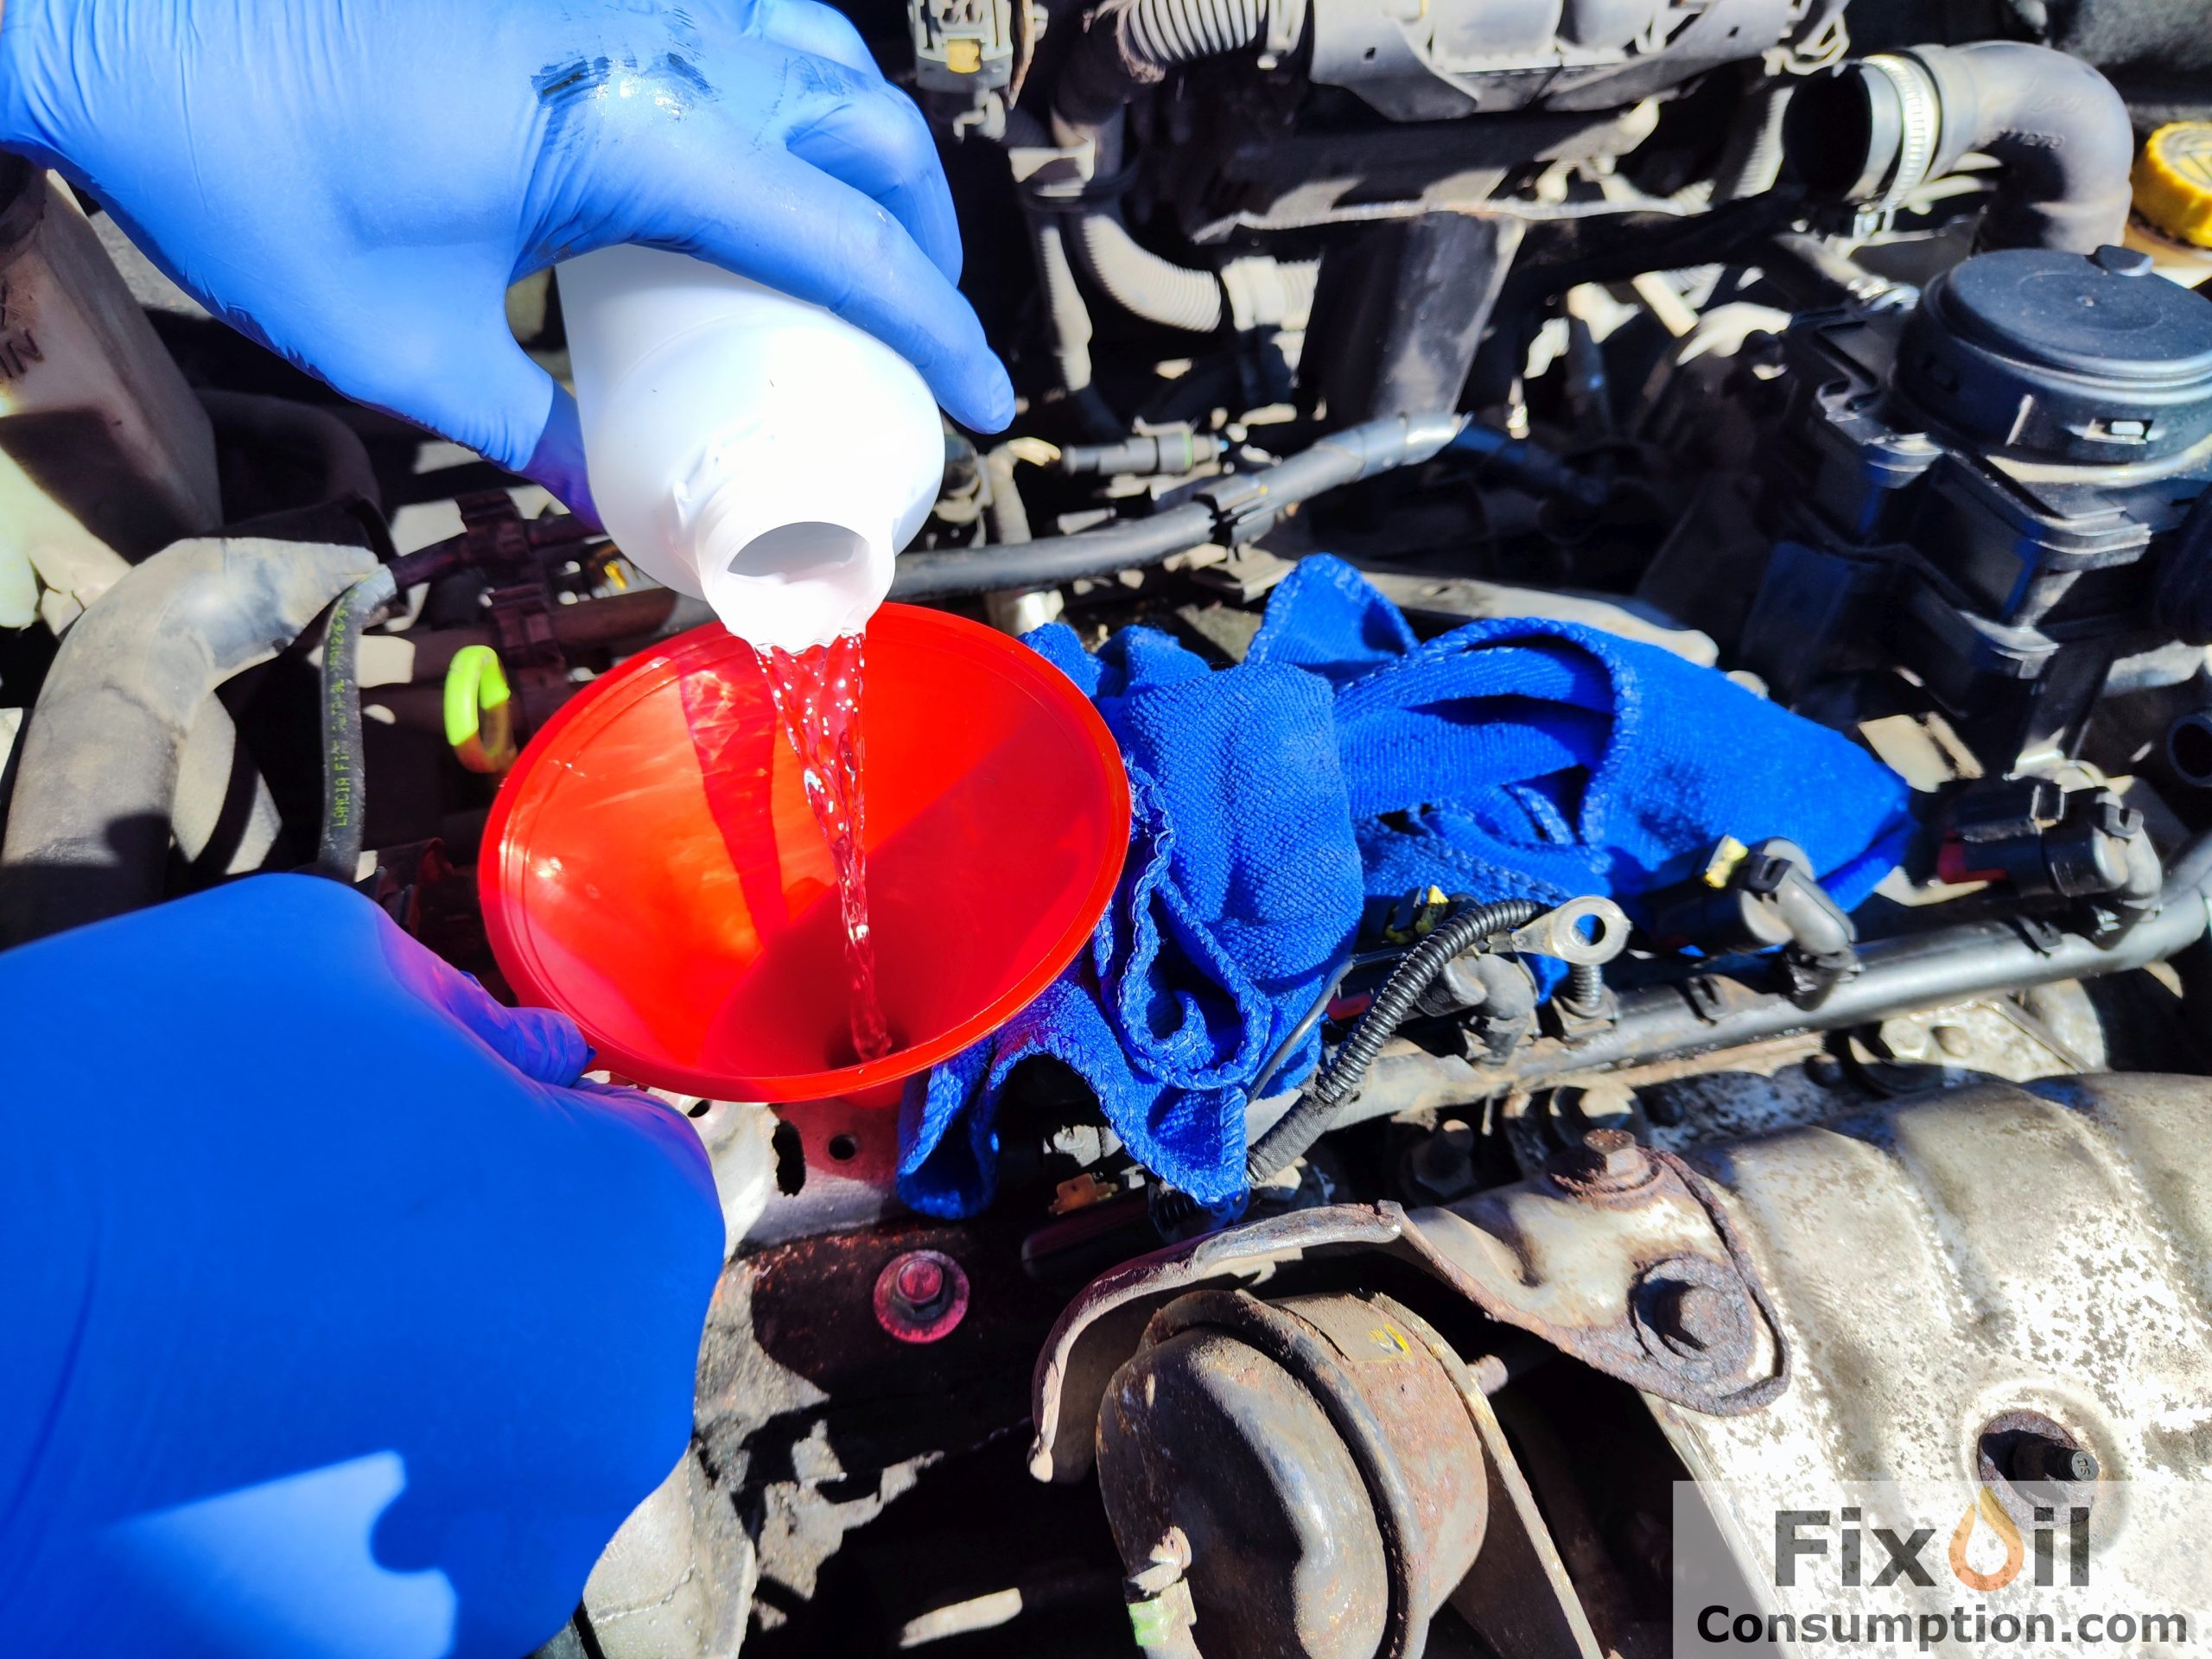
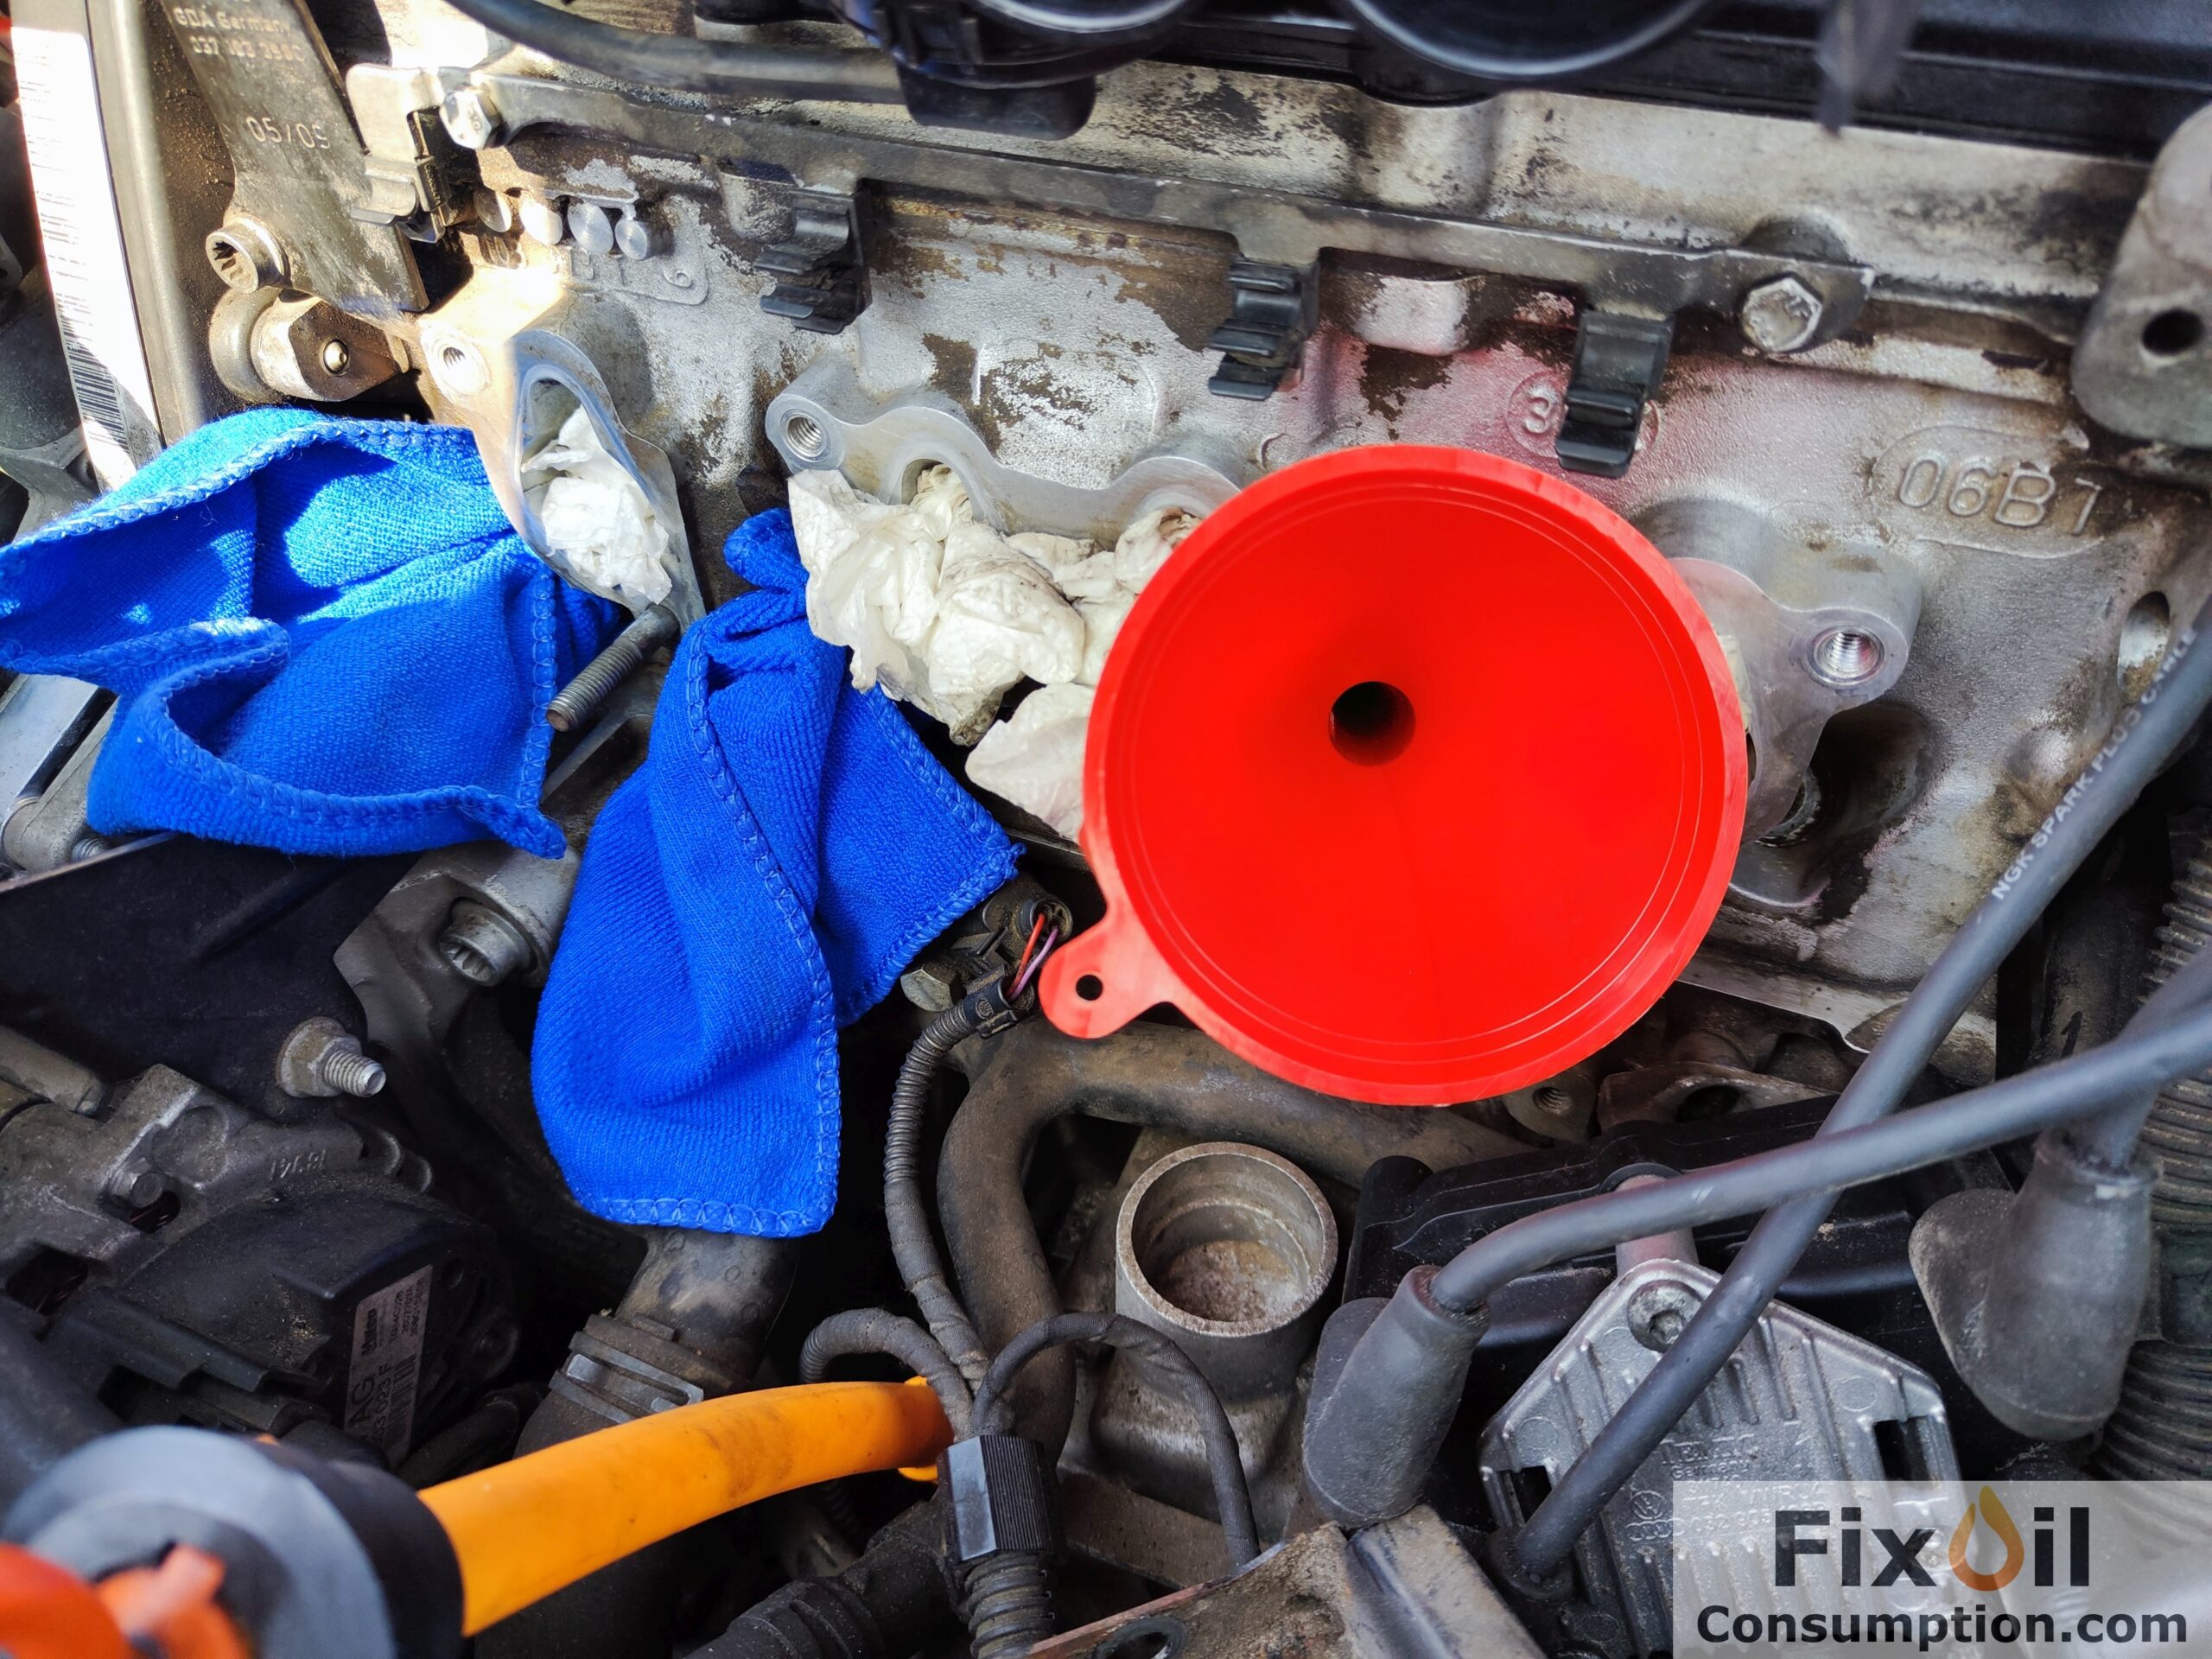
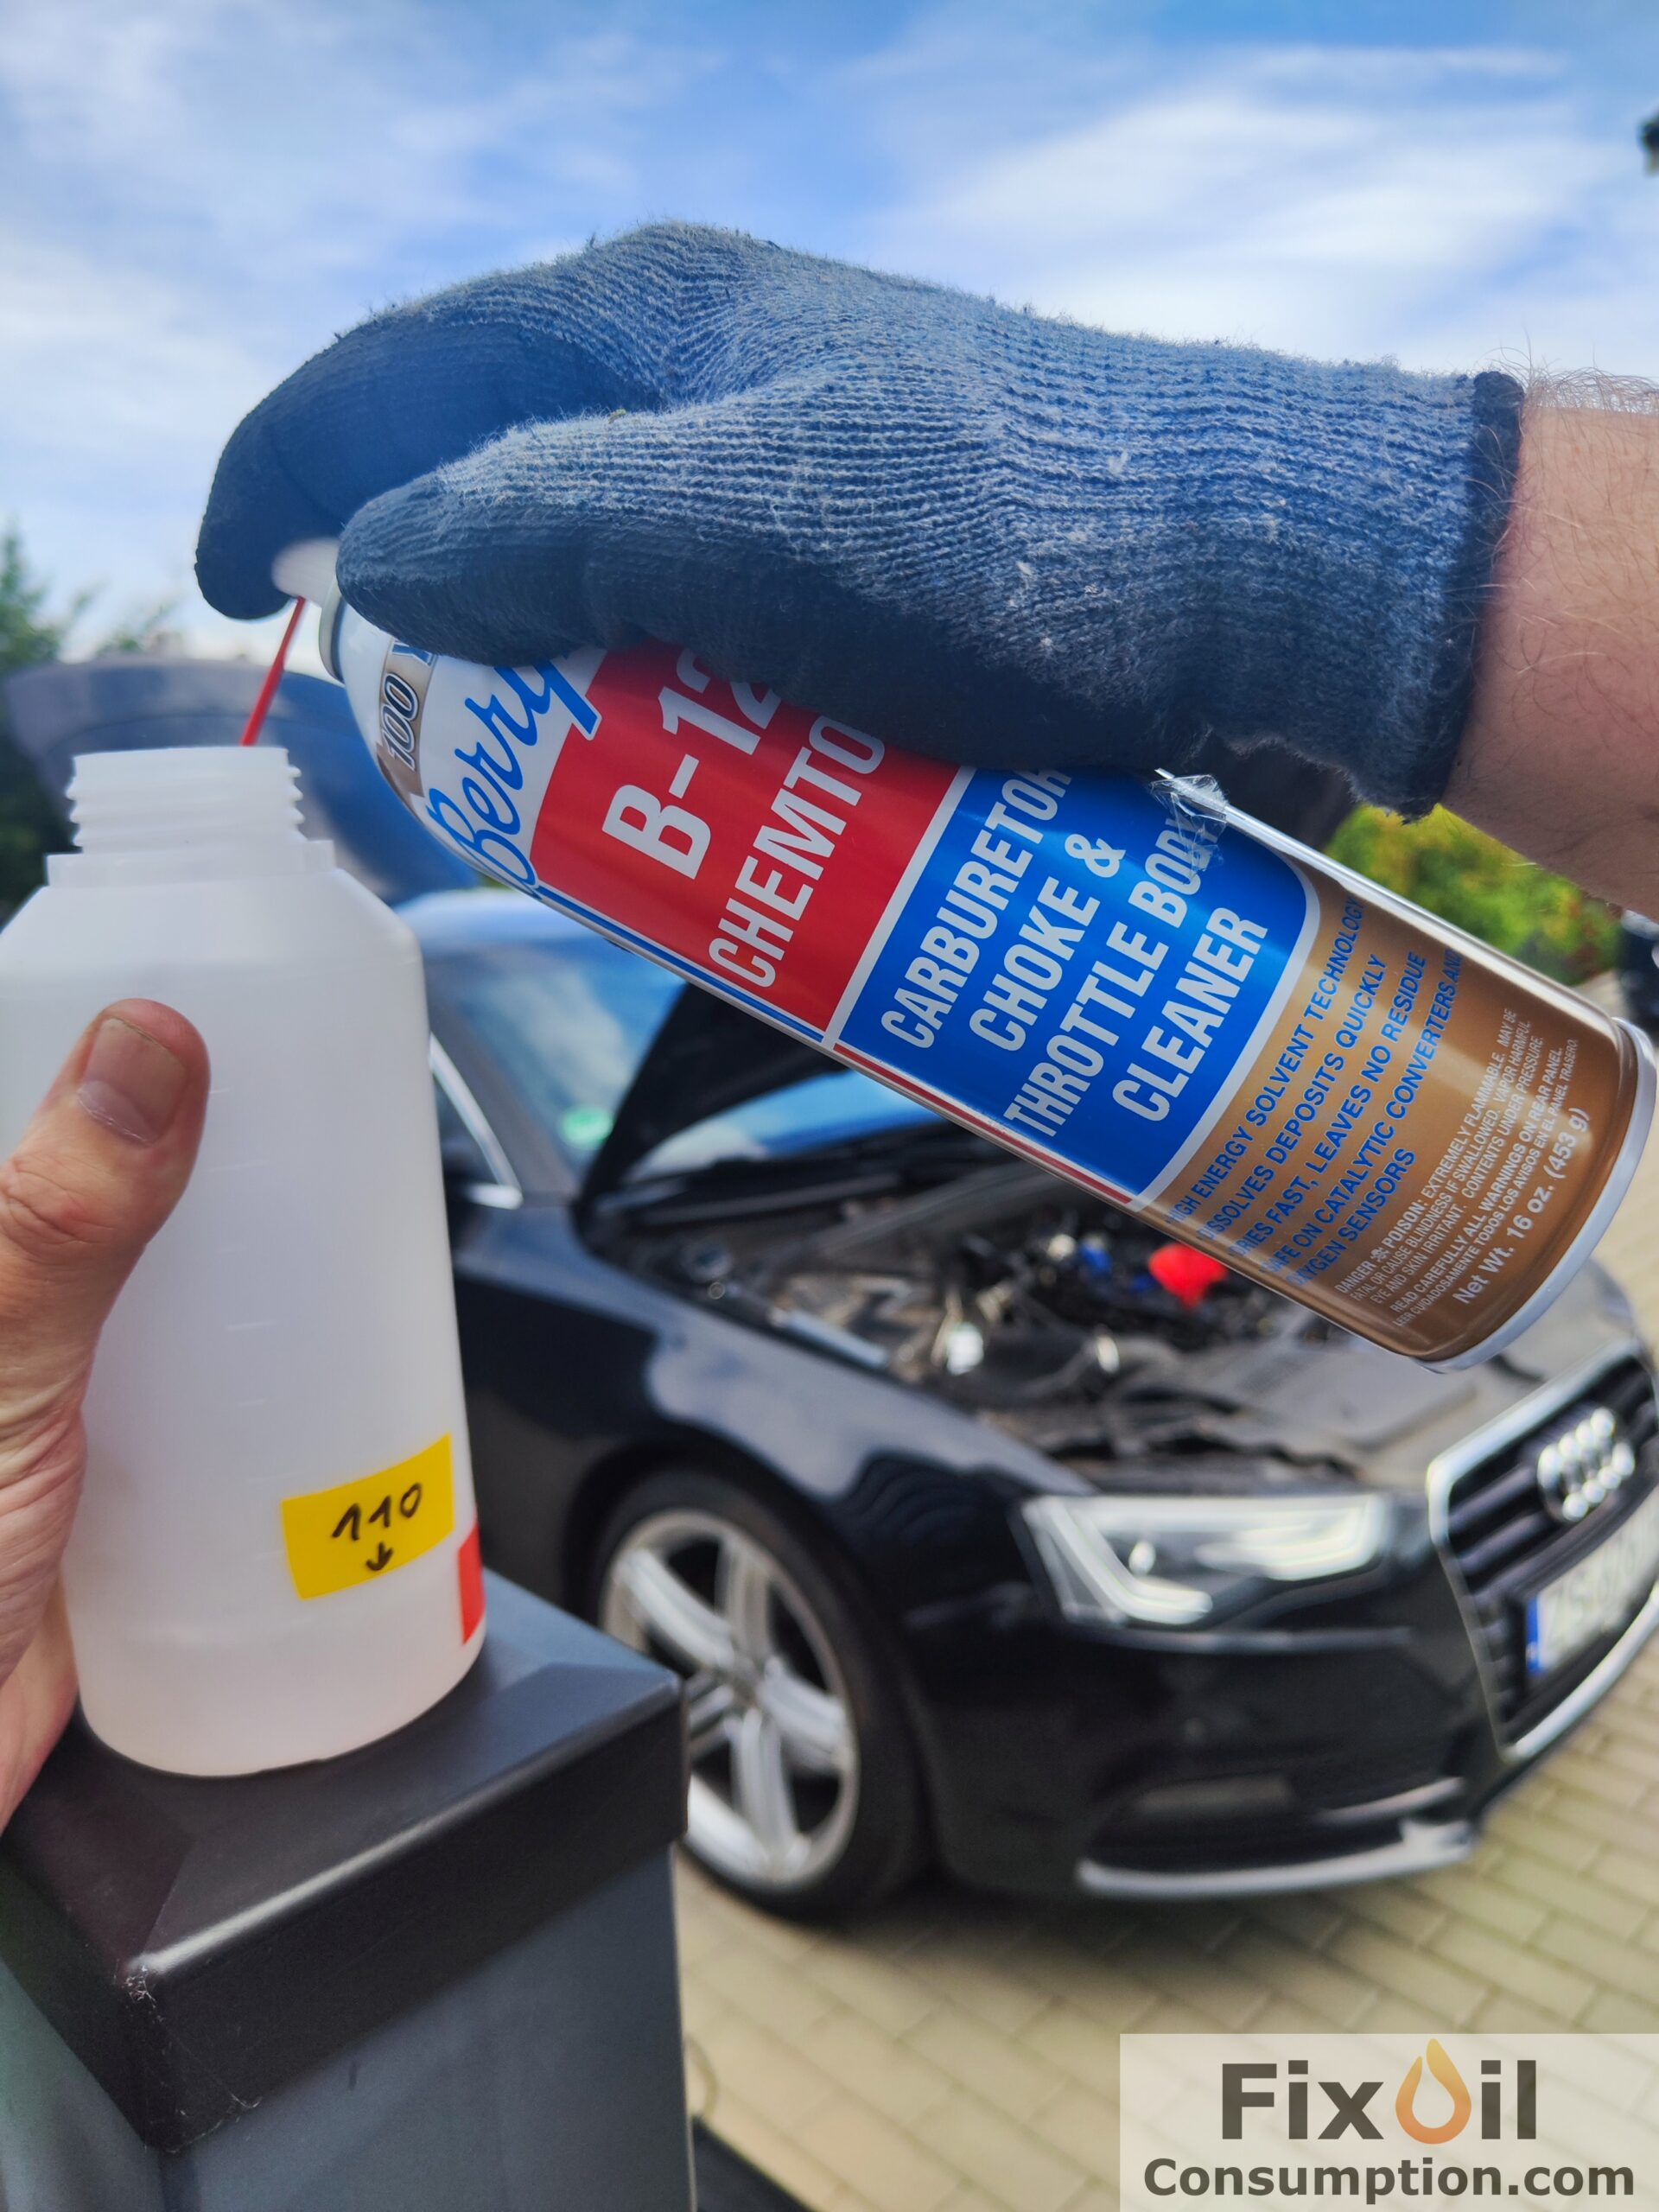
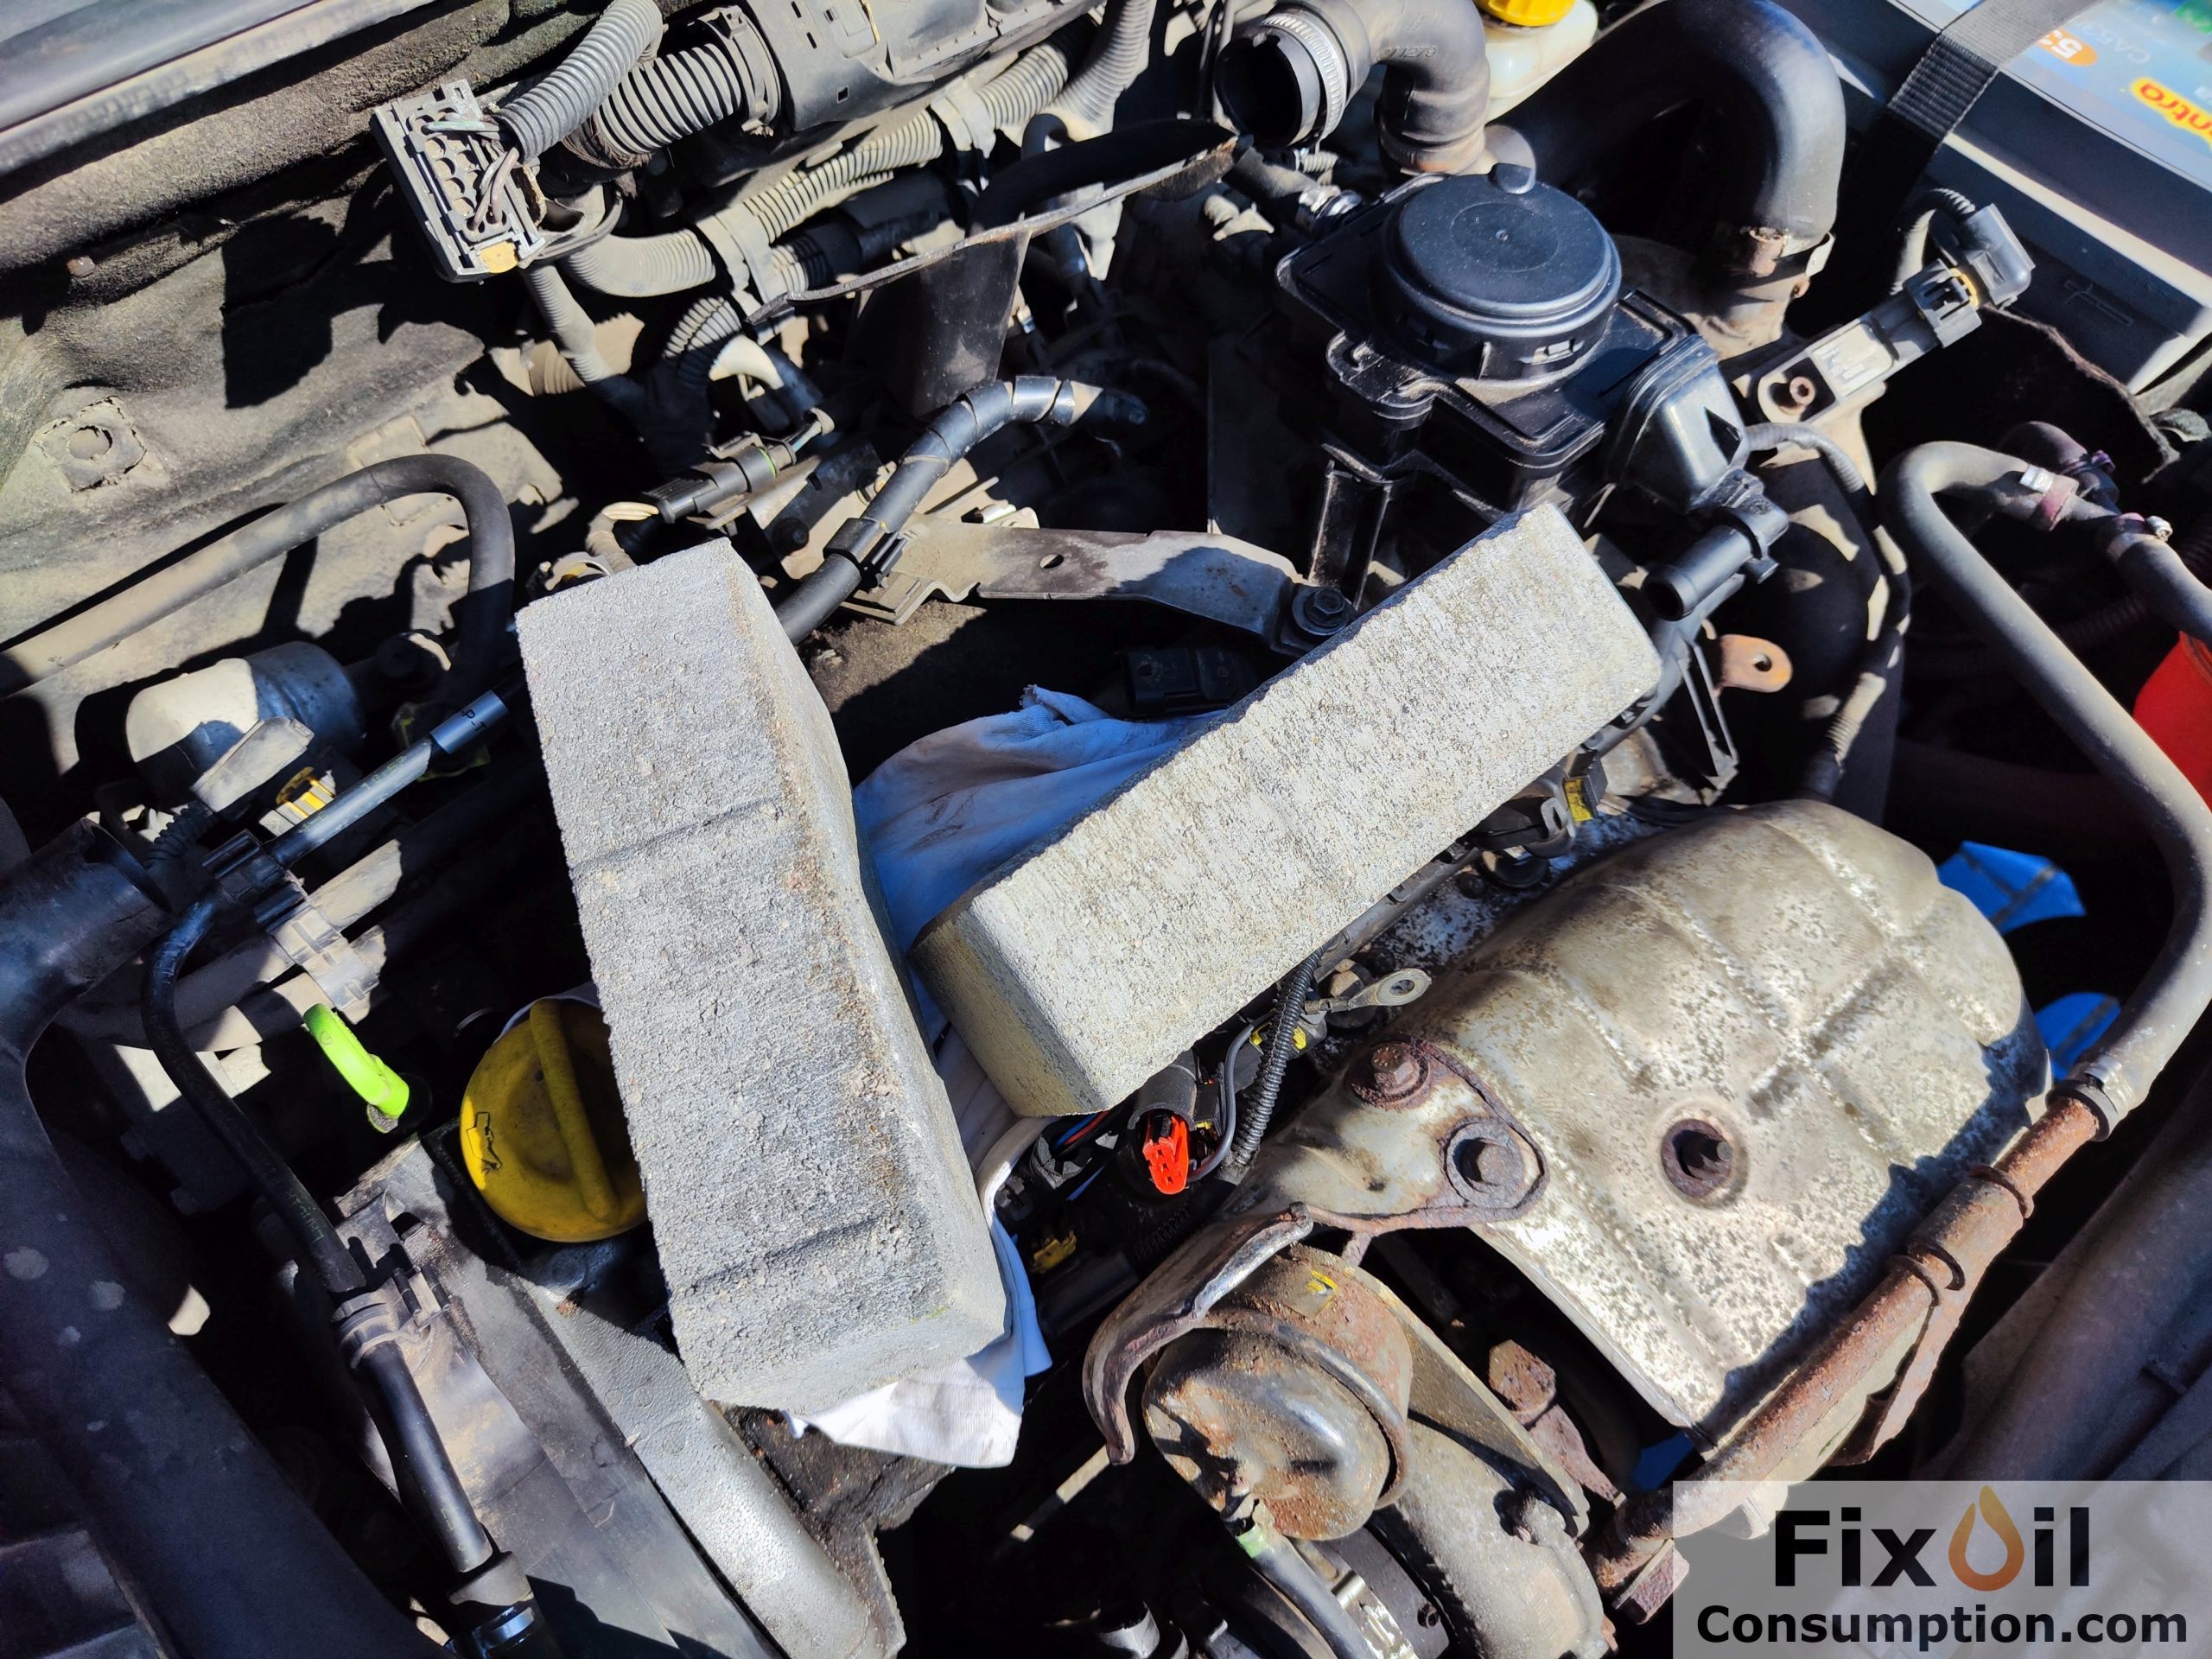
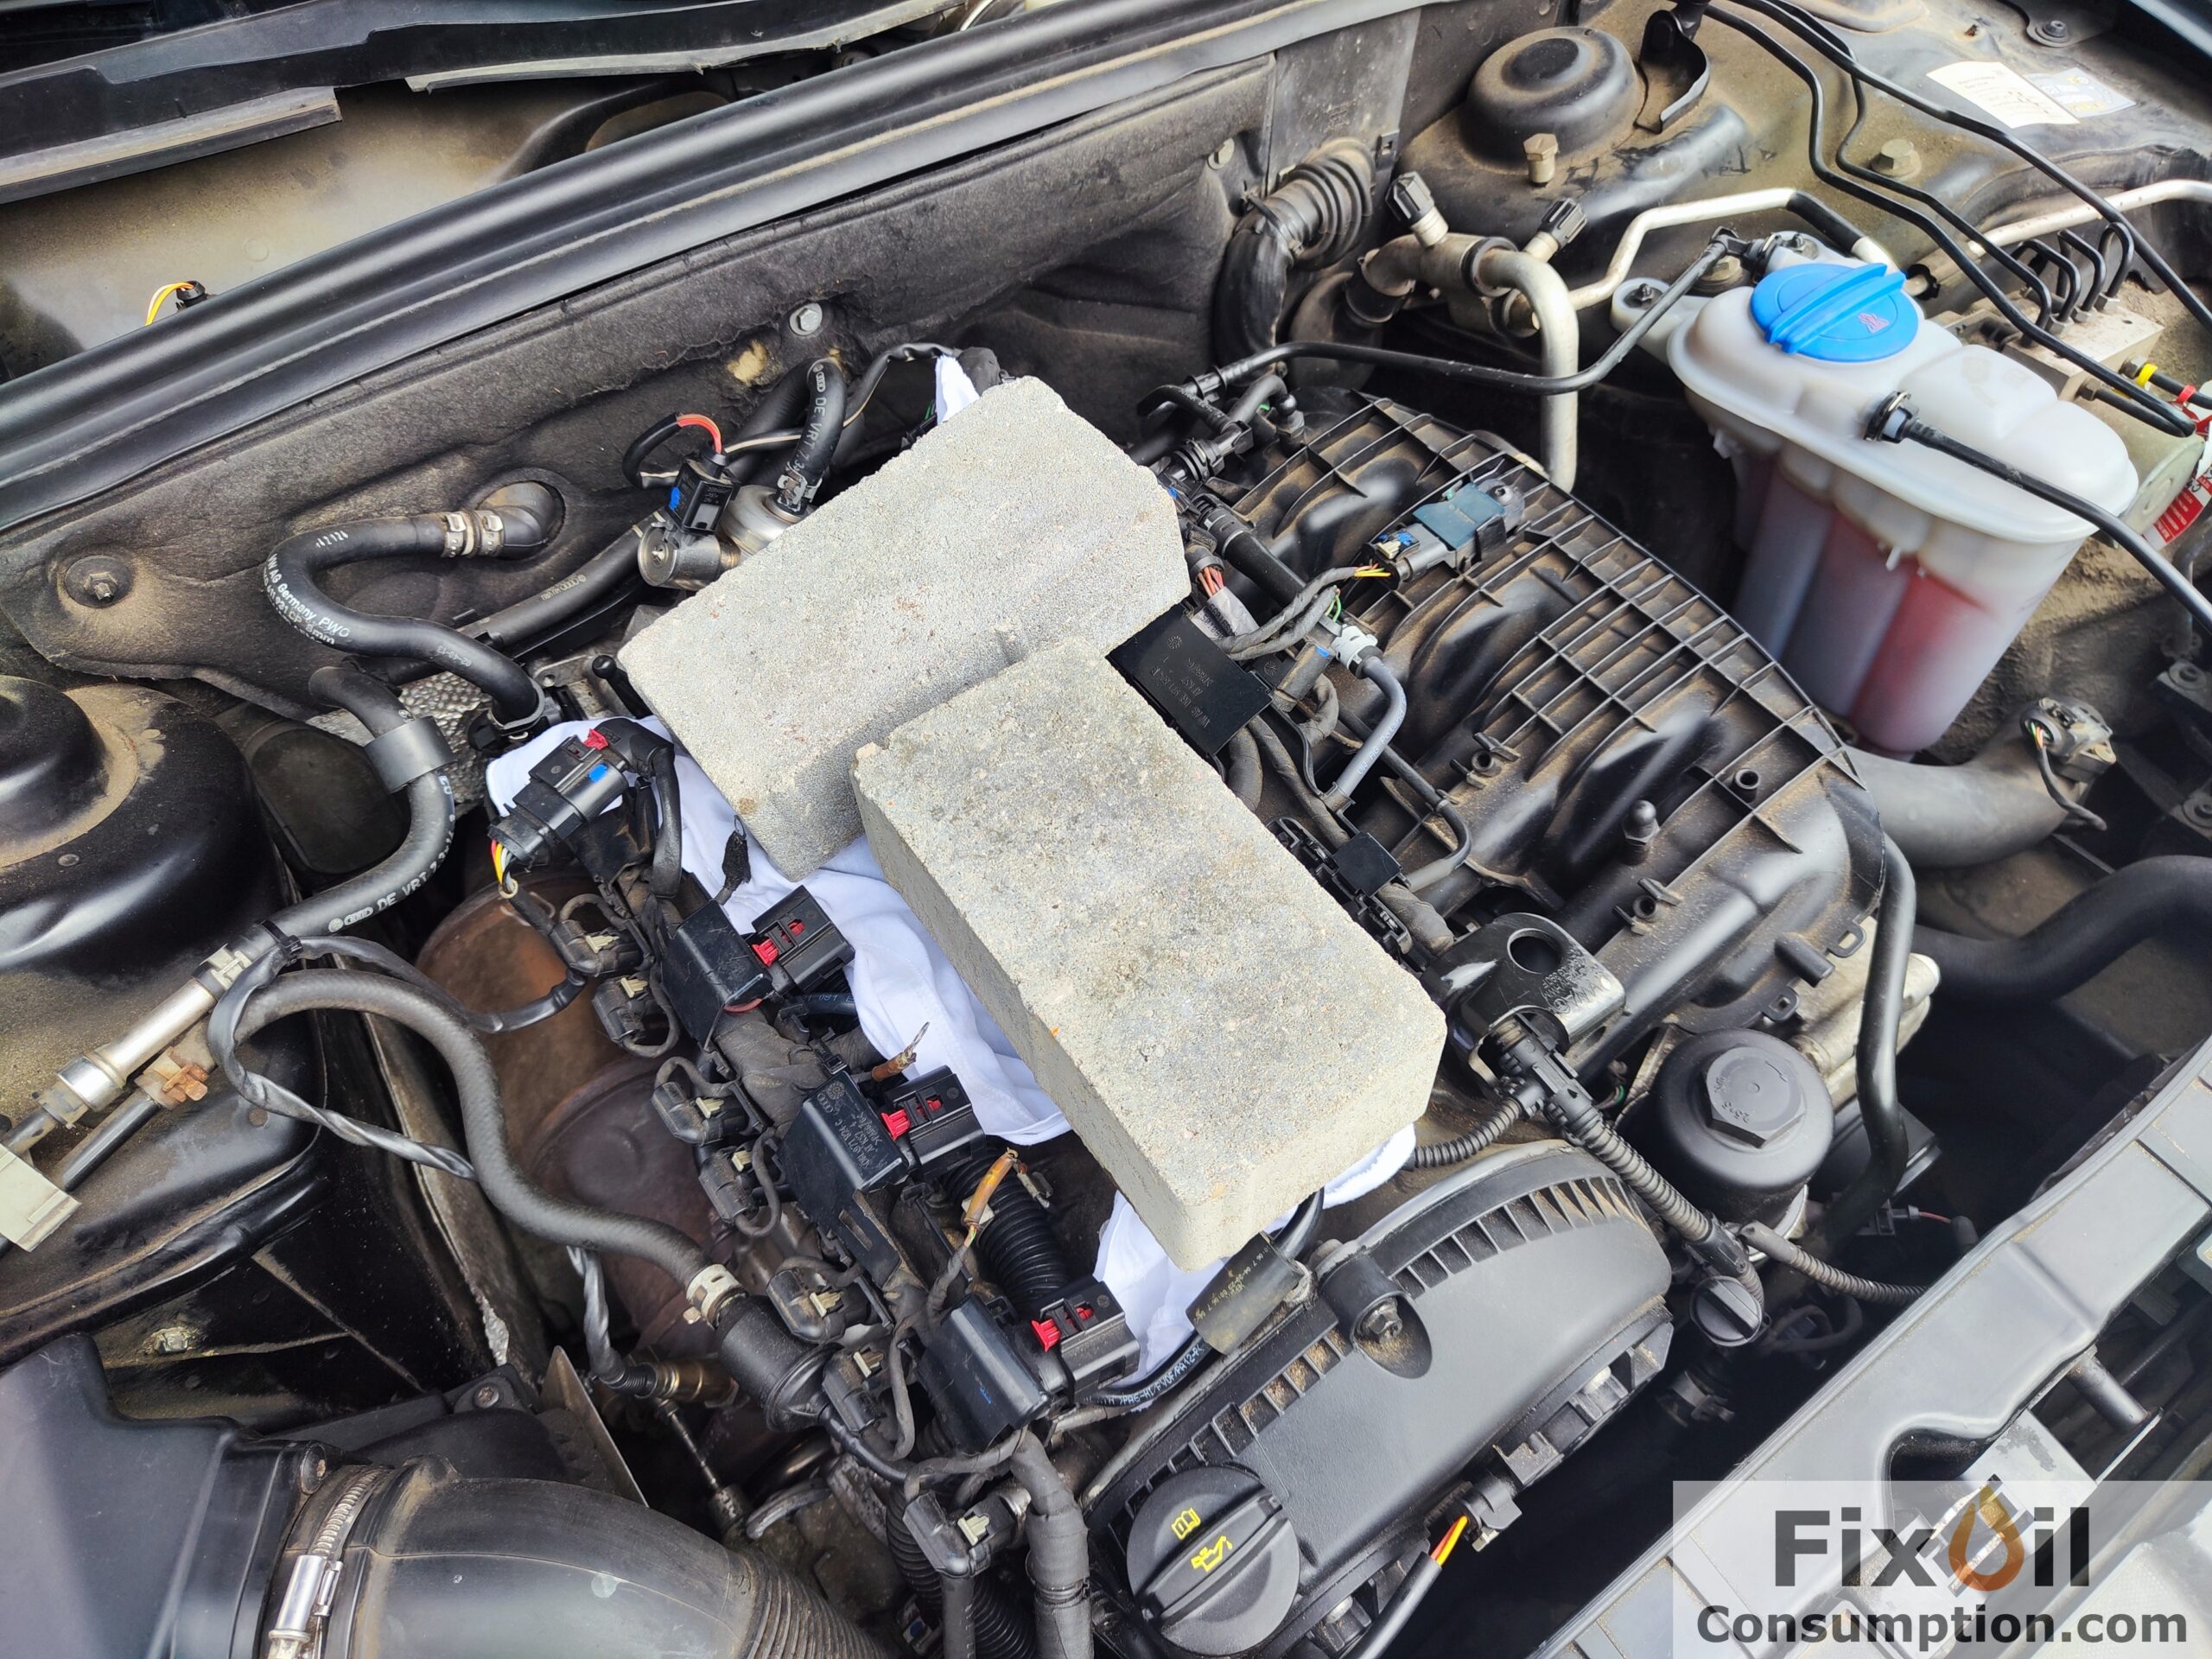
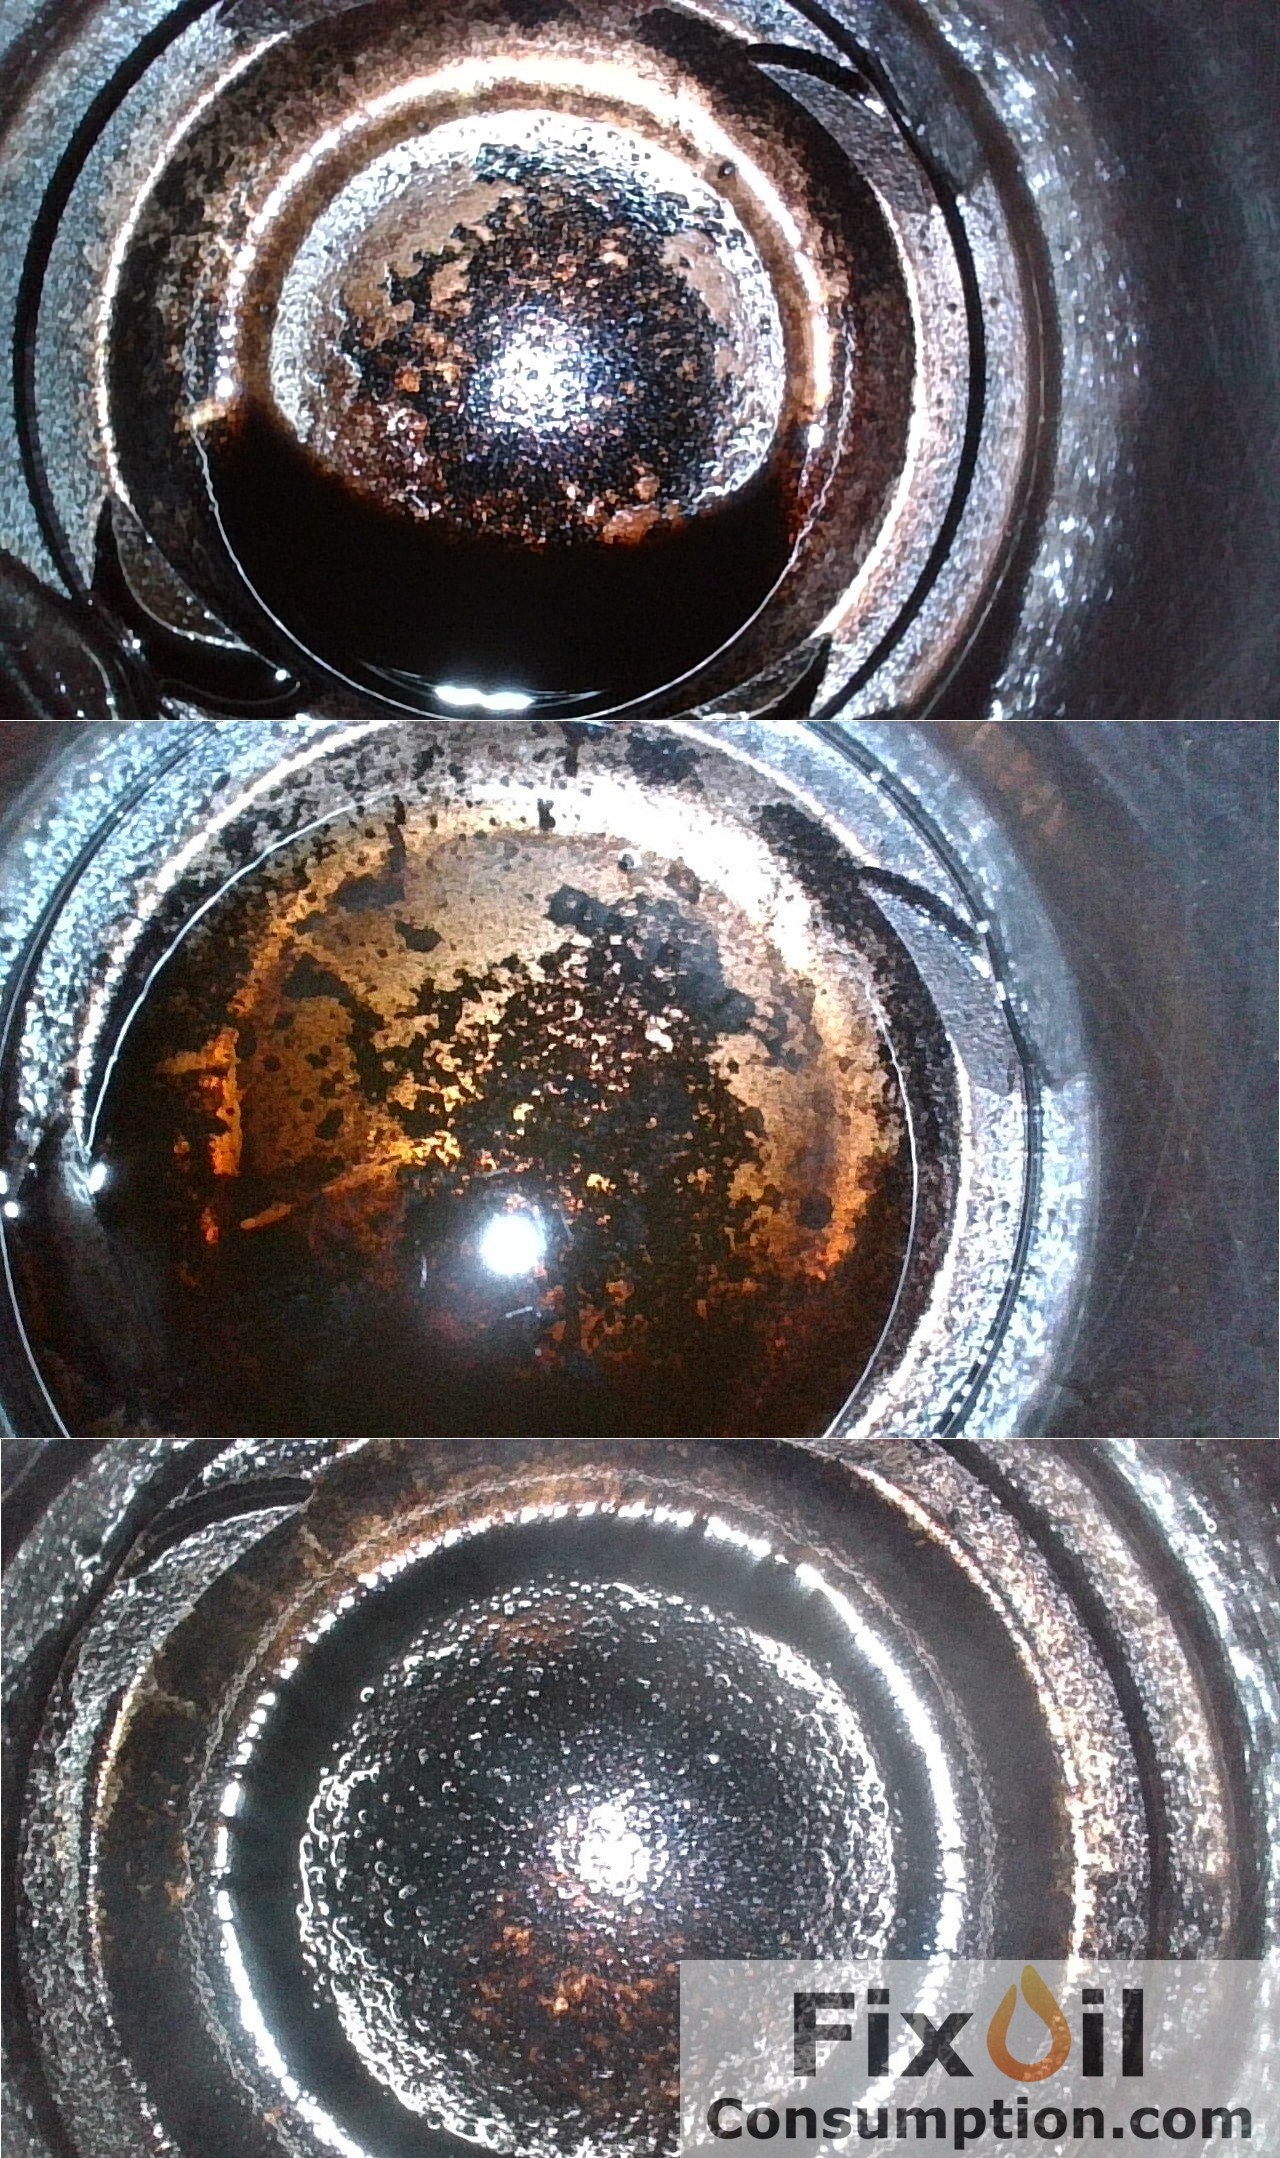
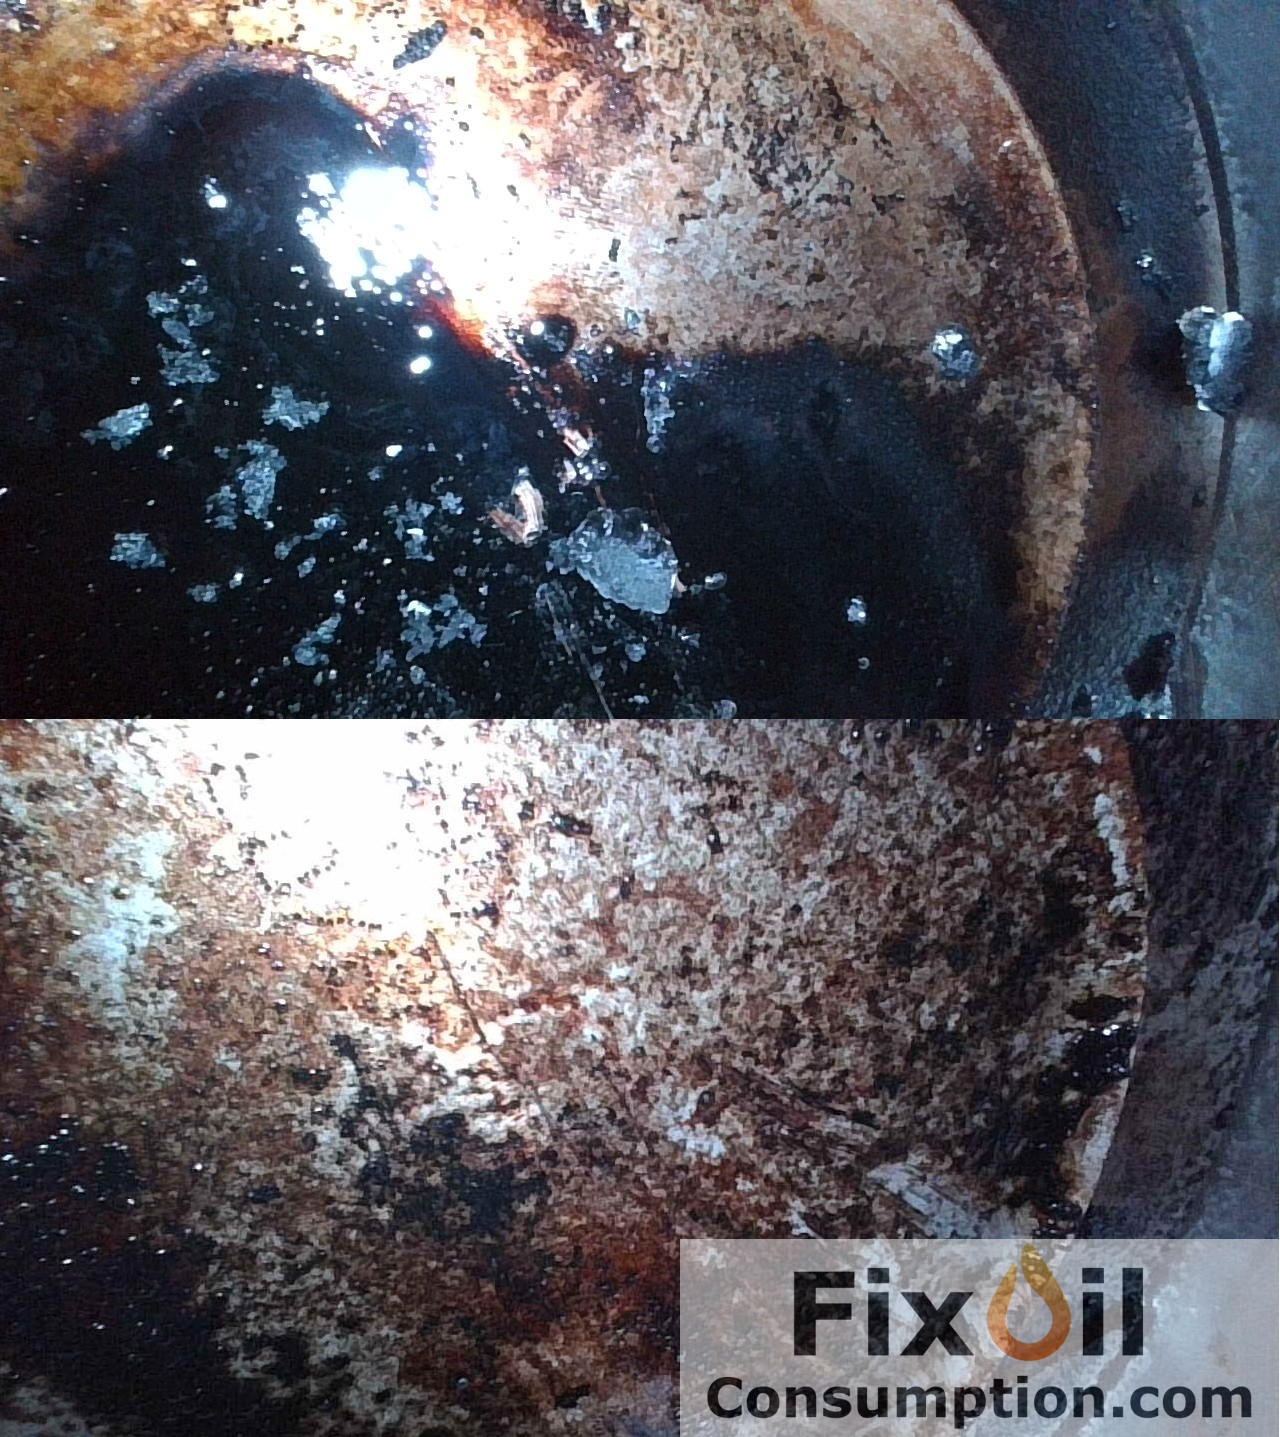
Introduce Berryman B-12 Chemtool into the Cylinders
For each cylinder, introduce about 110 ml of Berryman B-12 Chemtool fluid through the spark plug holes. One bottle should suffice for the first application. Ensure the fluid reaches the piston rings. Cover the holes to reduce evaporation of the fluid.
▲ Fiat Linea 1.4 T-Jet 120KM ▲
▲ VW Golf VI 1.6 BSE 102KM ▲
▲ Audi A5 1.8 CJEB 170KM ▲
Soak the Piston Rings
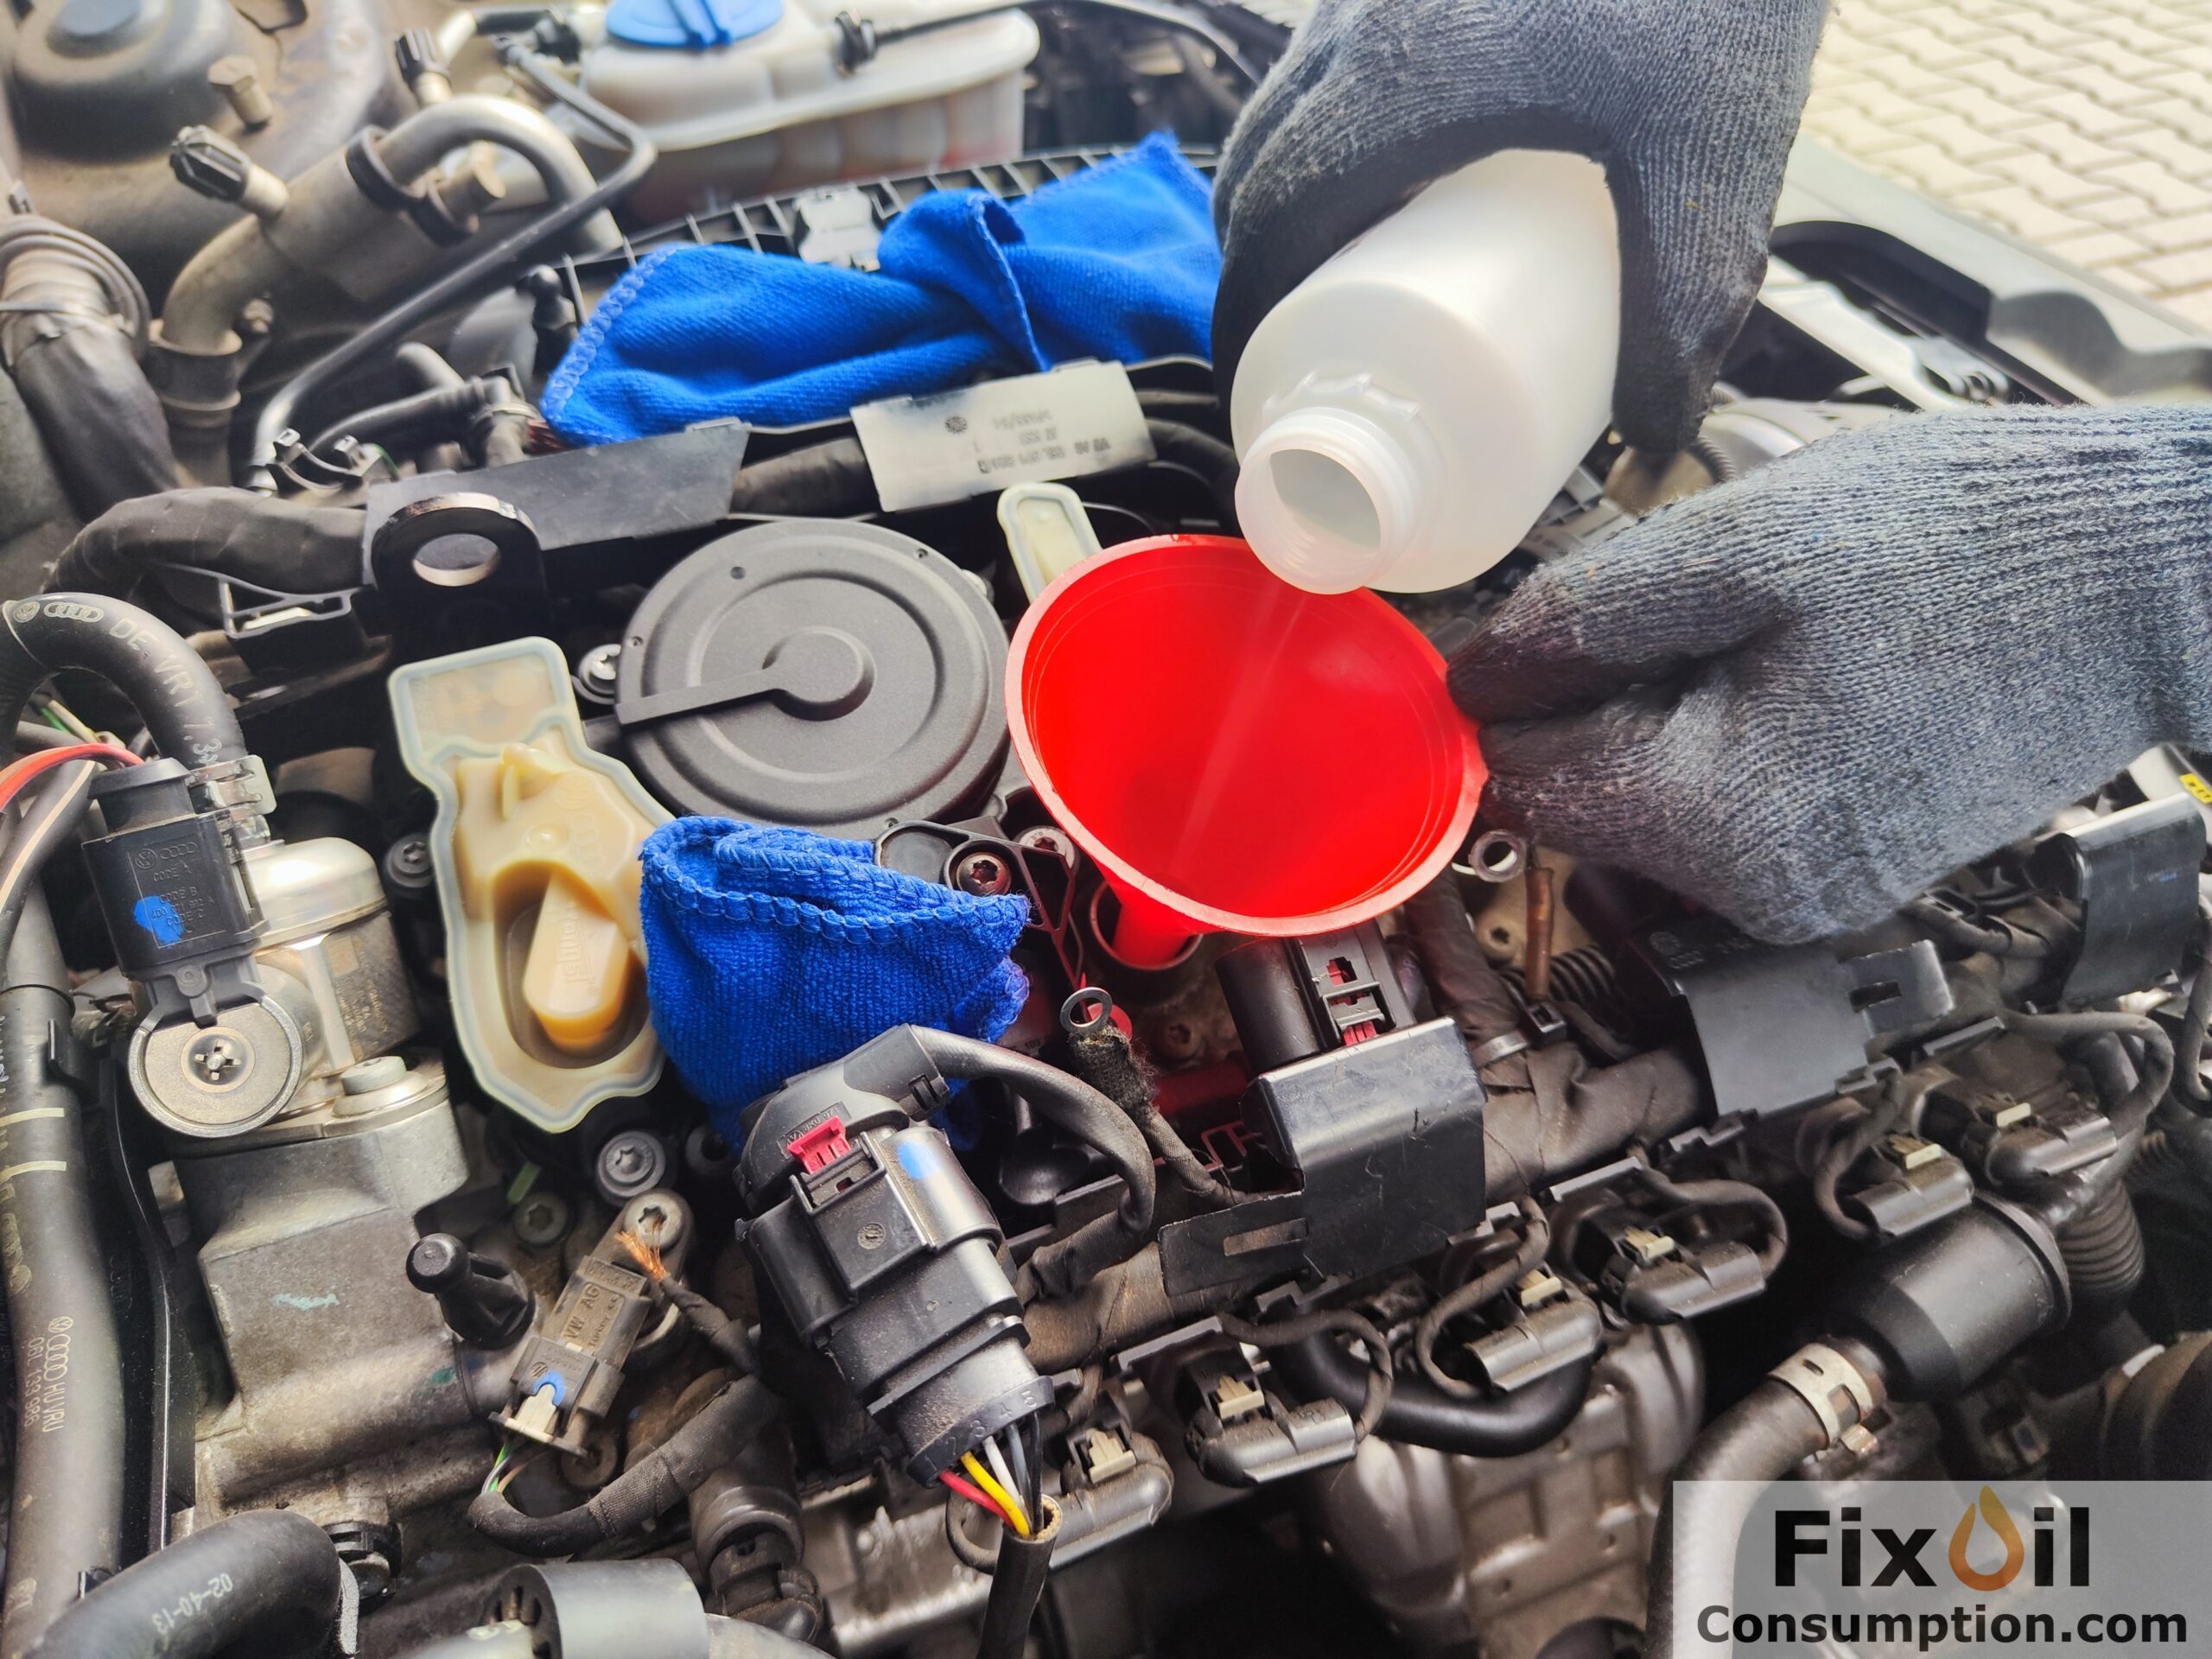
Leave the fluid in the cylinders for 5-6 hours. After this time, top up the fluid in the cylinders – about 25 ml per cylinder, manually rotate the crankshaft (e.g., with a wrench on the flywheel) to move the pistons and spread the cleaning agent. Then reset the pistons to the same position and cover the holes again.
Repeat this process every 5-6 hours – a total of 4 applications.
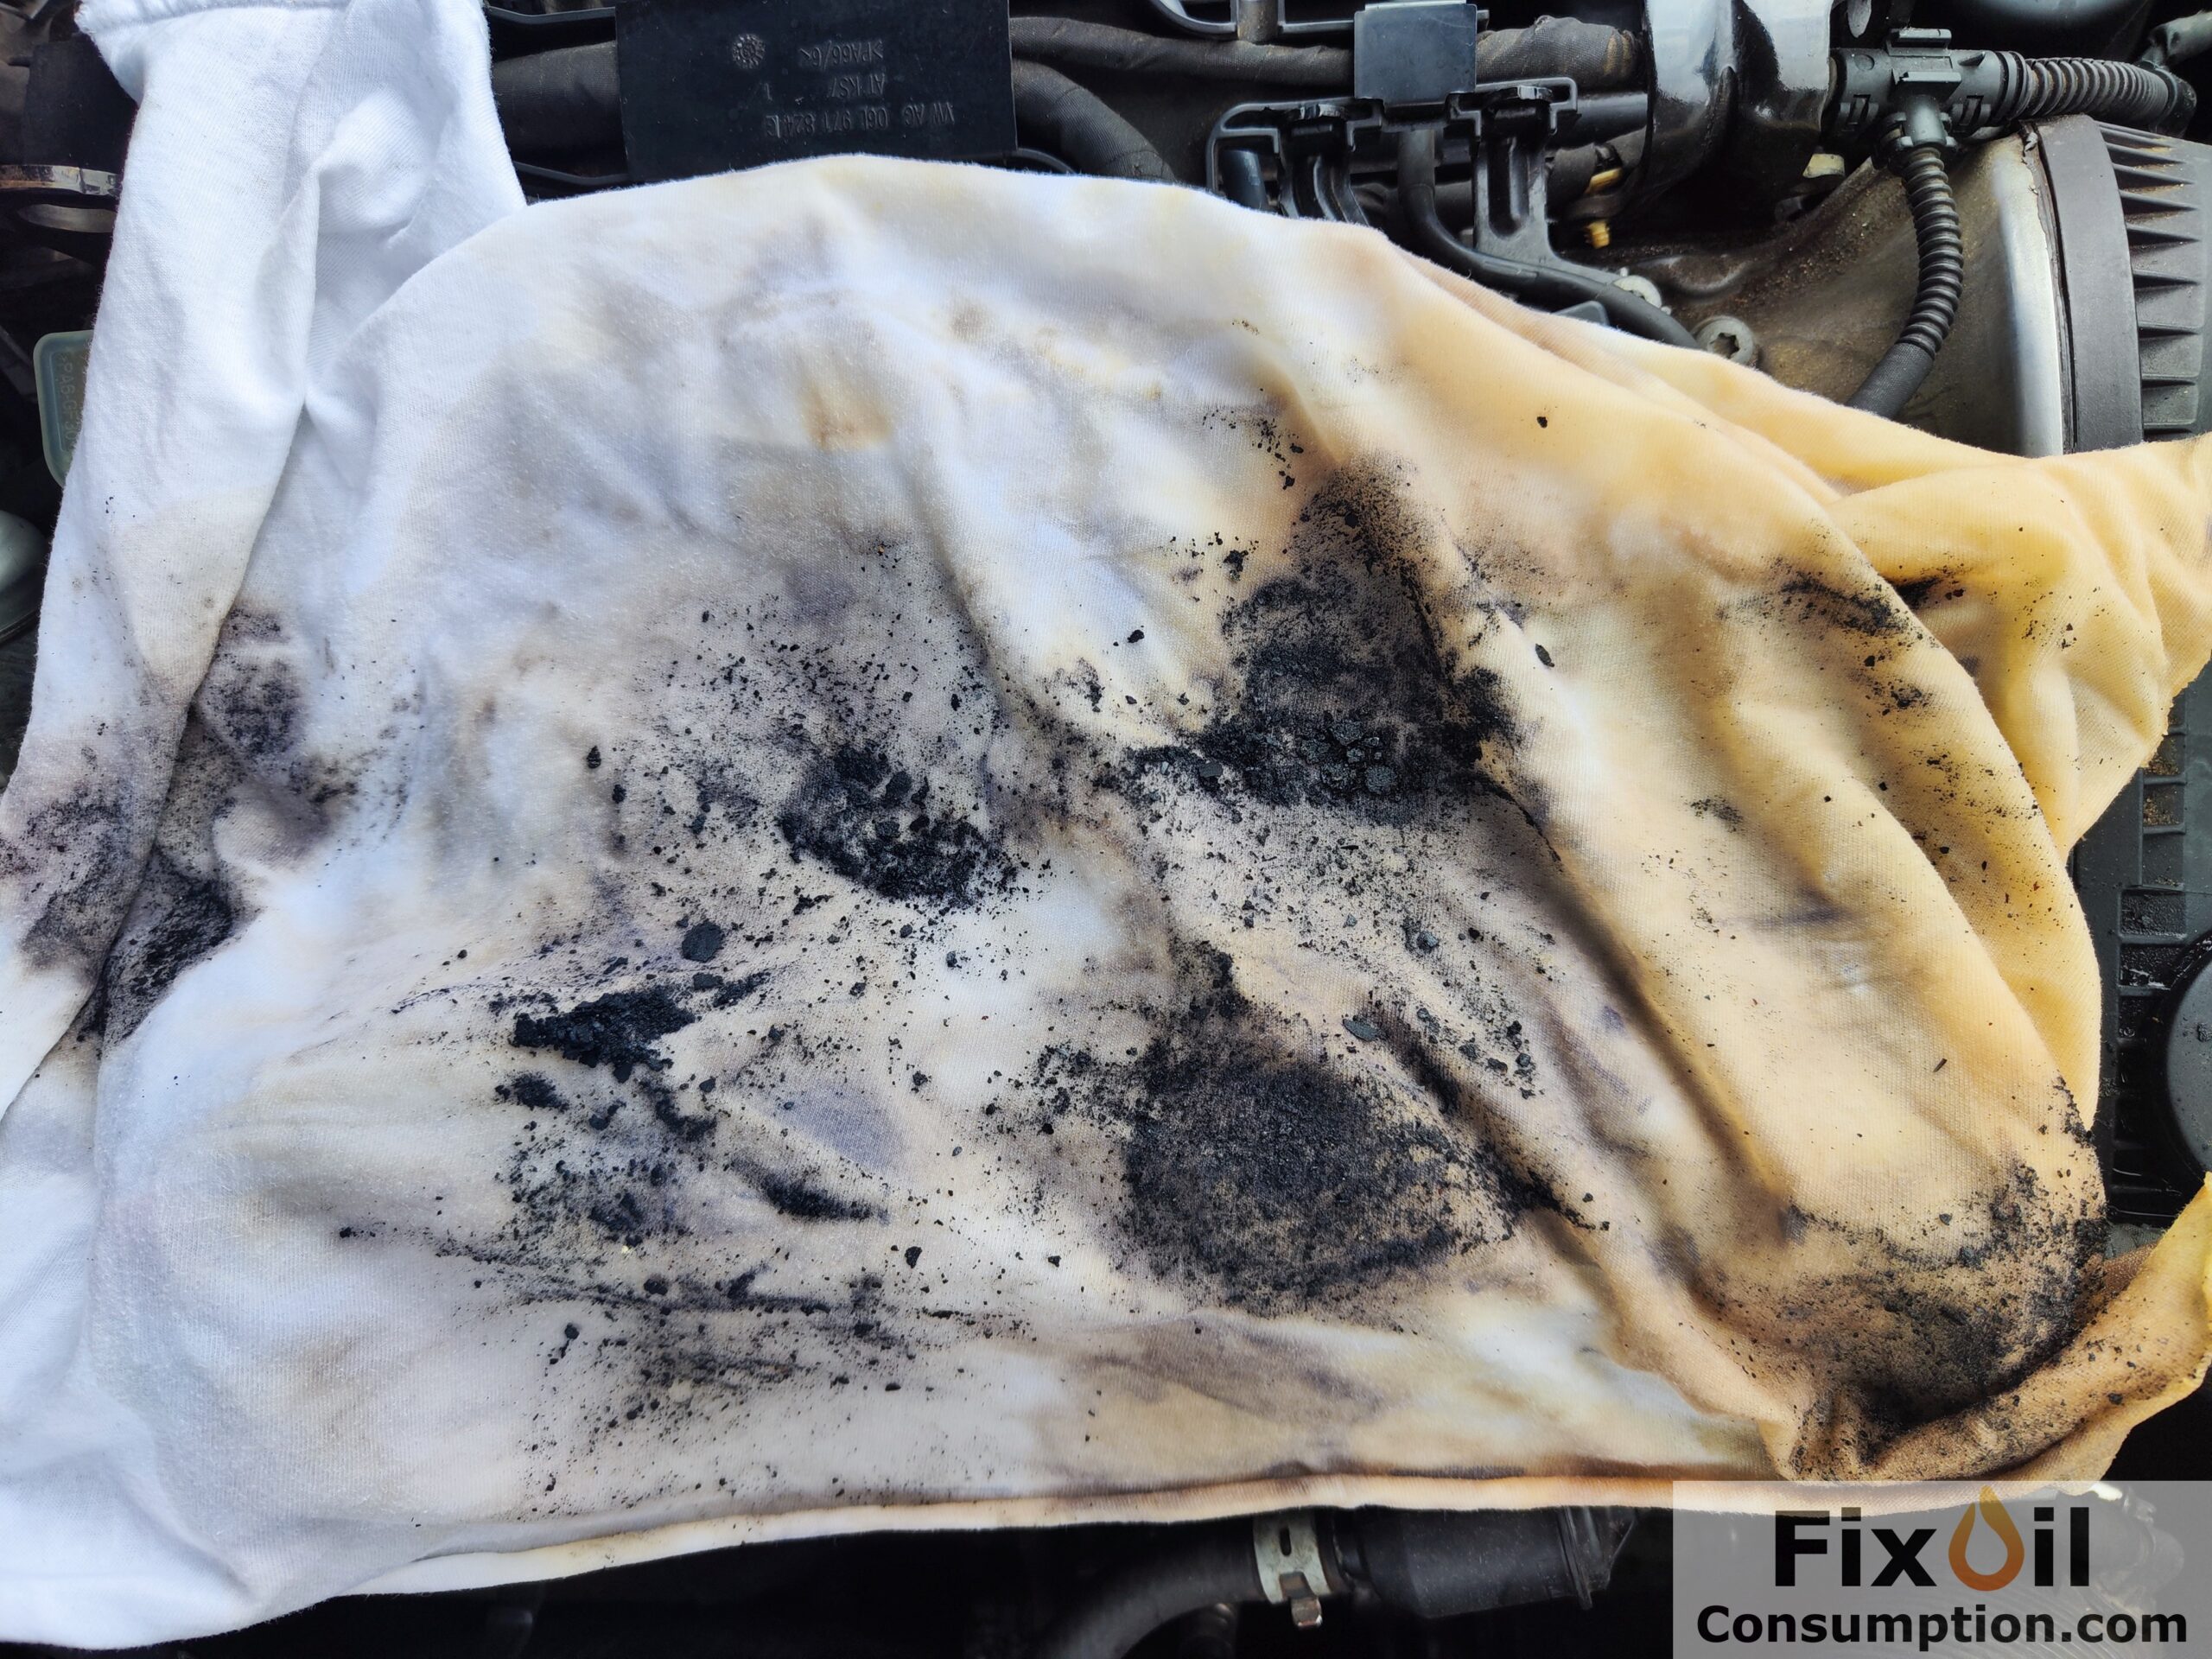
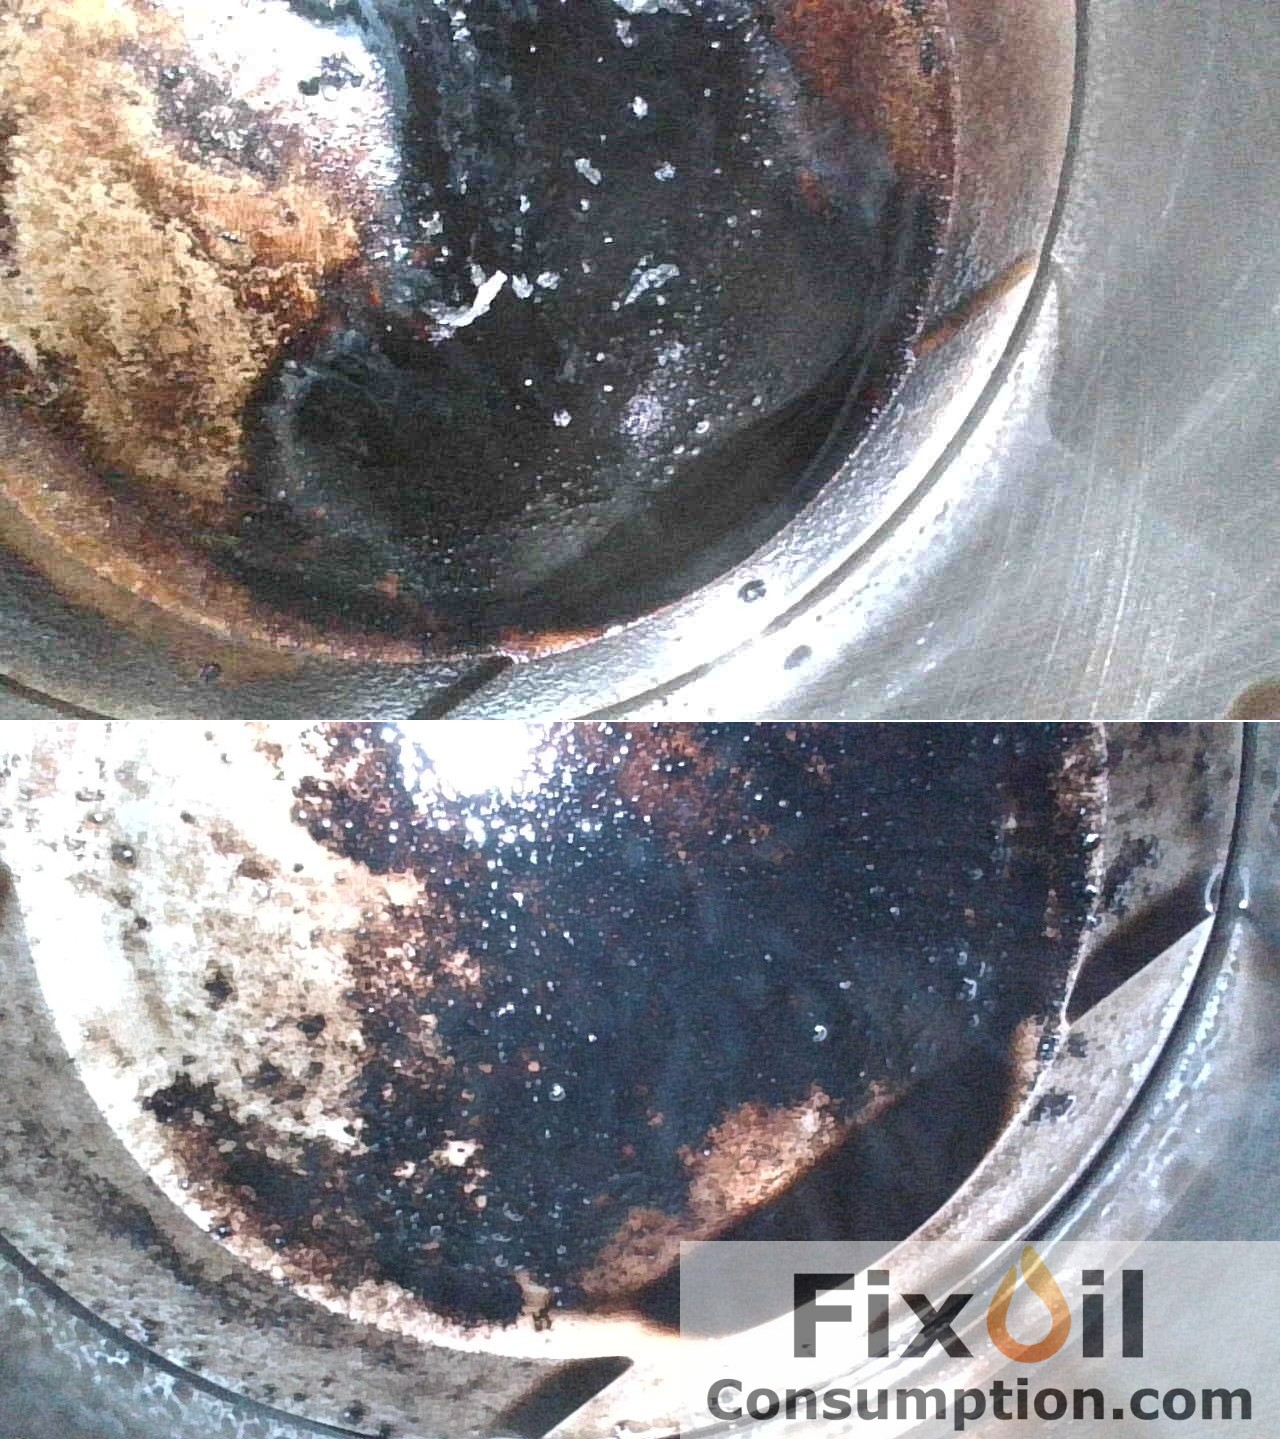
Remove the Fluid from the Cylinders
When the time is over, cover the spark plug holes with rags and try to weigh them down. Optionally, remove the fuel pump fuse to prevent flooding the engine. Reconnect the battery and crank the engine several times to expel any remaining fluid and contaminants from the cylinders.
▲ Fiat Linea 1.4 T-Jet 120KM ▲
▲ Audi A5 1.8 CJEB 170KM ▲
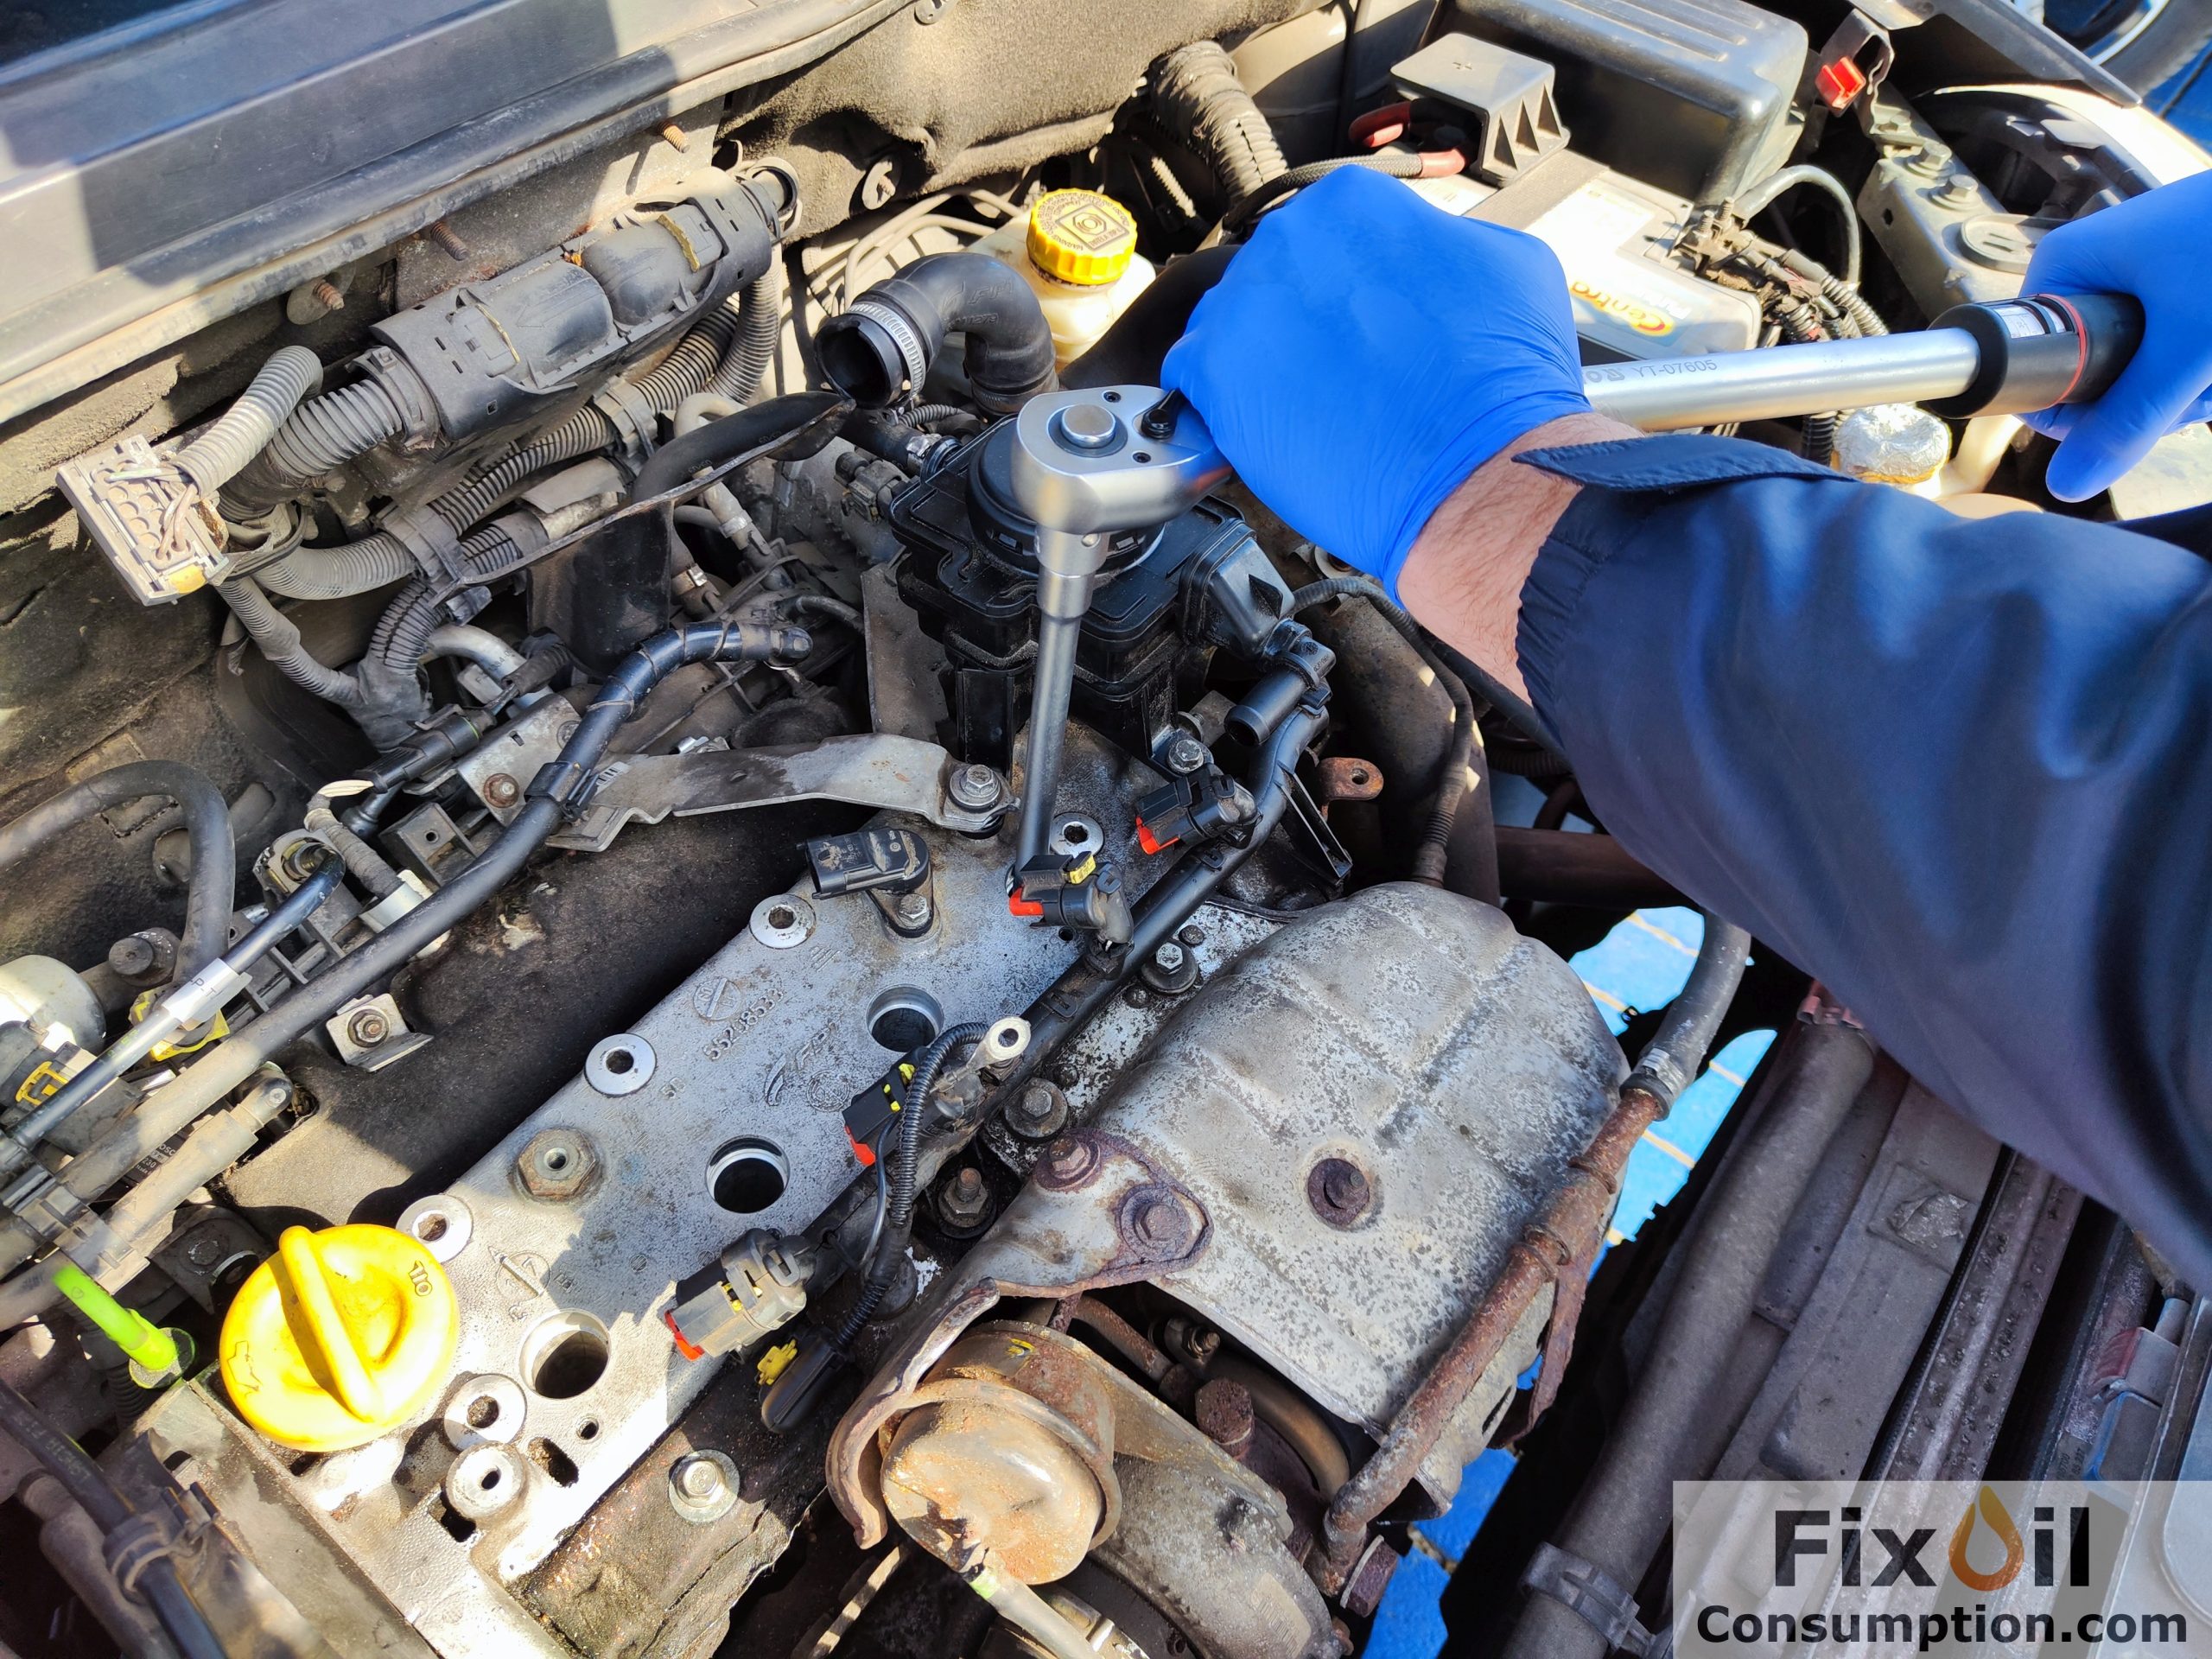
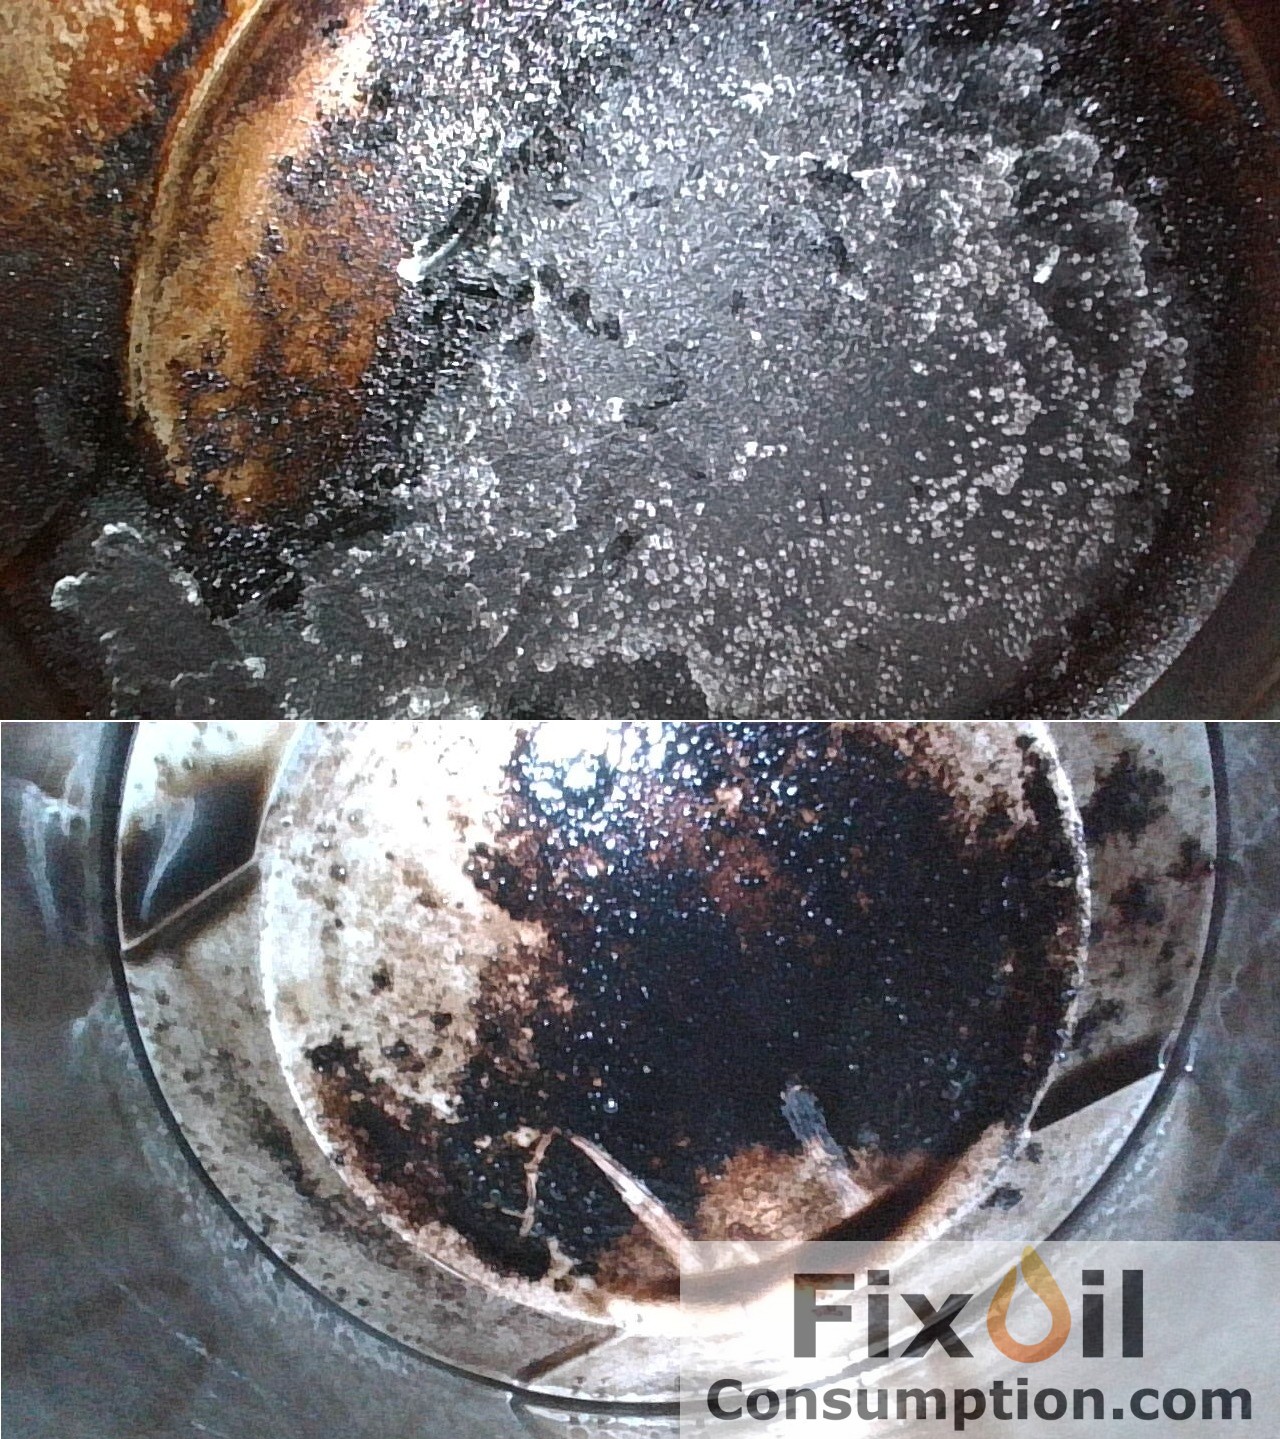
Reinstall the Spark Plugs and Start the Engine
Before installing the spark plugs, thoroughly clean the holes. Additionally, you can try to remove any residue from the piston surfaces using a vacuum cleaner with a thin nozzle or a hand pump. Reinstall the old spark plugs using a torque wrench to tighten them correctly.
▲ Fiat Linea 1.4 T-Jet 120KM ▲
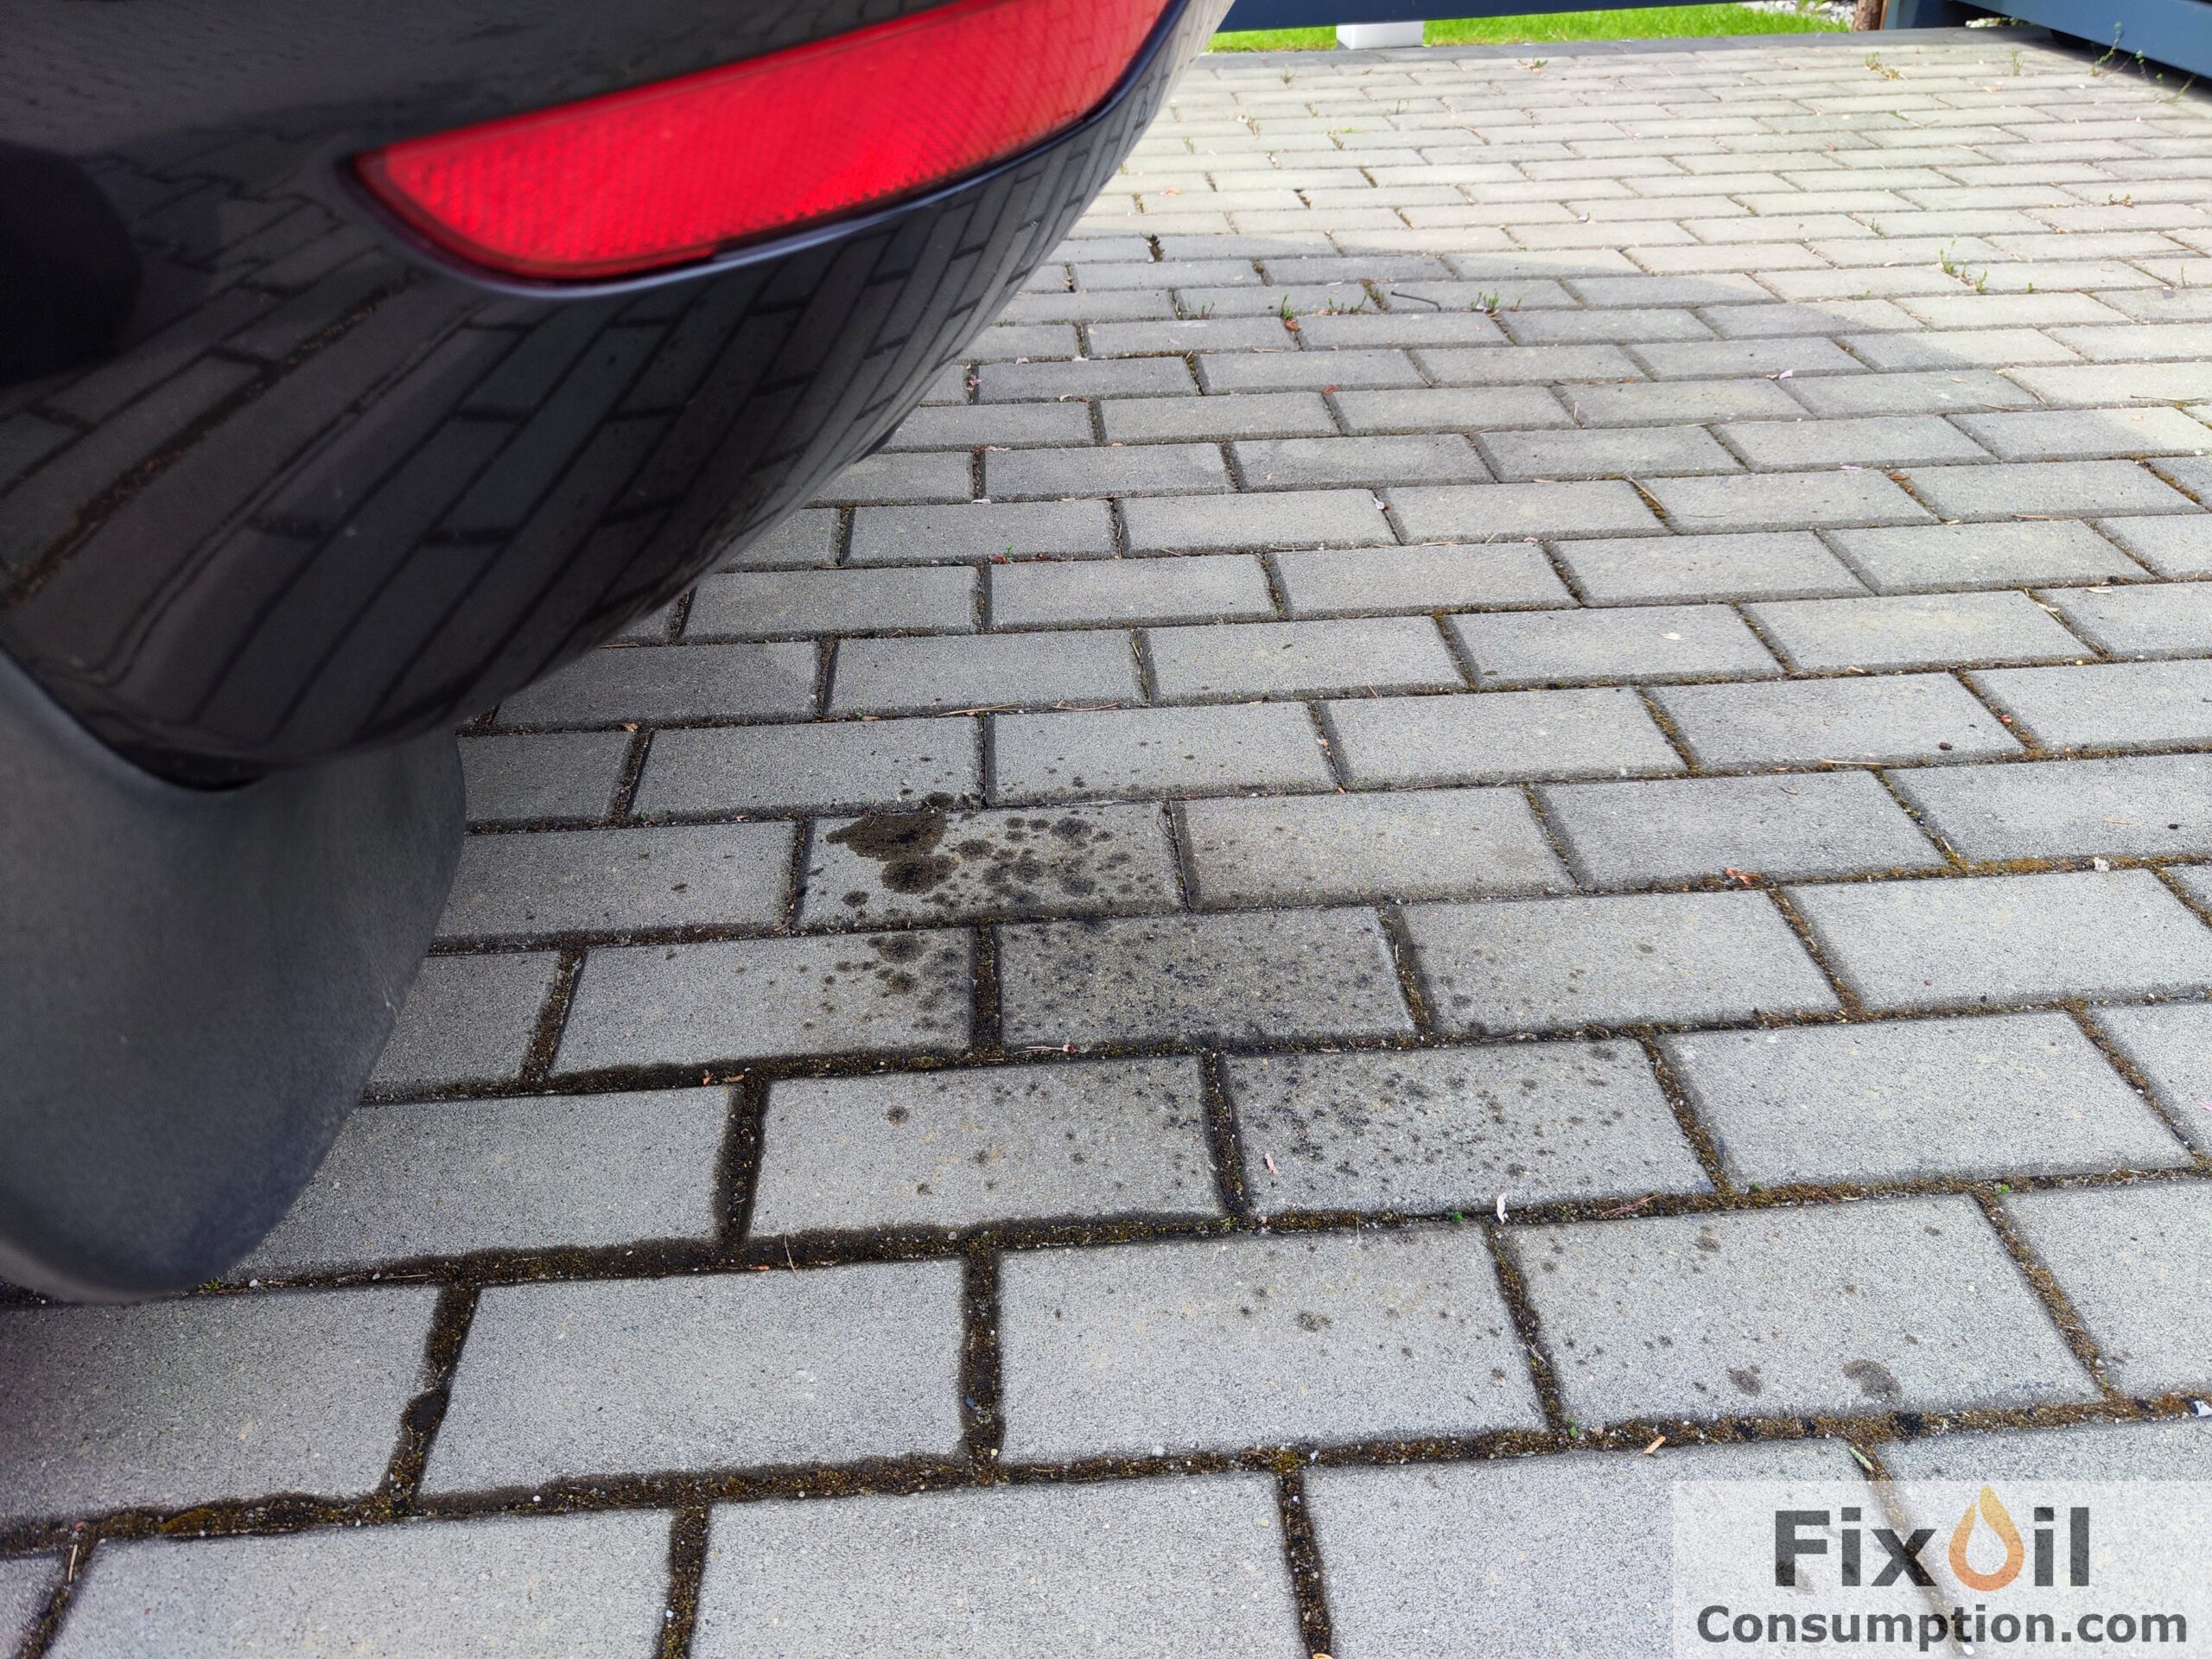
Start the engine. Multiple attempts will likely be necessary – the engine should start only after about 2–3 minutes, so it’s a good idea to have a fully charged battery or at least a booster on hand. Initially, the engine may produce a lot of smoke and run unevenly, as leftover fluid is being burned off. Let it idle for at least 10 minutes, then increase the RPM to around 2,500 for another 10 minutes. After that, turn off the engine and wait for it to cool down.
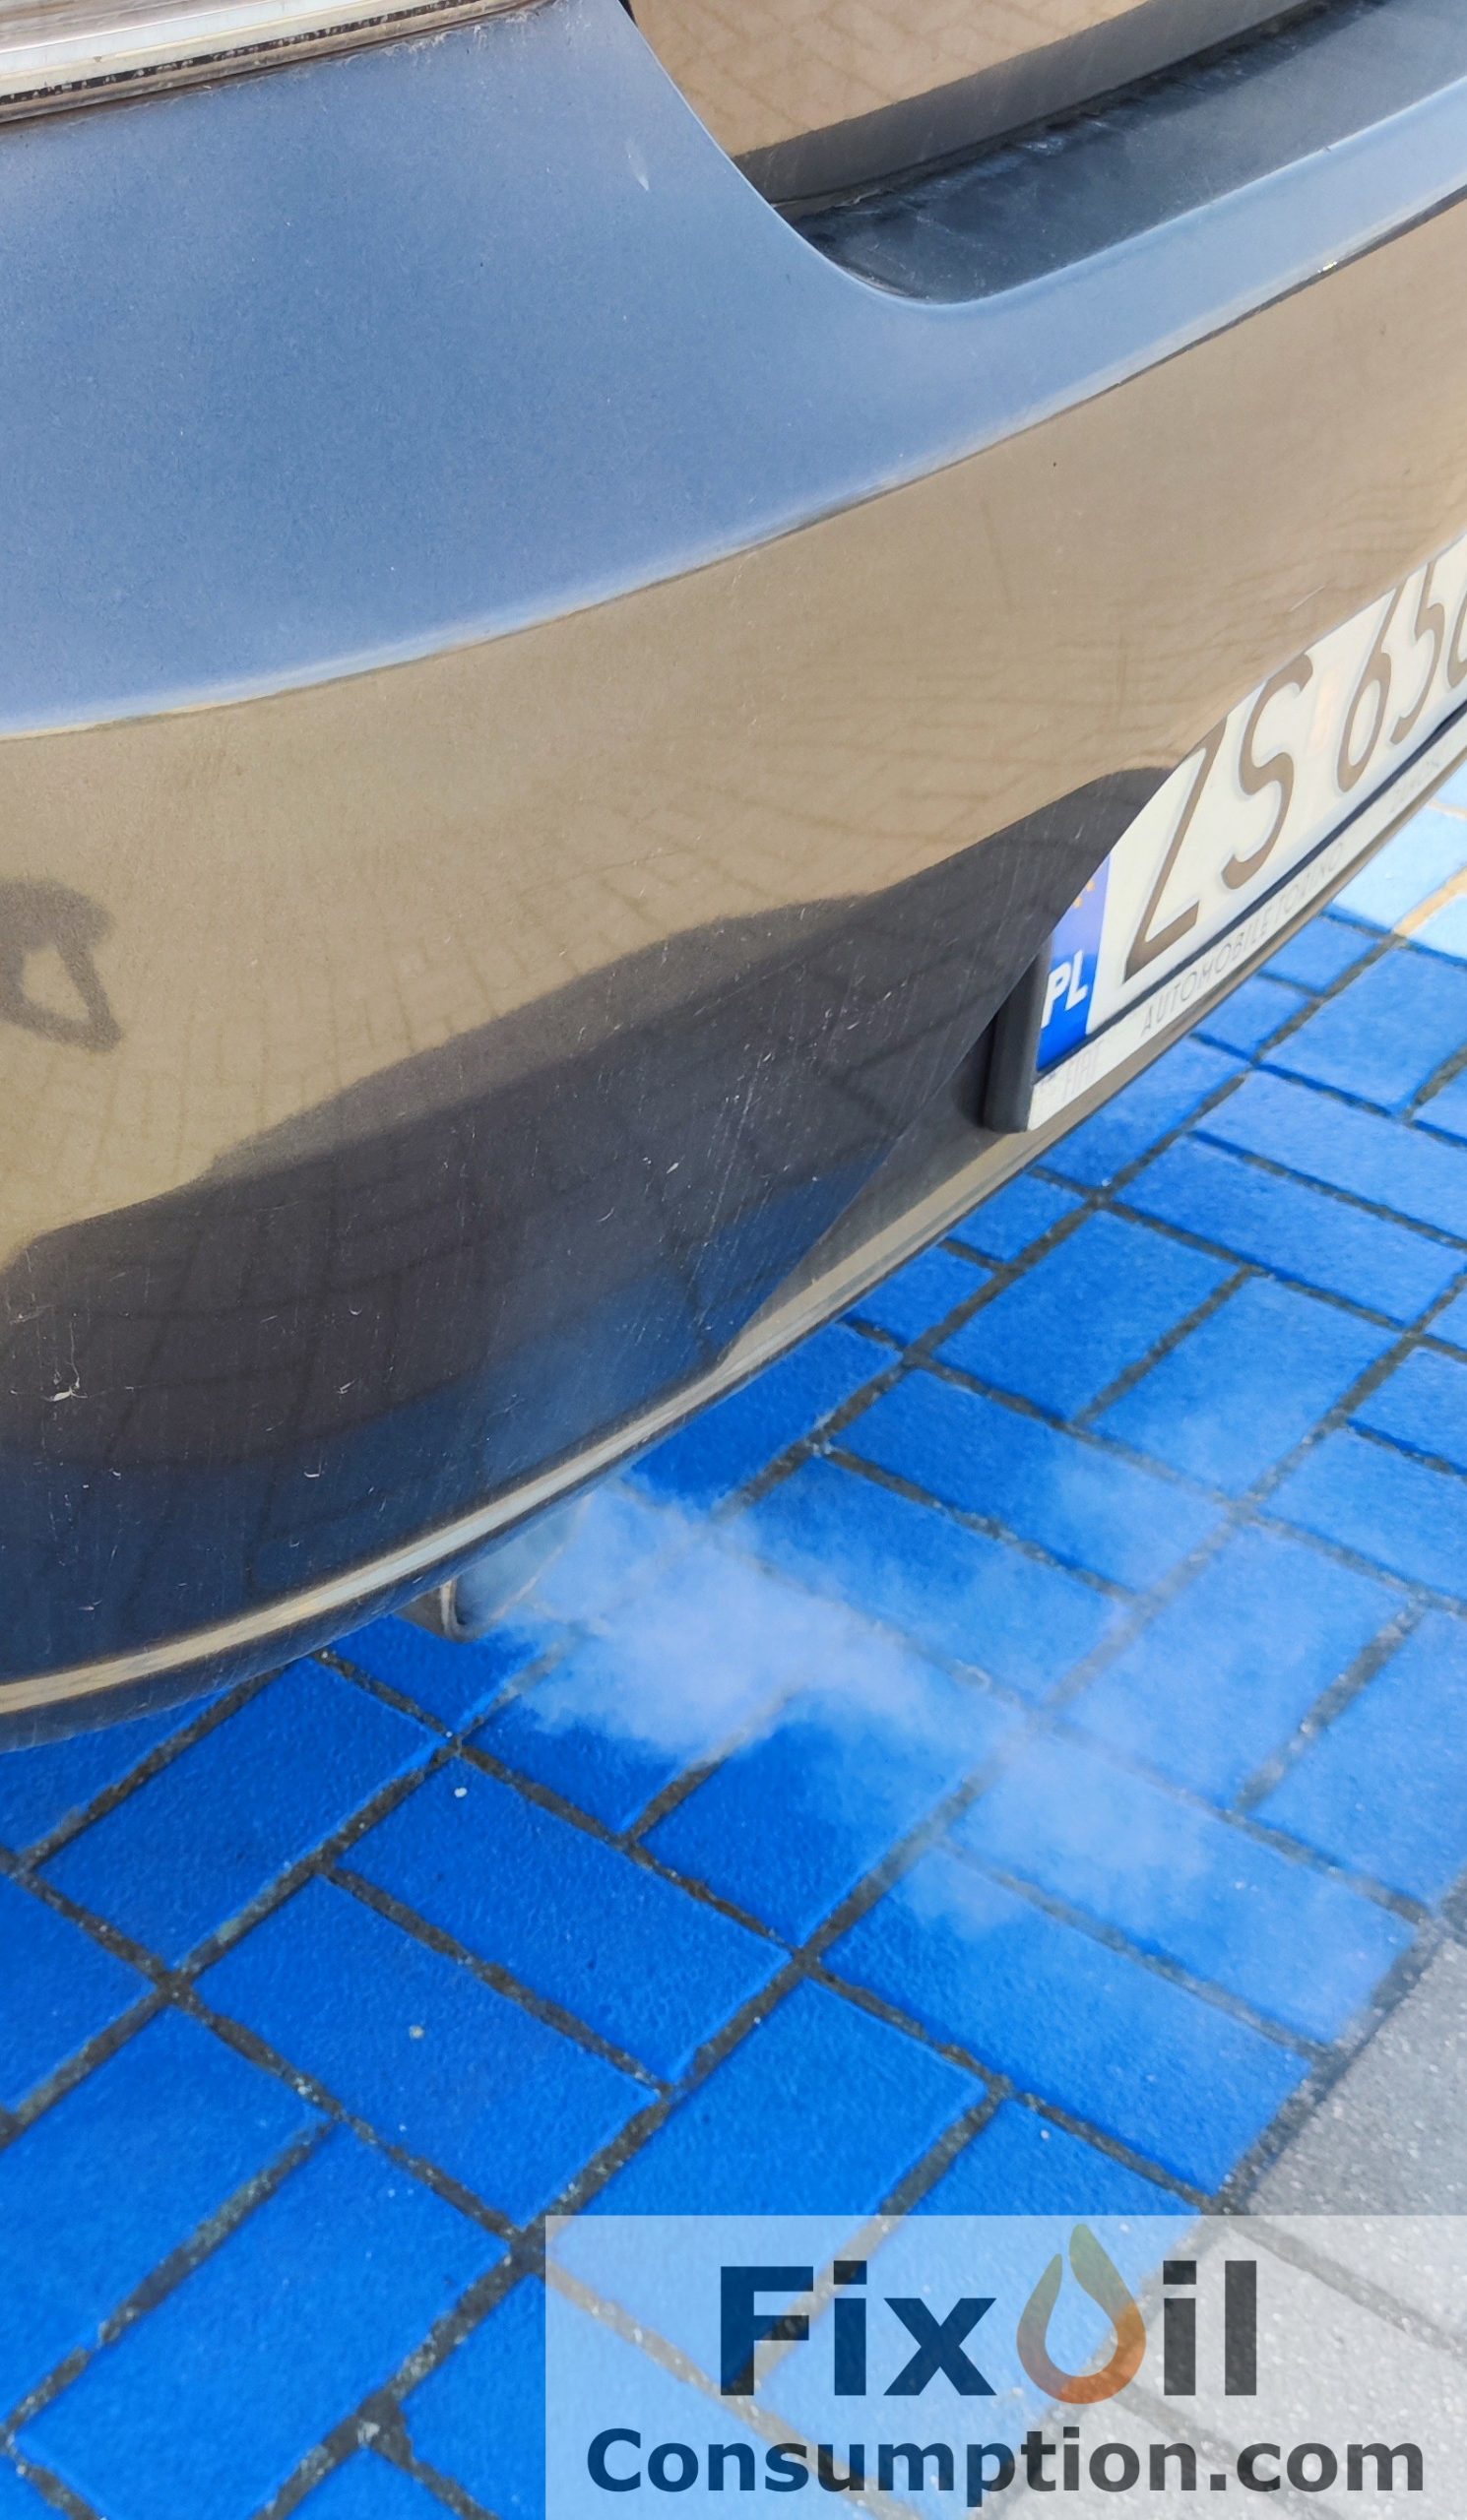
▲ Fiat Linea 1.4 T-Jet 120KM ▲
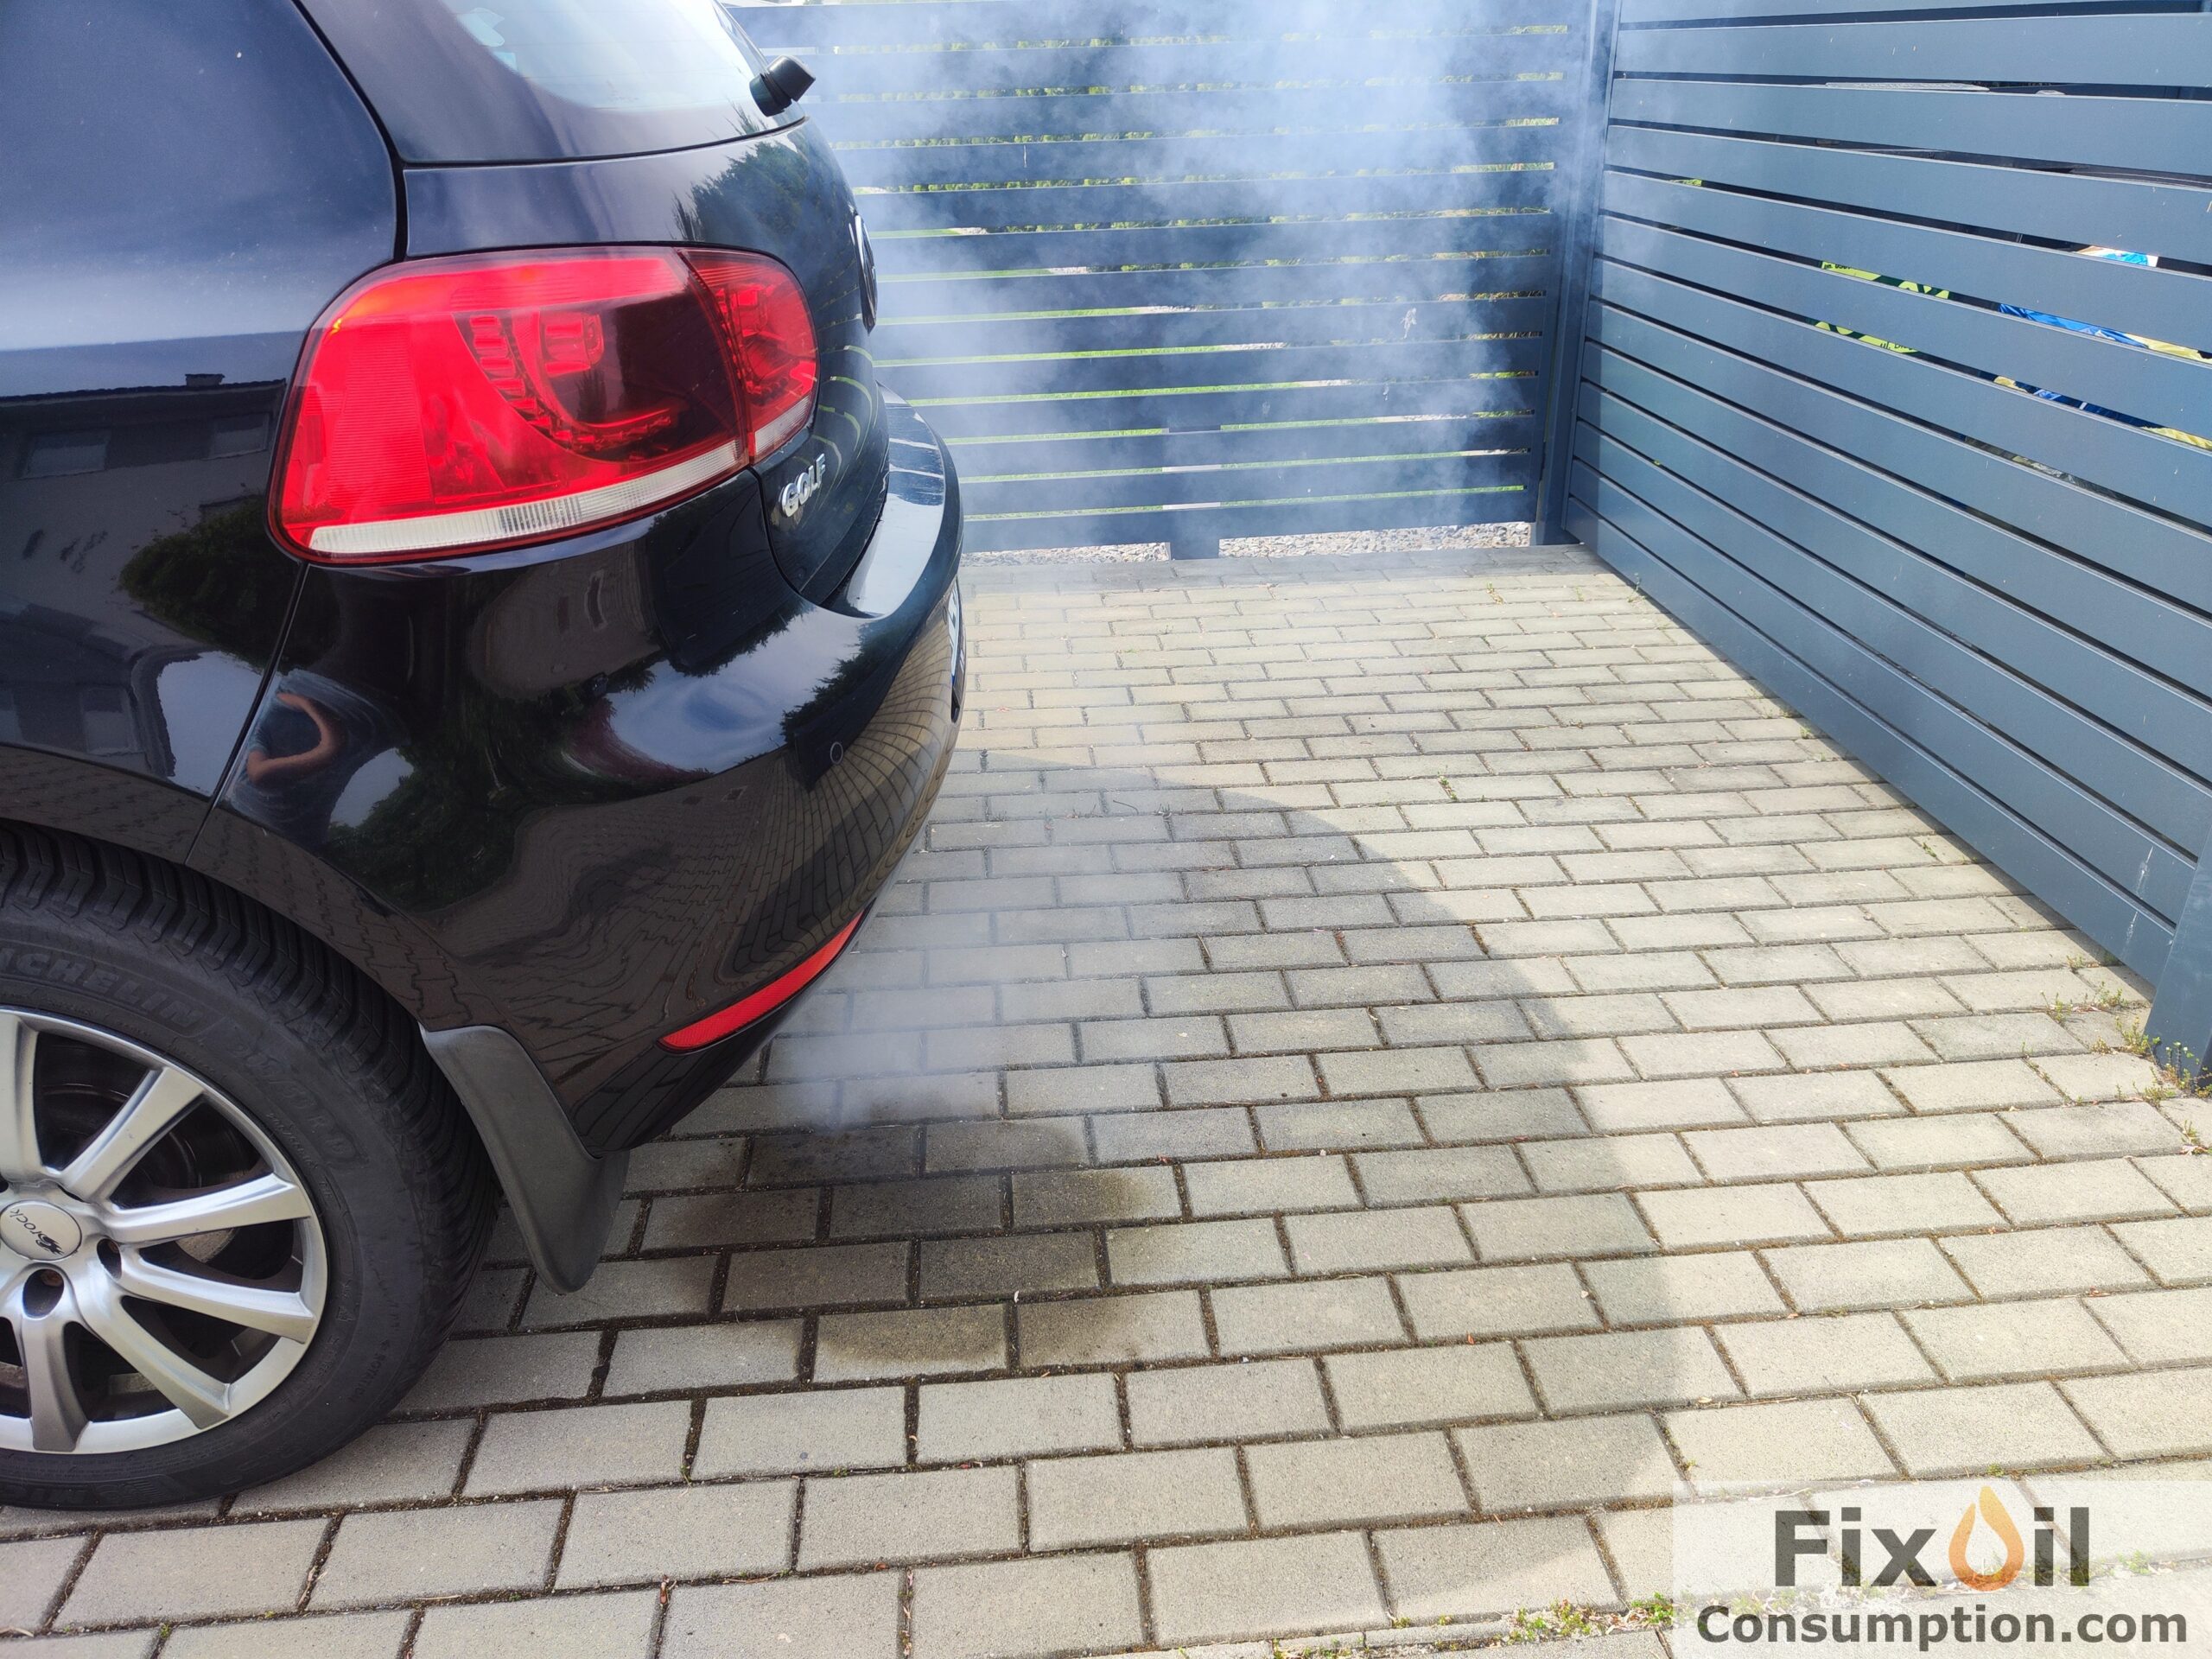
▲ VW Golf VI 1.6 BSE 102KM ▲
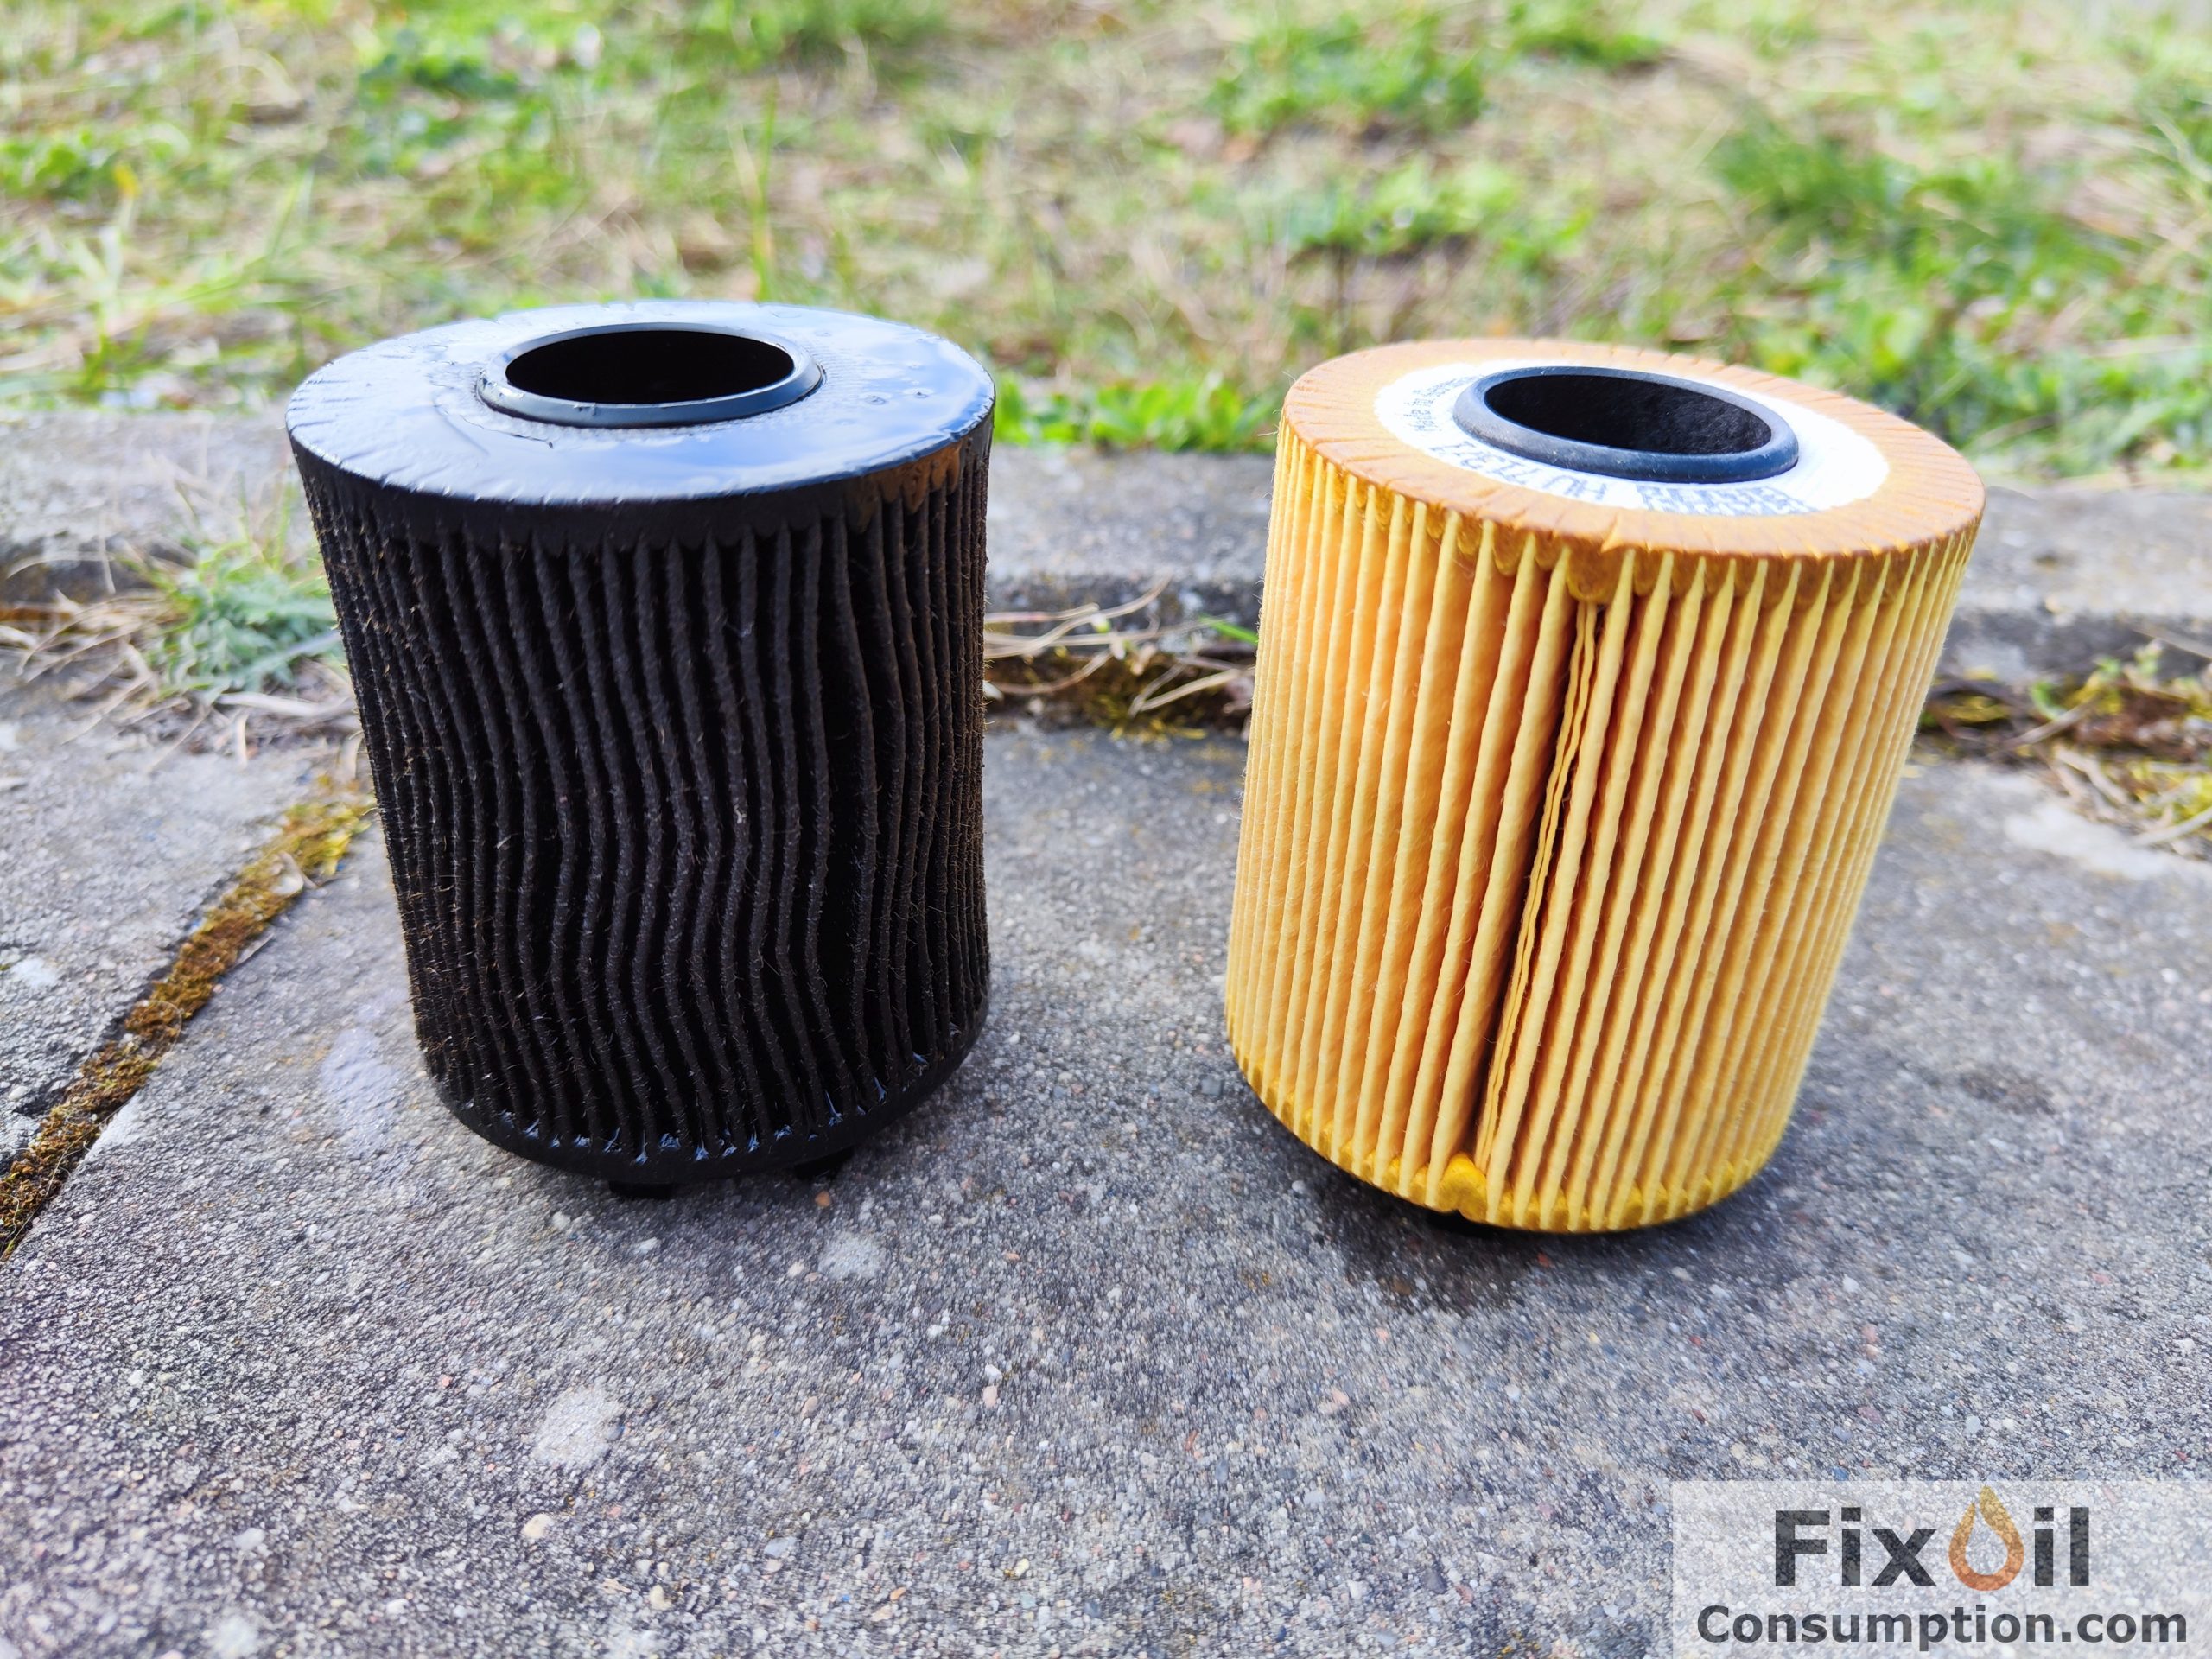
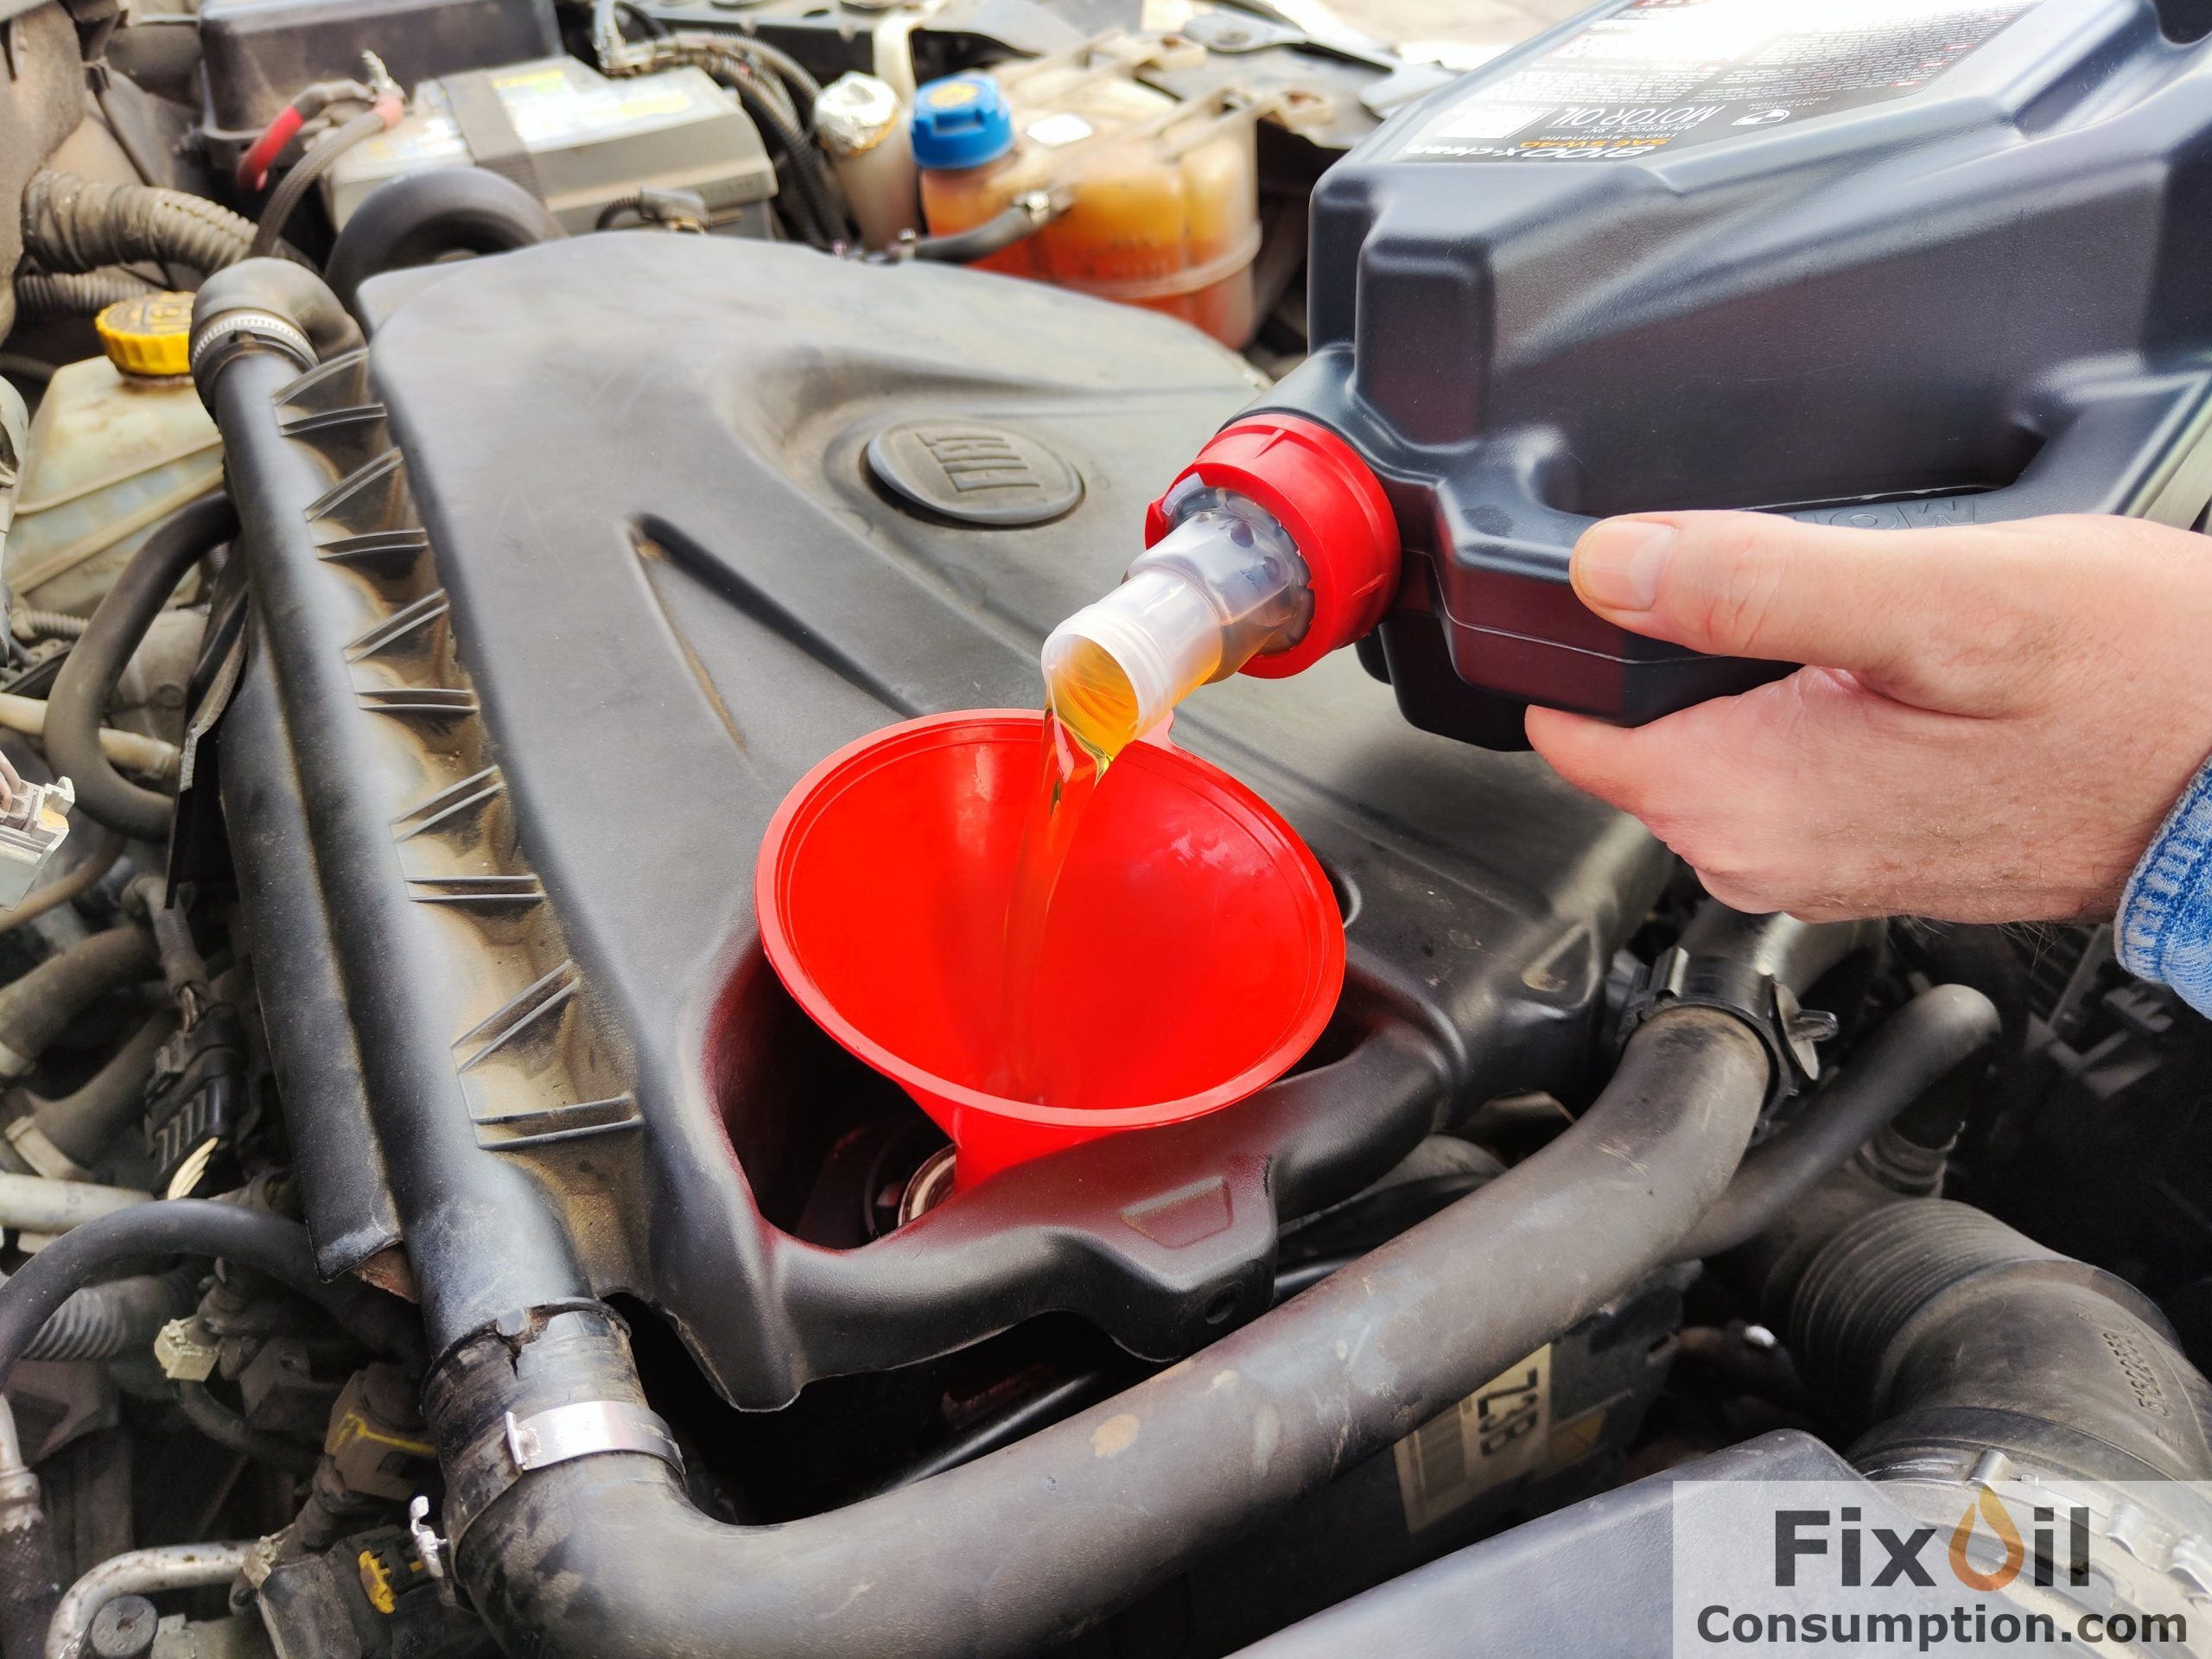
After completing the process, it is recommended to change the oil, filter and spark plugs to remove any dissolved residues. Done!


▲ Fiat Linea 1.4 T-Jet 120KM ▲
Effects of the Piston Soak Method
- Significant reduction in oil consumption – many users report a decrease in oil consumption by 50-80%.
- Improved engine performance – removal of carbon deposits can restore proper compression and improve engine function.
- Cost savings – the method is a fraction of the cost of an engine rebuild.
Fiat Linea 1.4 T-Jet 120KM (2007)
Mileage: approx. 260,000 km
Symptoms: for over 2 years, oil consumption has been around 1.5 liters per 1,000 km; misfire on cylinder 4; spark plug blackened with carbon deposits.
After treatment: so far, 600 km have been driven; the oil level on the dipstick remains unchanged. We will provide updates. Another update after 1,000 km: the oil level on the dipstick still remains unchanged!
Below are photos taken before, during, and after using Berryman B-12 Chemtool:
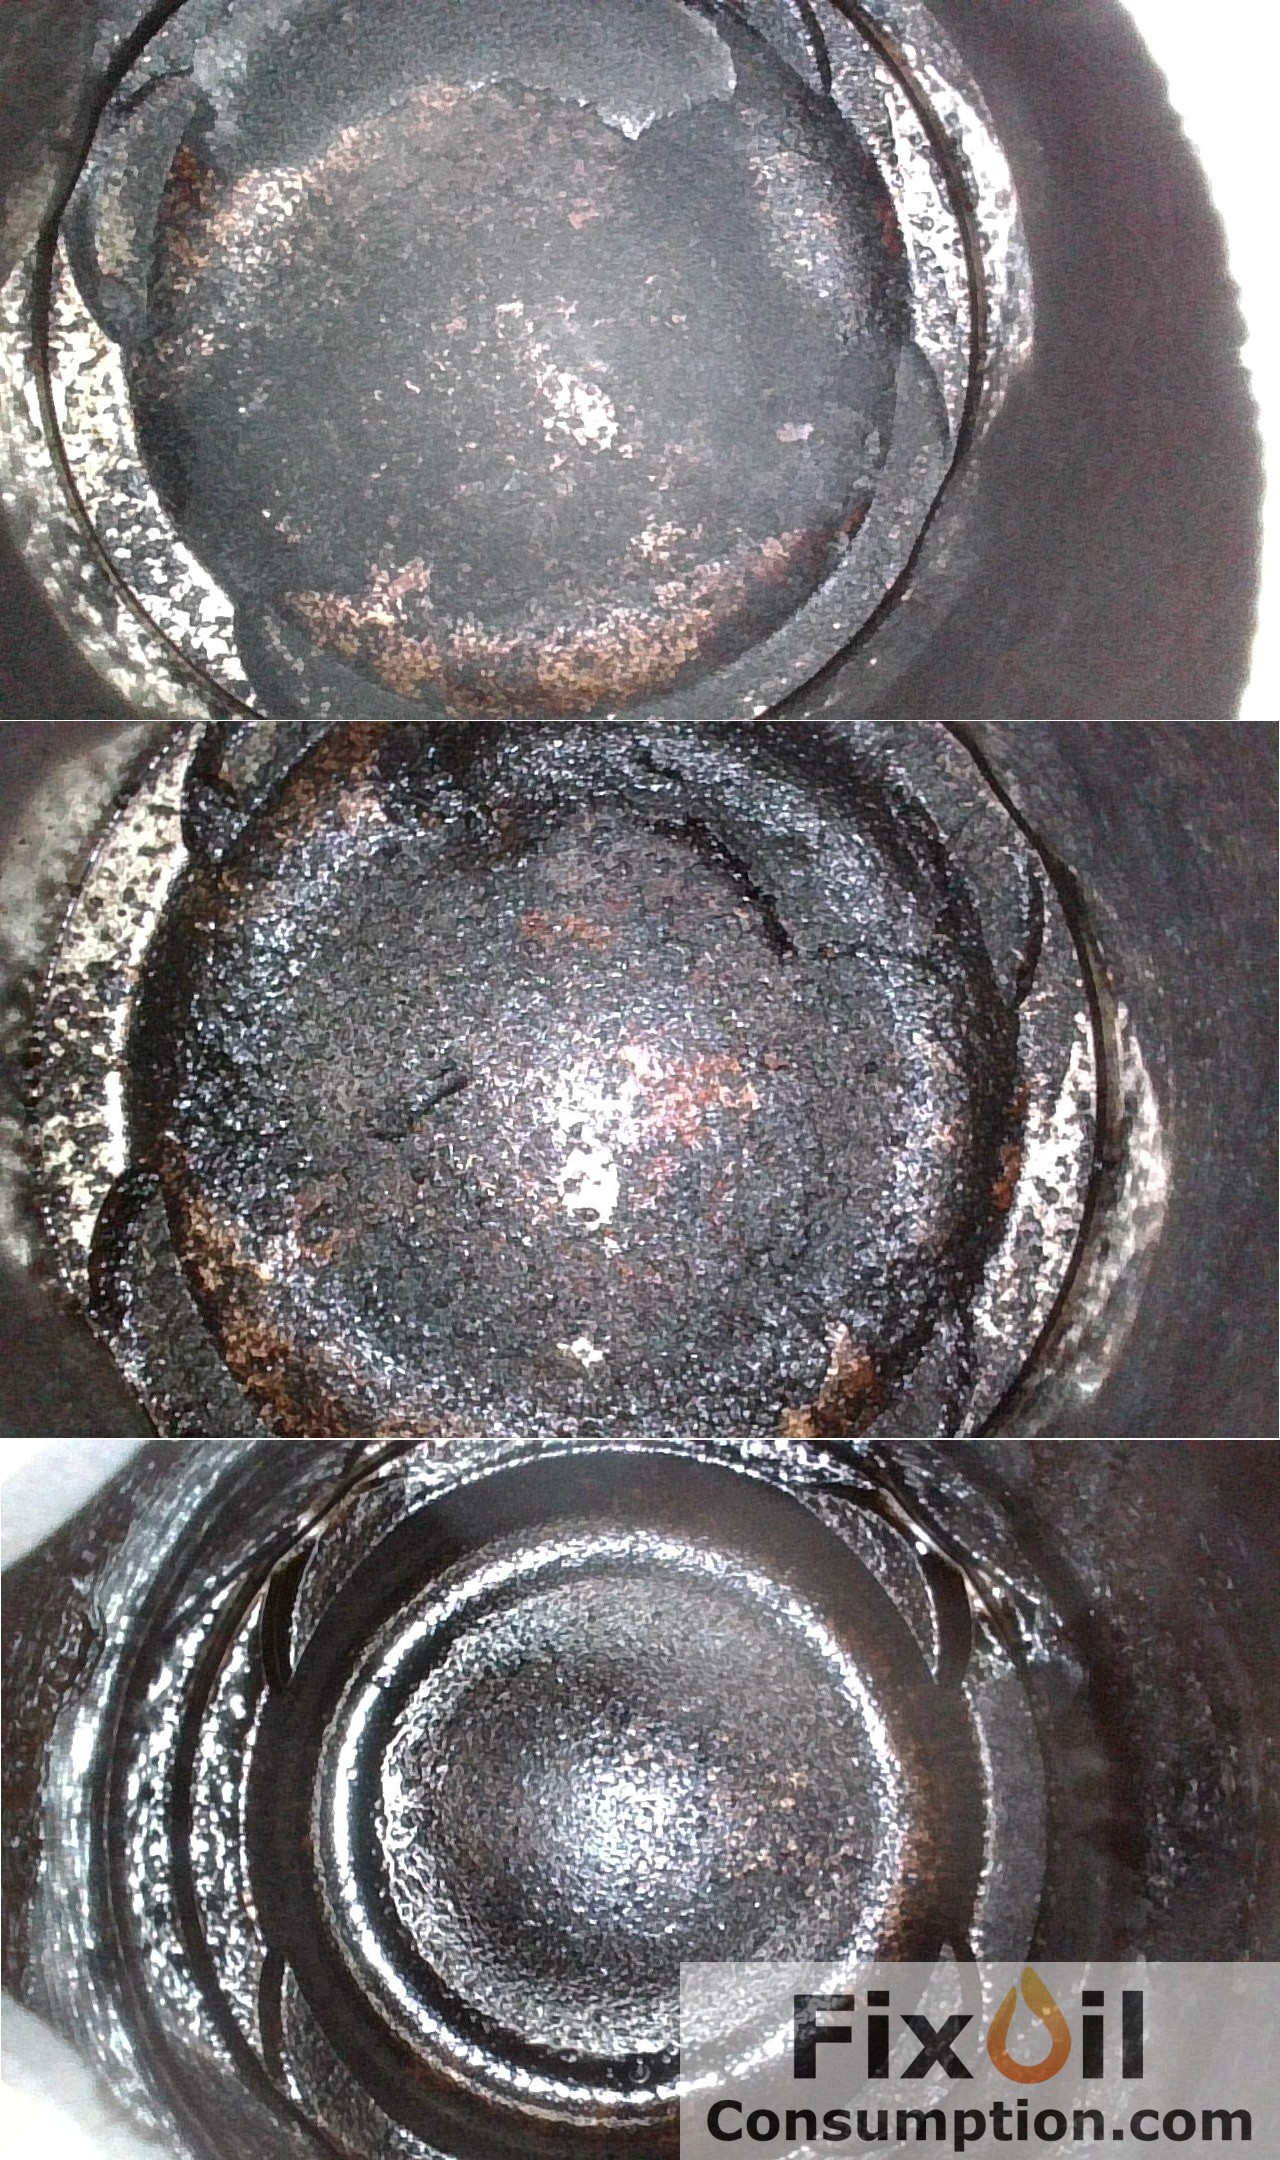
Update: The Fiat has now driven over 6,000 km, and during this period only 0.5 liters of oil has been topped up!
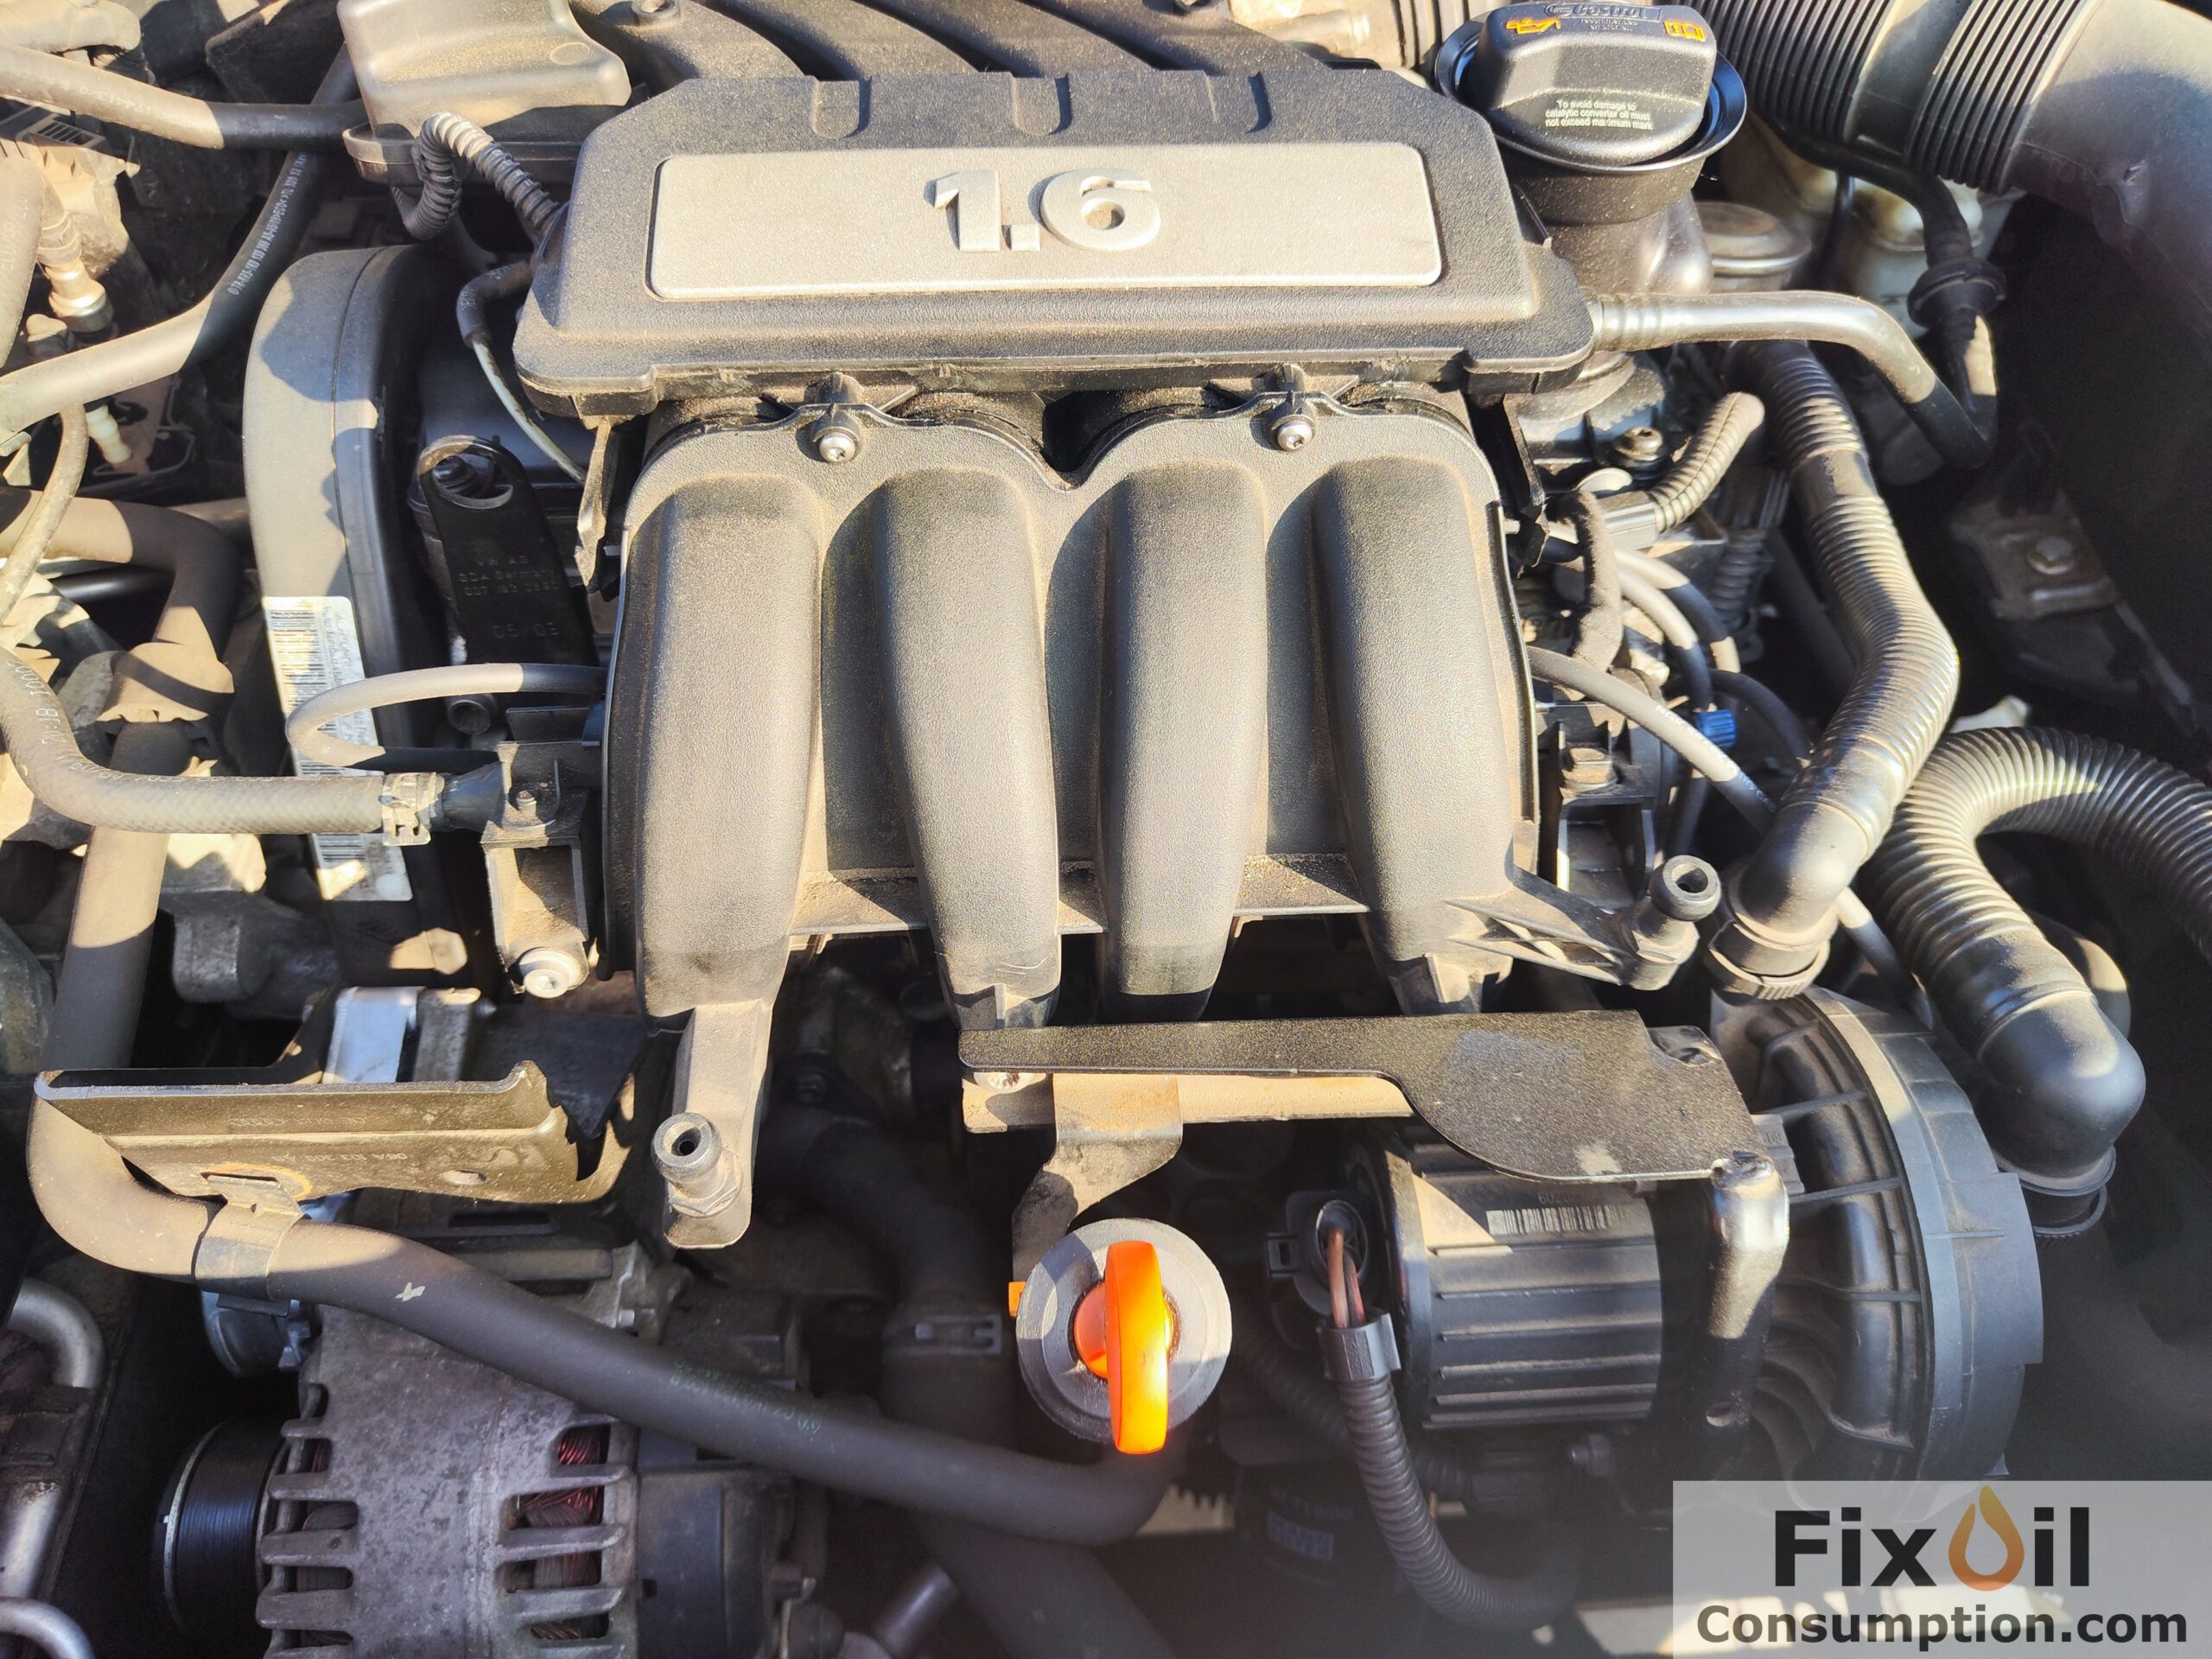
VW Golf VI 1.6 BSE 102KM (2009)
Mileage: approx. 260,000 km
Symptoms: oil consumption was around 1 liter per 15,000 km, with higher consumption noticeable at highway speeds. About six months ago, various components were replaced, including the valve stem seals, and since then oil consumption increased to 1 liter per 1,000 km. Additionally, a misfire appeared on cylinder 1, and the spark plug was blackened with carbon deposits.
The likely result of the repair was improved sealing at the top of the engine (valve cover), which may have increased crankcase pressure, leading to oil loss through various internal seals and/or the PCV system.
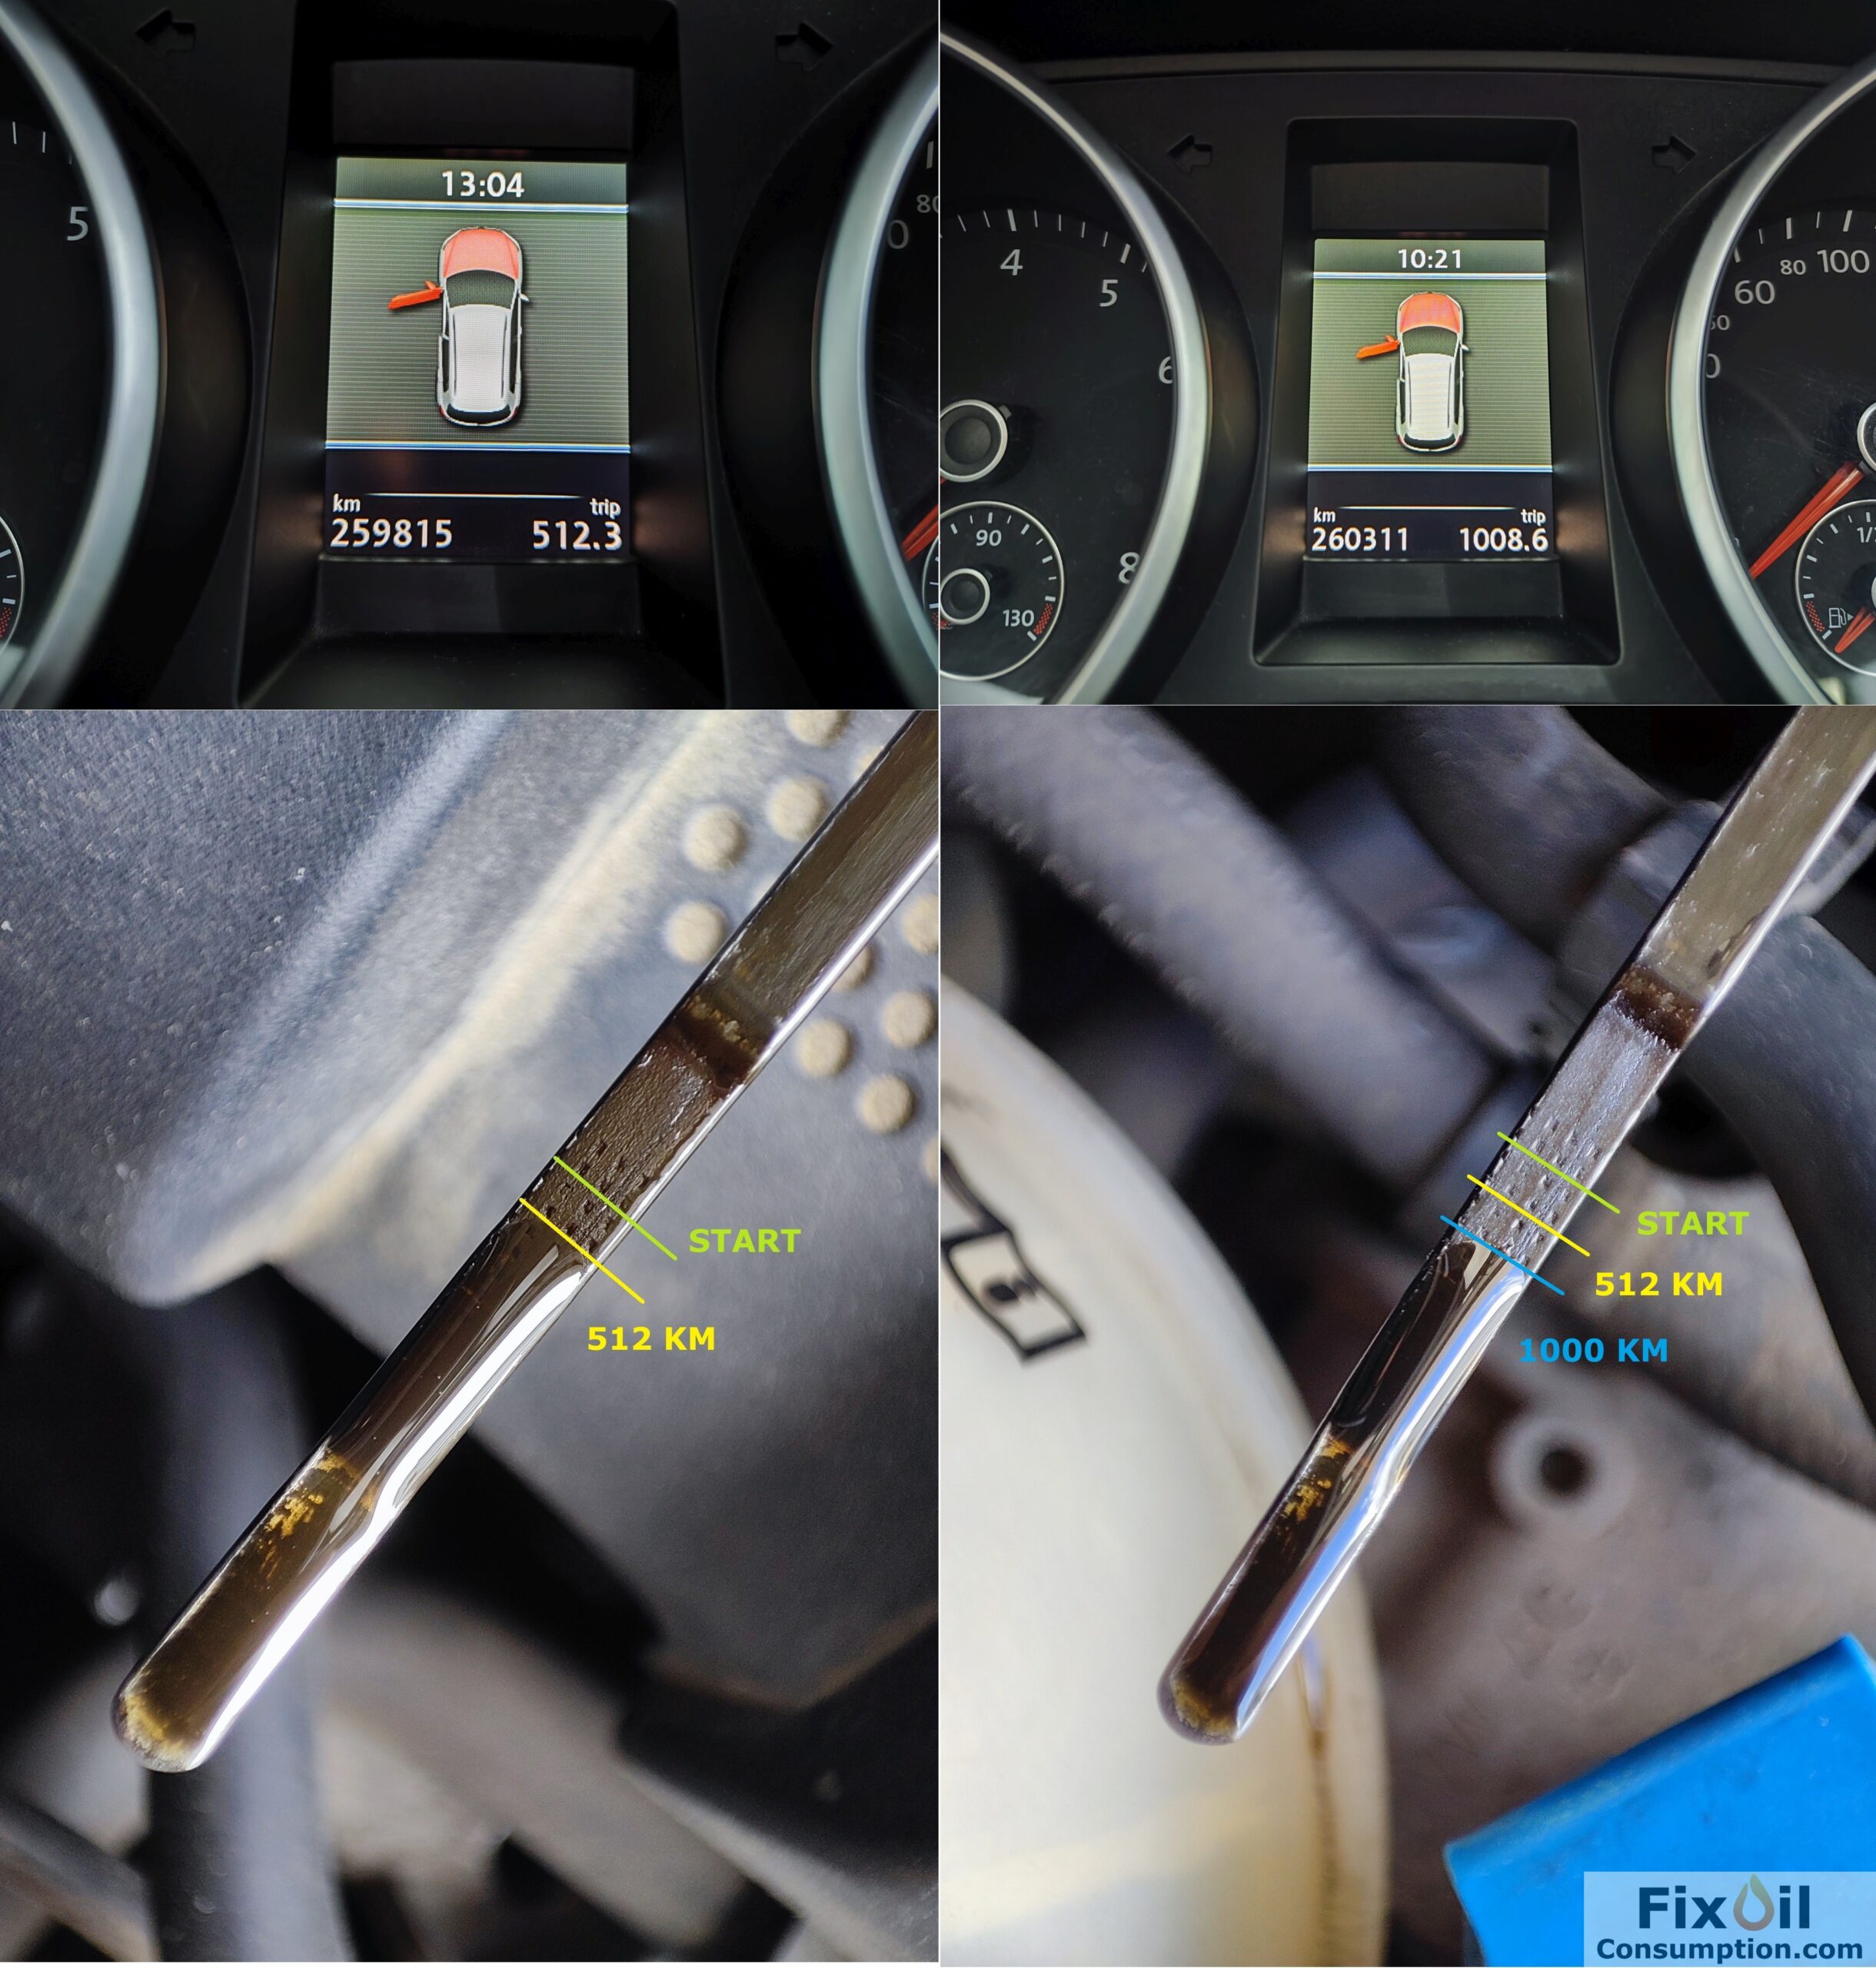
After treatment: immediately after the treatment, the oil level was two dots below “max” on the dipstick. So far, 512 km have been driven, including about 200 km at highway speeds, and the oil level has dropped by only 1.5–2 dots, which suggests that oil consumption has returned to “factory” levels. We will continue to provide updates.
Update: After another 500 km, with 3/4 of that distance at highway speeds, the oil level on the dipstick dropped by another two dots, which confirms that oil consumption has returned to normal for this engine — about 1 liter per 10,000 km. However, during longer drives at speeds over 100 km/h, top-ups may be needed more frequently. Still, as you can see, it’s no longer 1 liter per 1,000 km as it was before the entire procedure.
Below are photos taken before and after using Berryman B-12 Chemtool, as well as the current oil level:
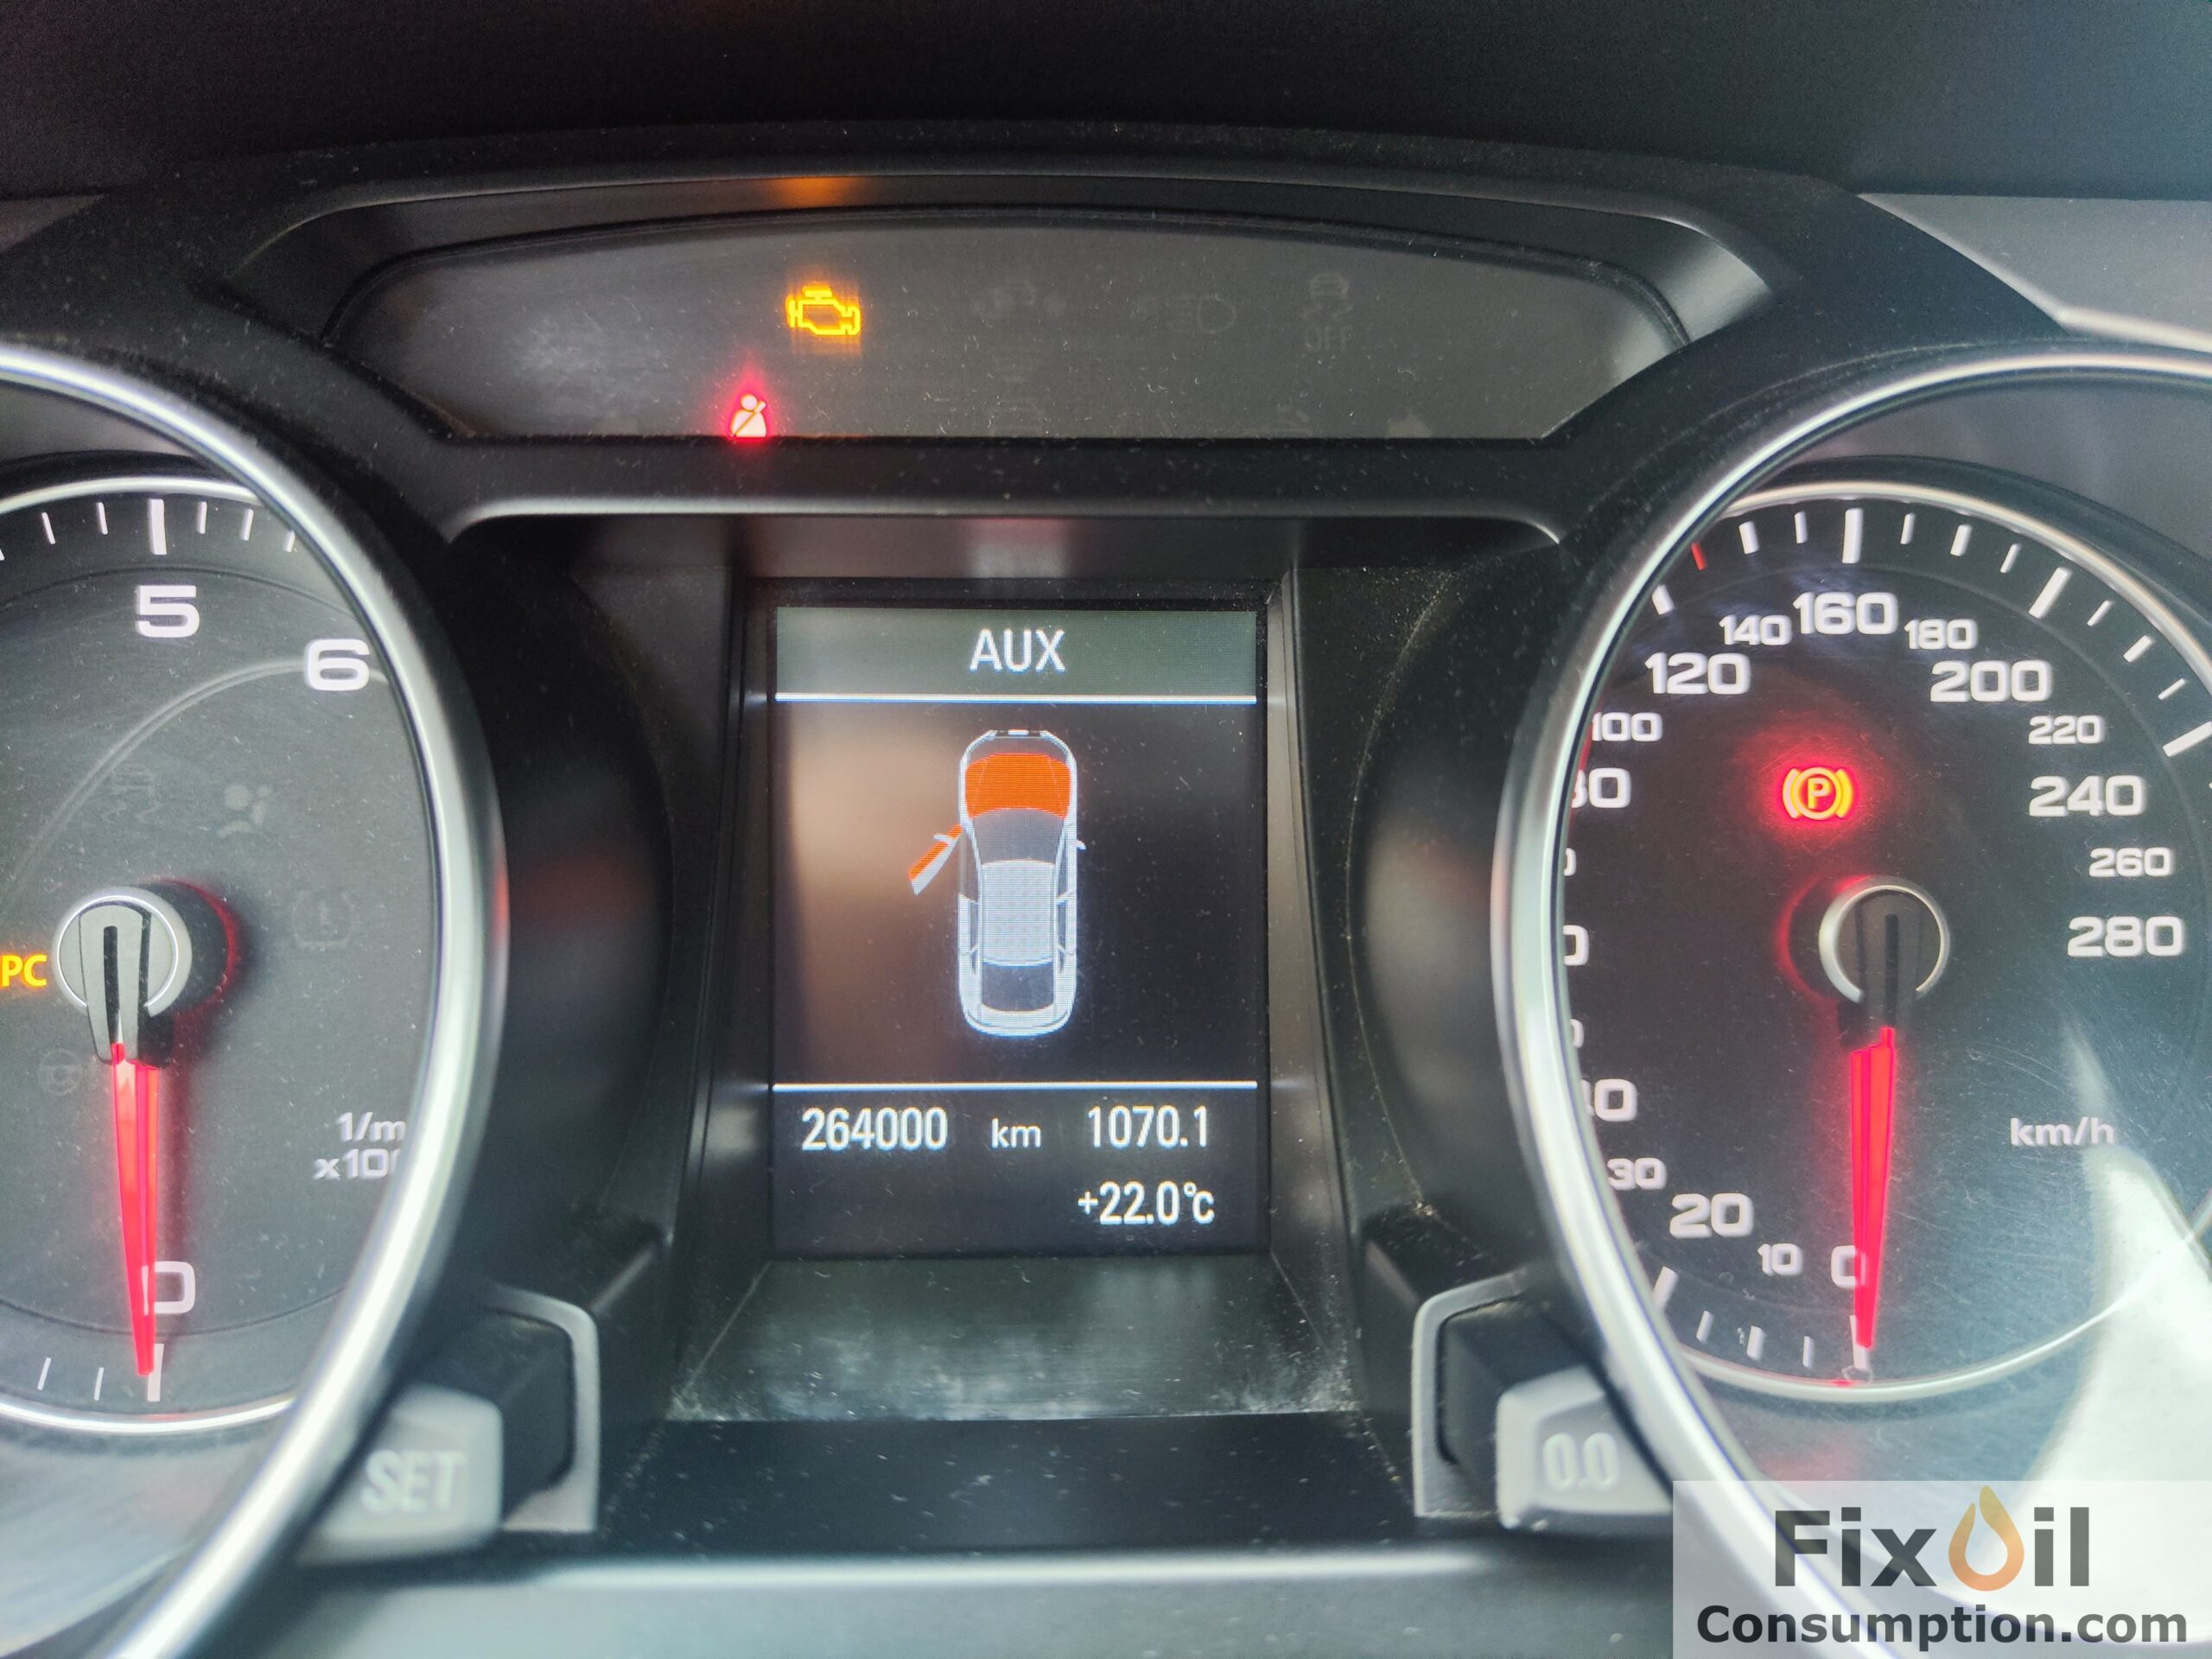
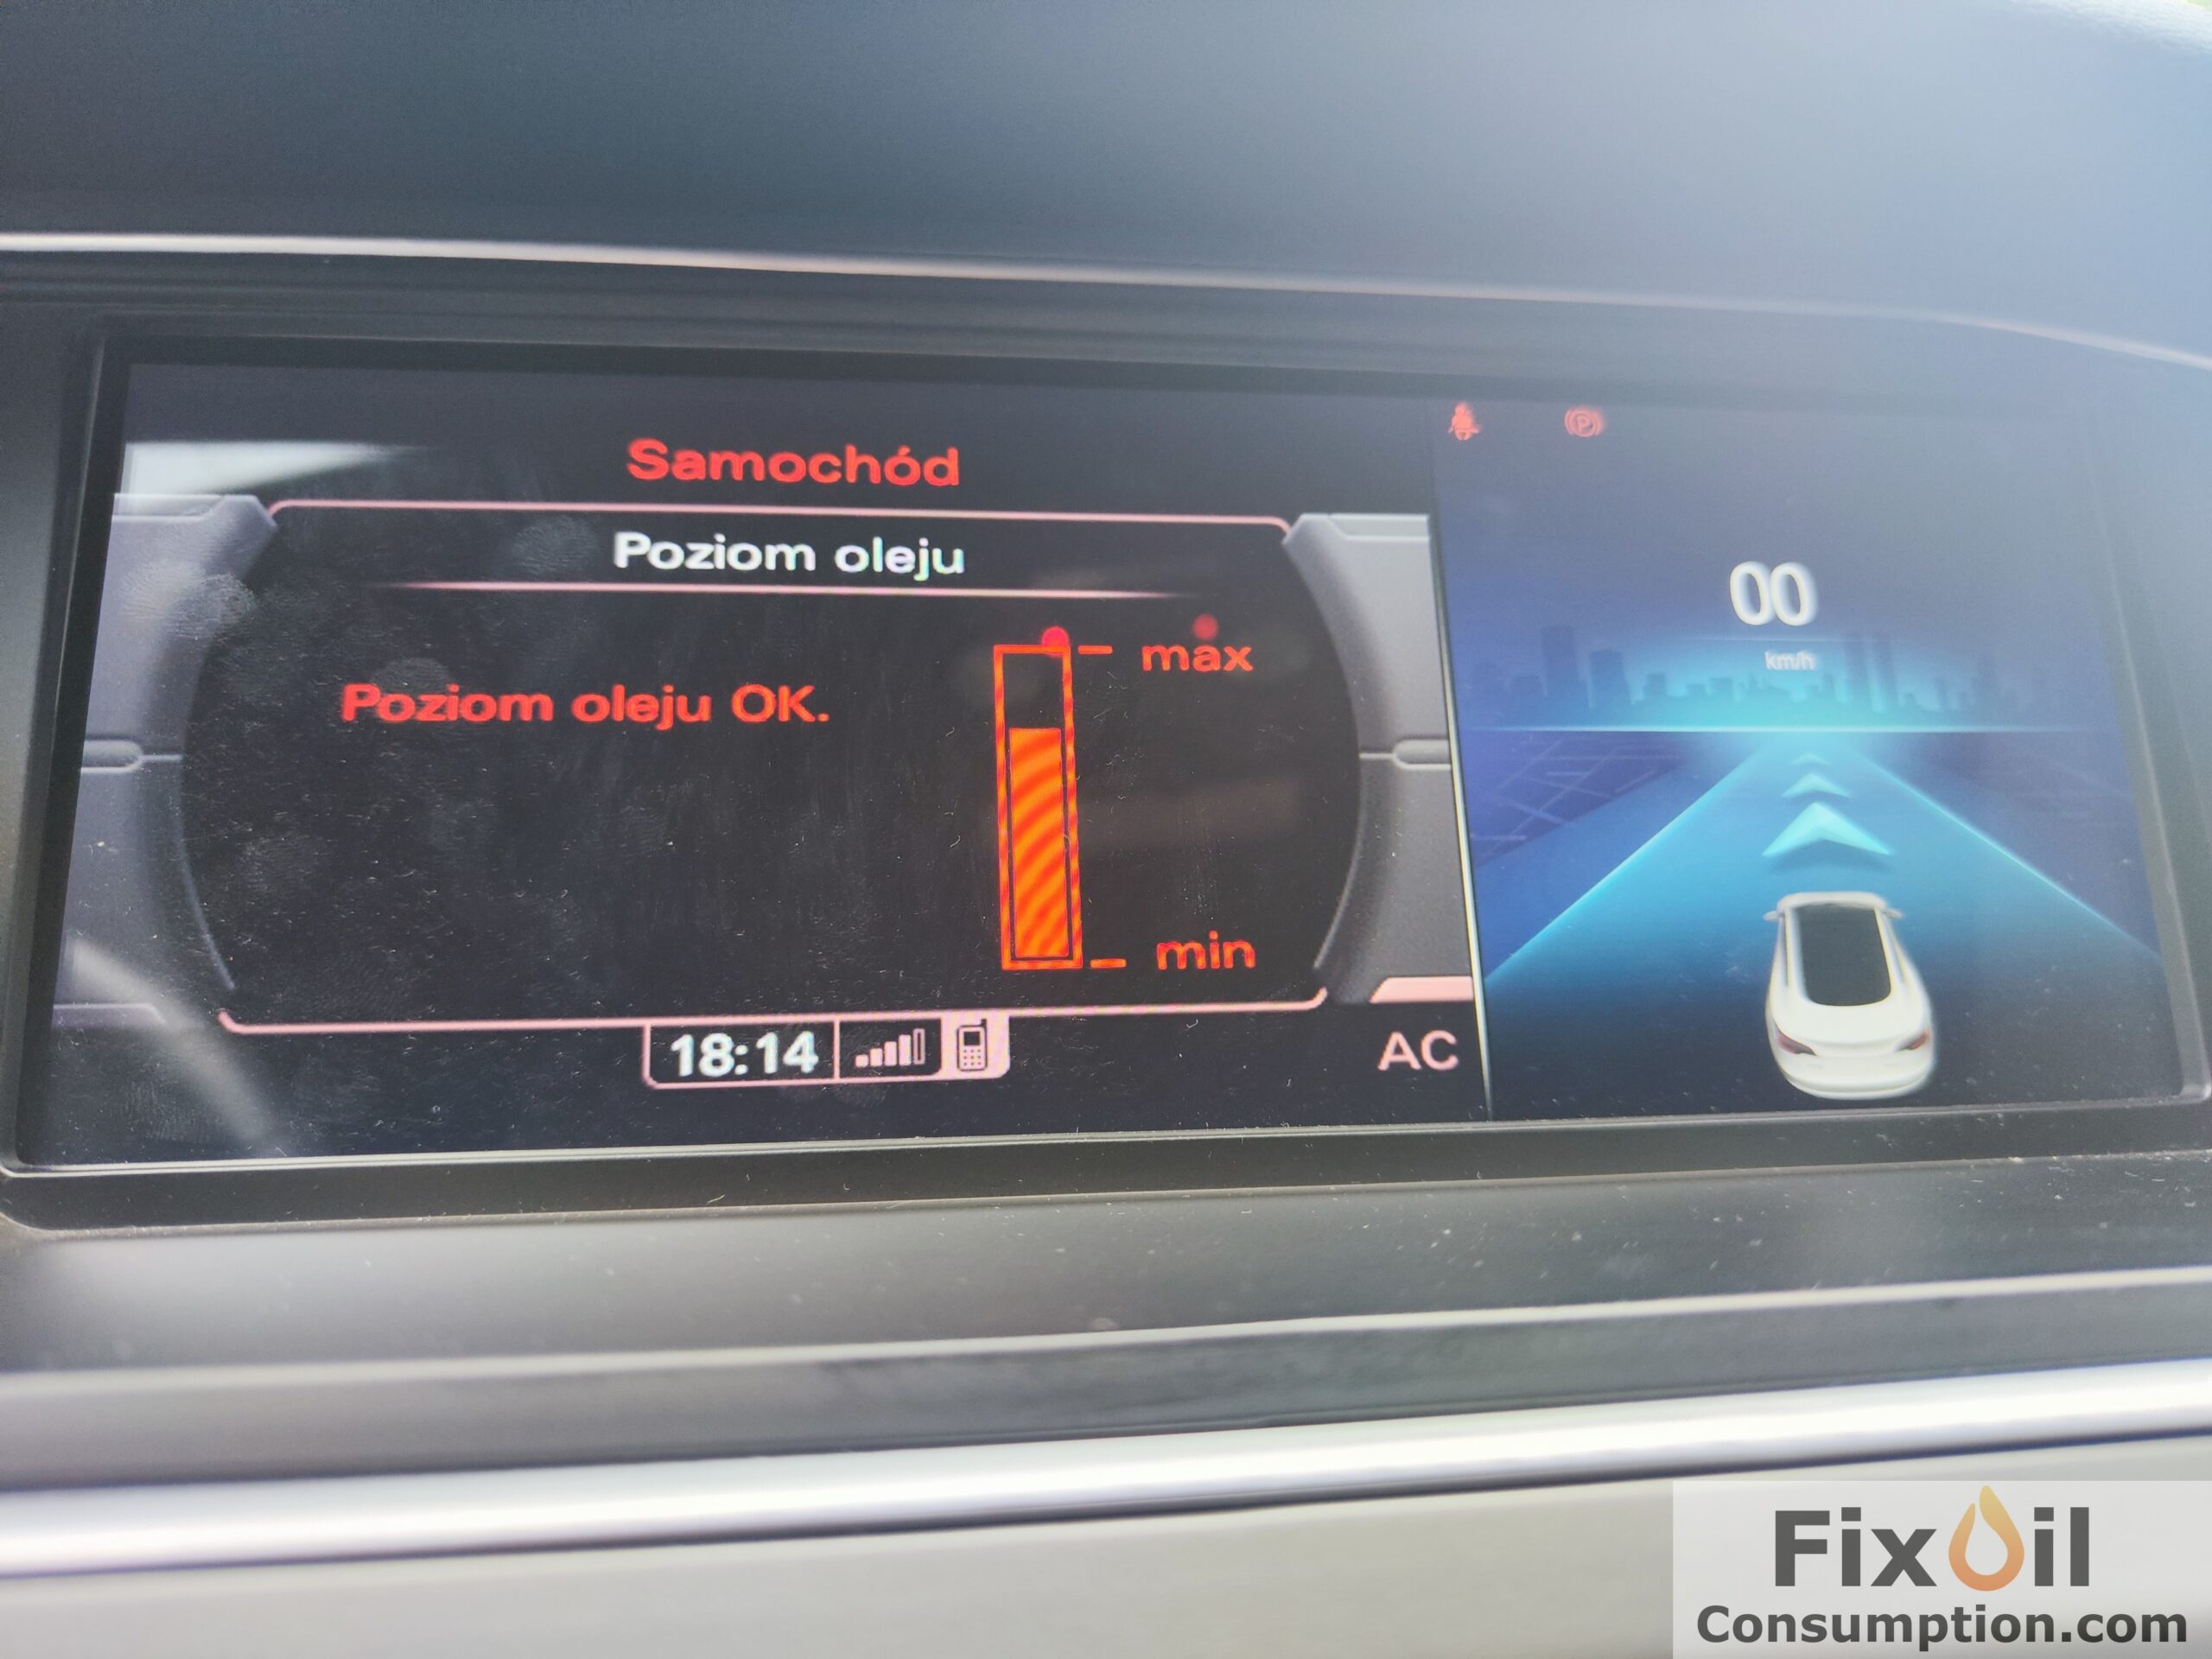
Audi A5 1.8 TFSI CJEB (3 gen) 170KM (2014)
Mileage: approx. 263,000 km
Symptoms: This is a 3rd-generation engine from the EA888 series, which according to widely circulated opinions is the one in which the increased oil consumption issue was resolved. Unfortunately, in this particular case, that turned out not to be true – the engine was burning about 0.7L per 1,000 km, which in practice meant the need to add 1 liter every second full tank. With high probability, the fault lies with the owner, since the oil was changed less frequently than the recommended 8–10,000 km intervals and was also of poor quality.
After treatment: Immediately after the treatment, the oil level was one notch below max on the computer. Below are photos taken before and after applying Berryman B-12 Chemtool, along with the oil level condition:
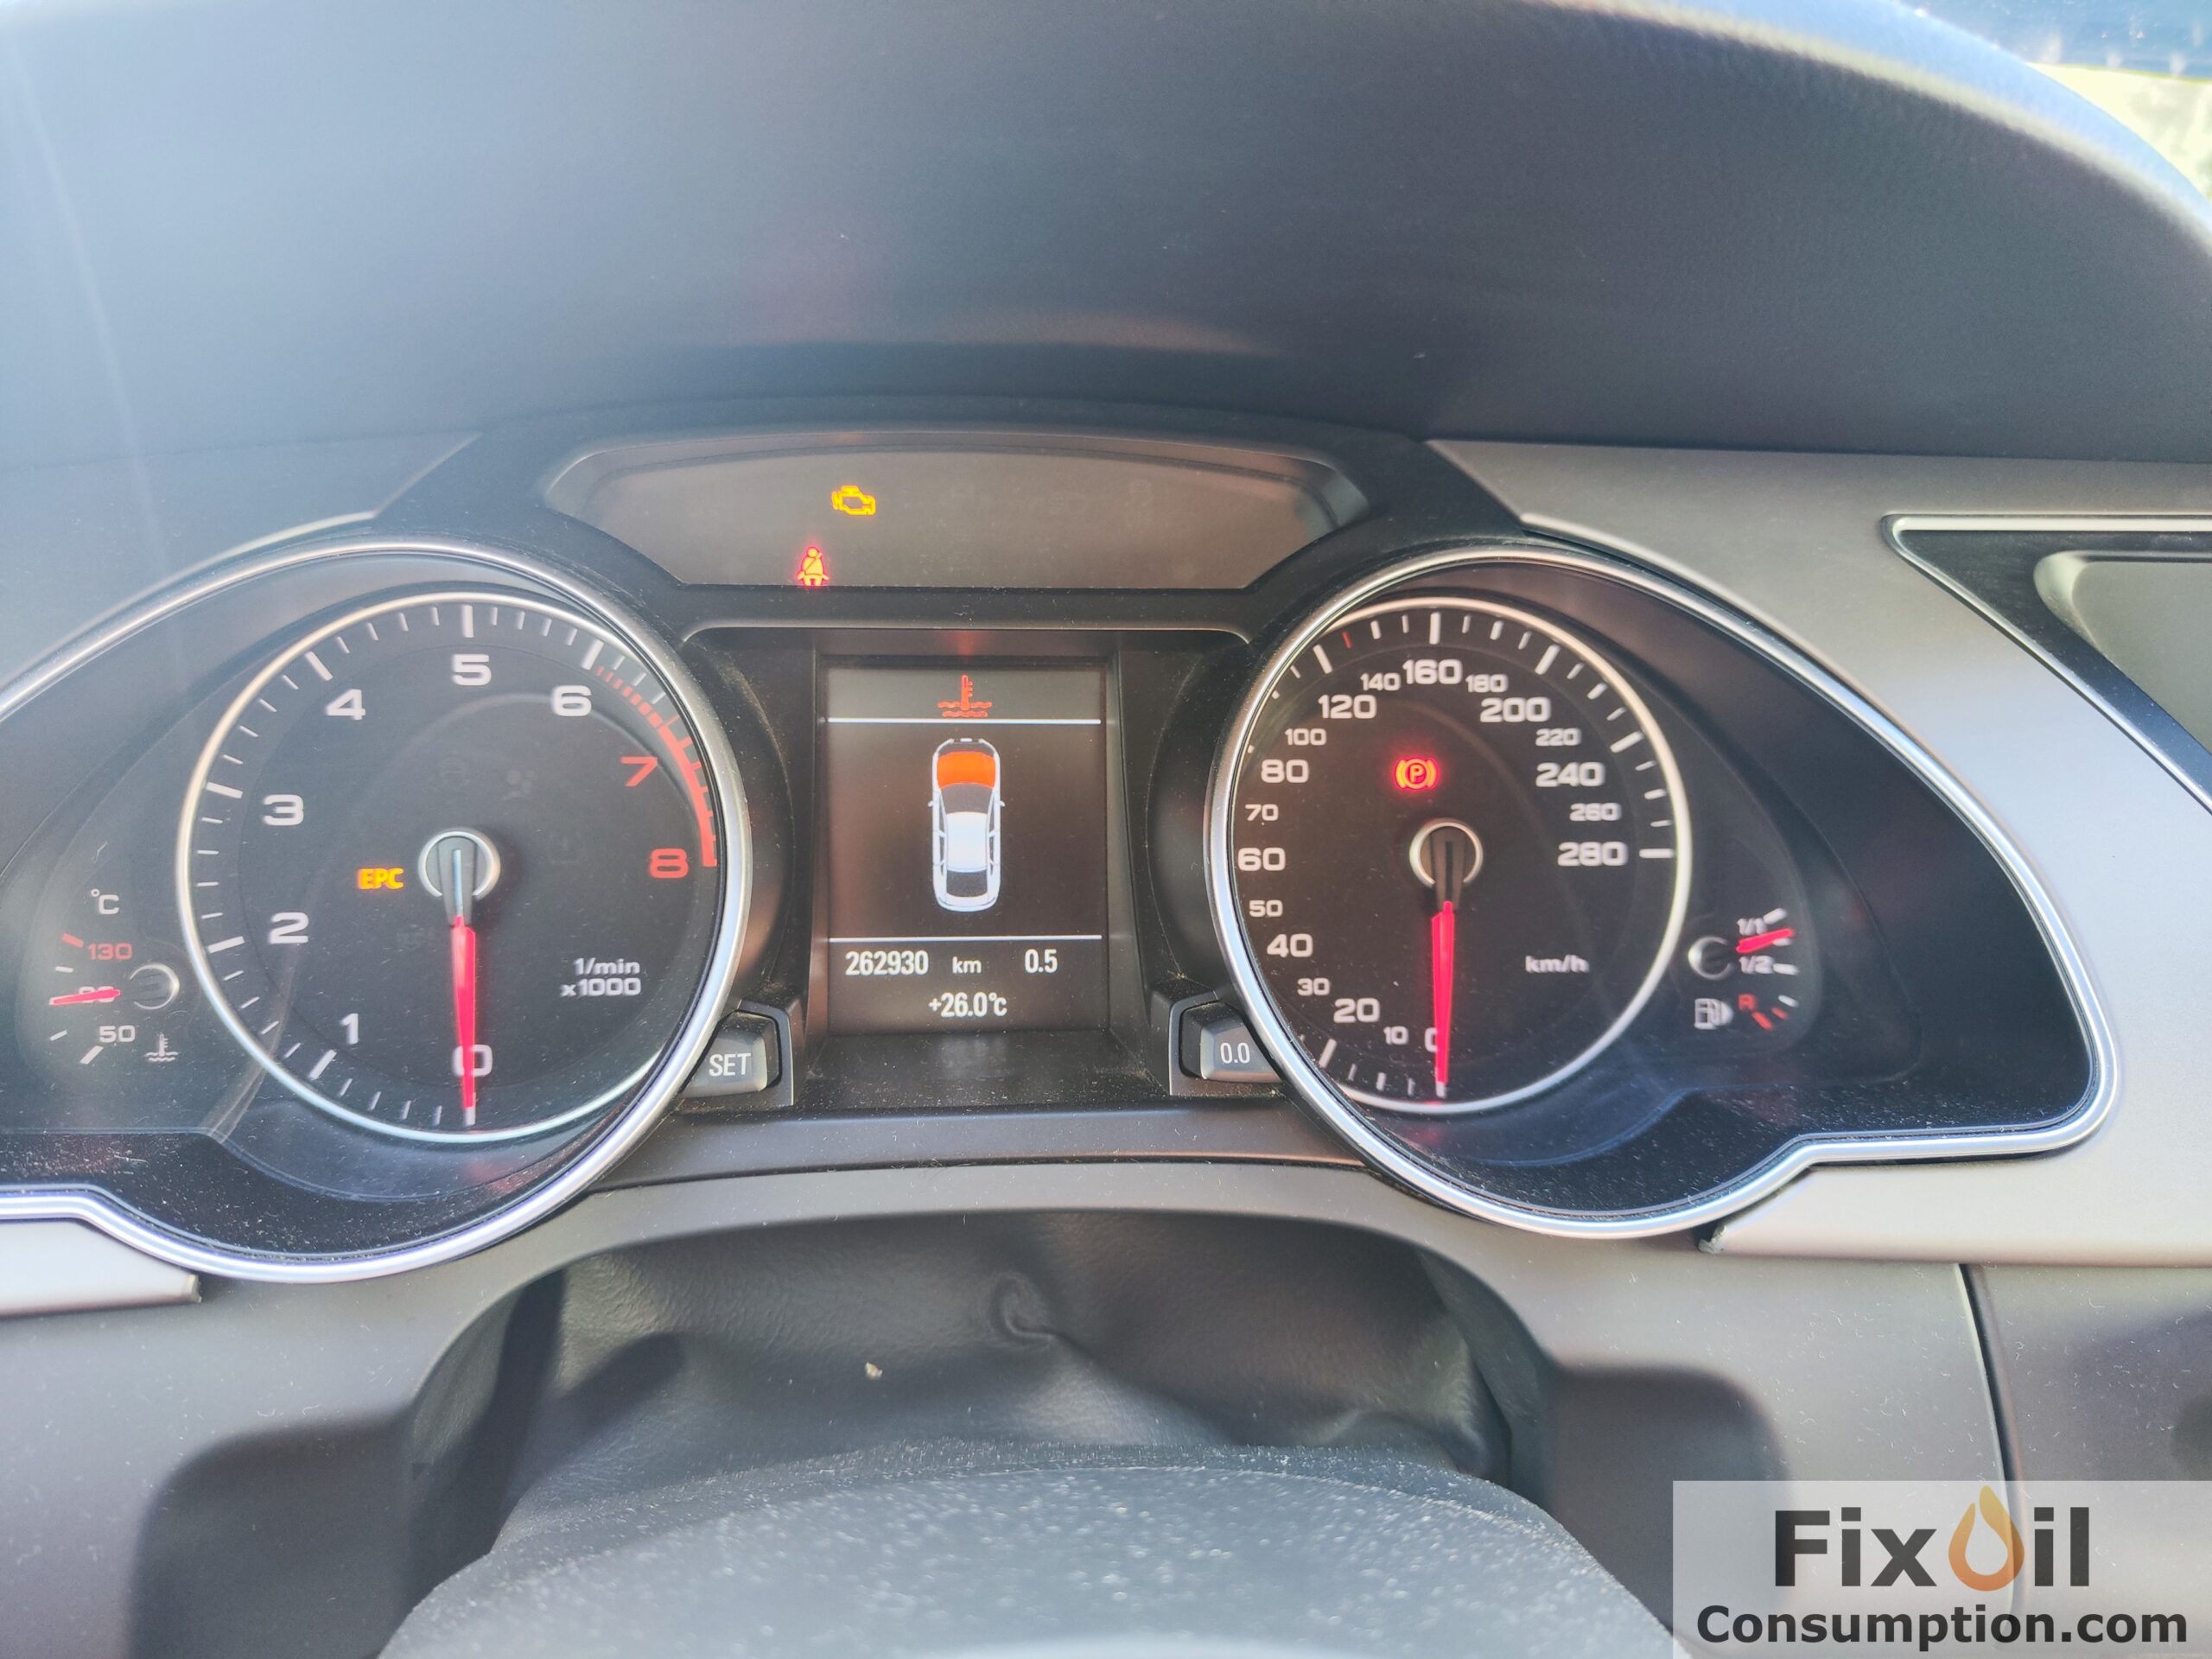

Update: After driving more than 1,000 km following the treatment, most of it at highway speeds, the oil level on the computer dropped by only one notch!
Update: After another 1,000 km driven on highways / expressways, only one more notch of oil was lost on the computer!

Update: After returning from vacation trips and driving another thousand kilometers in city conditions, the computer shows exactly the same oil level as at the previous measurement!

Summary: Measurements began at 262,930 km and the last one was taken at 266,103 km, with about two-thirds of the distance covered at speeds of 120–140 km/h. The final result: 3,200 km driven and an oil loss of just 2 notches on the computer, which equals about 250 ml, instead of 2.5L as before the treatment, so oil consumption dropped 10 times!
Advantages of the Method:
- Low cost – two bottles of Berryman B-12 Chemtool are much cheaper than any other method of dealing with the problem.
- Can be done at home – does not require specialized tools or knowledge.
- Fast results – improvements can be noticeable after just one application.
- Safety – the method is minimally invasive and does not risk engine damage.
Conclusion
The piston soak method using Berryman B-12 Chemtool is an ideal first step in tackling excessive oil consumption. Before opting for an expensive engine rebuild or replacing piston rings, it’s worth trying this simple and affordable solution. Many users have seen significant improvements after just one application, saving thousands of dollars in the process.
Source Materials
[Audizine] Preliminary results of B12 Piston Soaking for oil consumption reduction
[AudiWorld] I’ve joined the B12 piston soak illuminati club!
[Reddit] 8 months after an ‘08 piston soak, a quick revisitation.